In almost all of my work with students, I search for “low-floor and high-ceiling” tools, meaning they are easy to use from the start yet have tremendous potential for growth in the learning process. However, I often take on new tools that have a steeper learning curve in my own learning, hoping to utilize my prior knowledge and skills to help me get over the bumps.
Adobe Illustrator is one of those tools that doesn’t start with a low floor. Numerous icons, menus, panels, and palettes can initially be overwhelming to the learner. So, it was with slight trepidation that I introduced Illustrator to my 7th graders. I realized after the first class that I bit off more than they could chew. I regrouped after that lesson and retooled my approach.
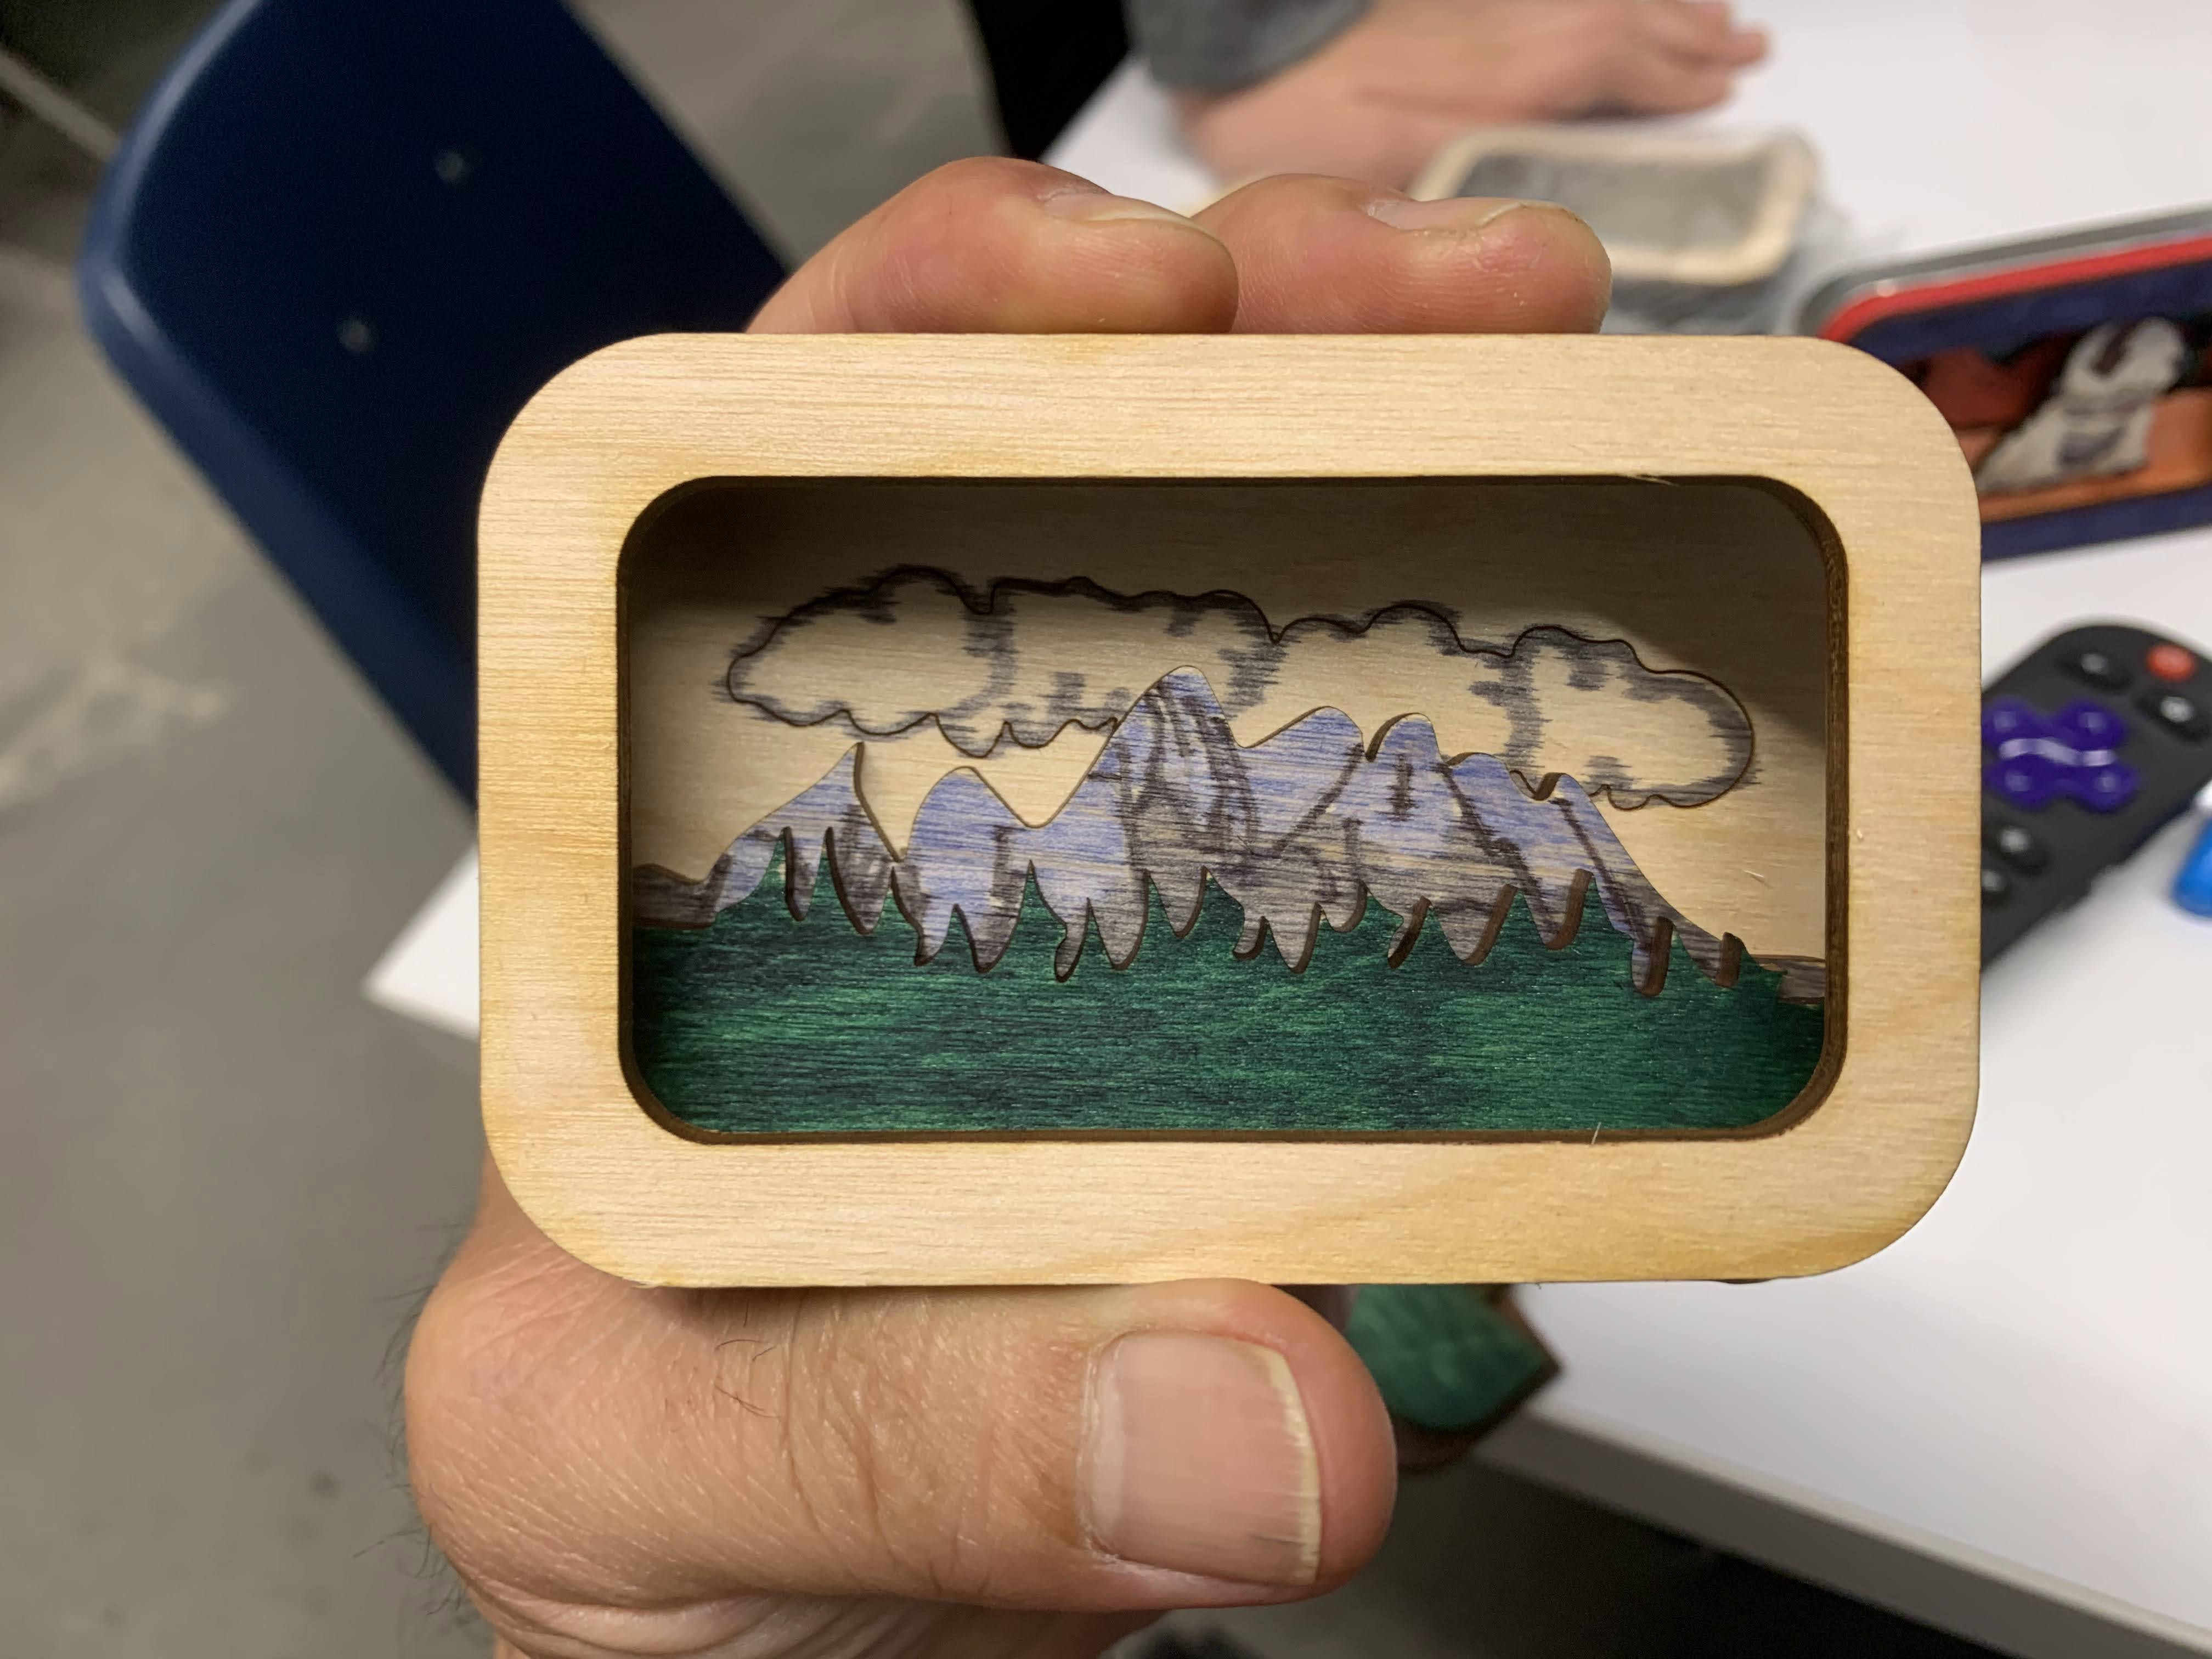
The result is a series of lessons that takes students through the initial setup of the Illustrator environment and moves them gradually over the essential tools on the way to creating a mint box miniature. I have broken down all of the learning into short conceptual chunks, each building upon the previous lesson.
Below is a video playlist organized in the same format as my lessons. If you have access to Illustrator and a laser cutter, you can use this playlist to create your own mint box miniature:
For more information and examples, see these two previous posts:
Below are all of the downloadable resources mentioned in the videos:
Mint Box Frame (for making a custom front cover)
Mint Box Stand 1 (for Altoid box)
Mint Box Stand 2 (slightly thicker box)
Update, February 21, 2022
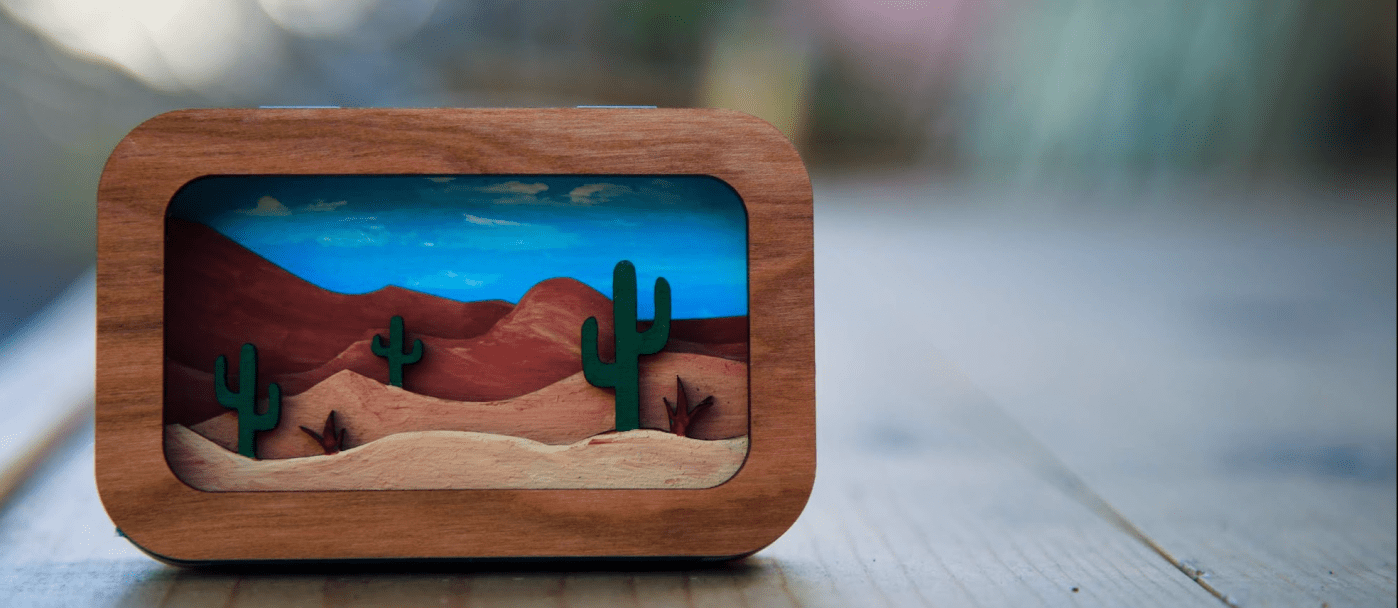
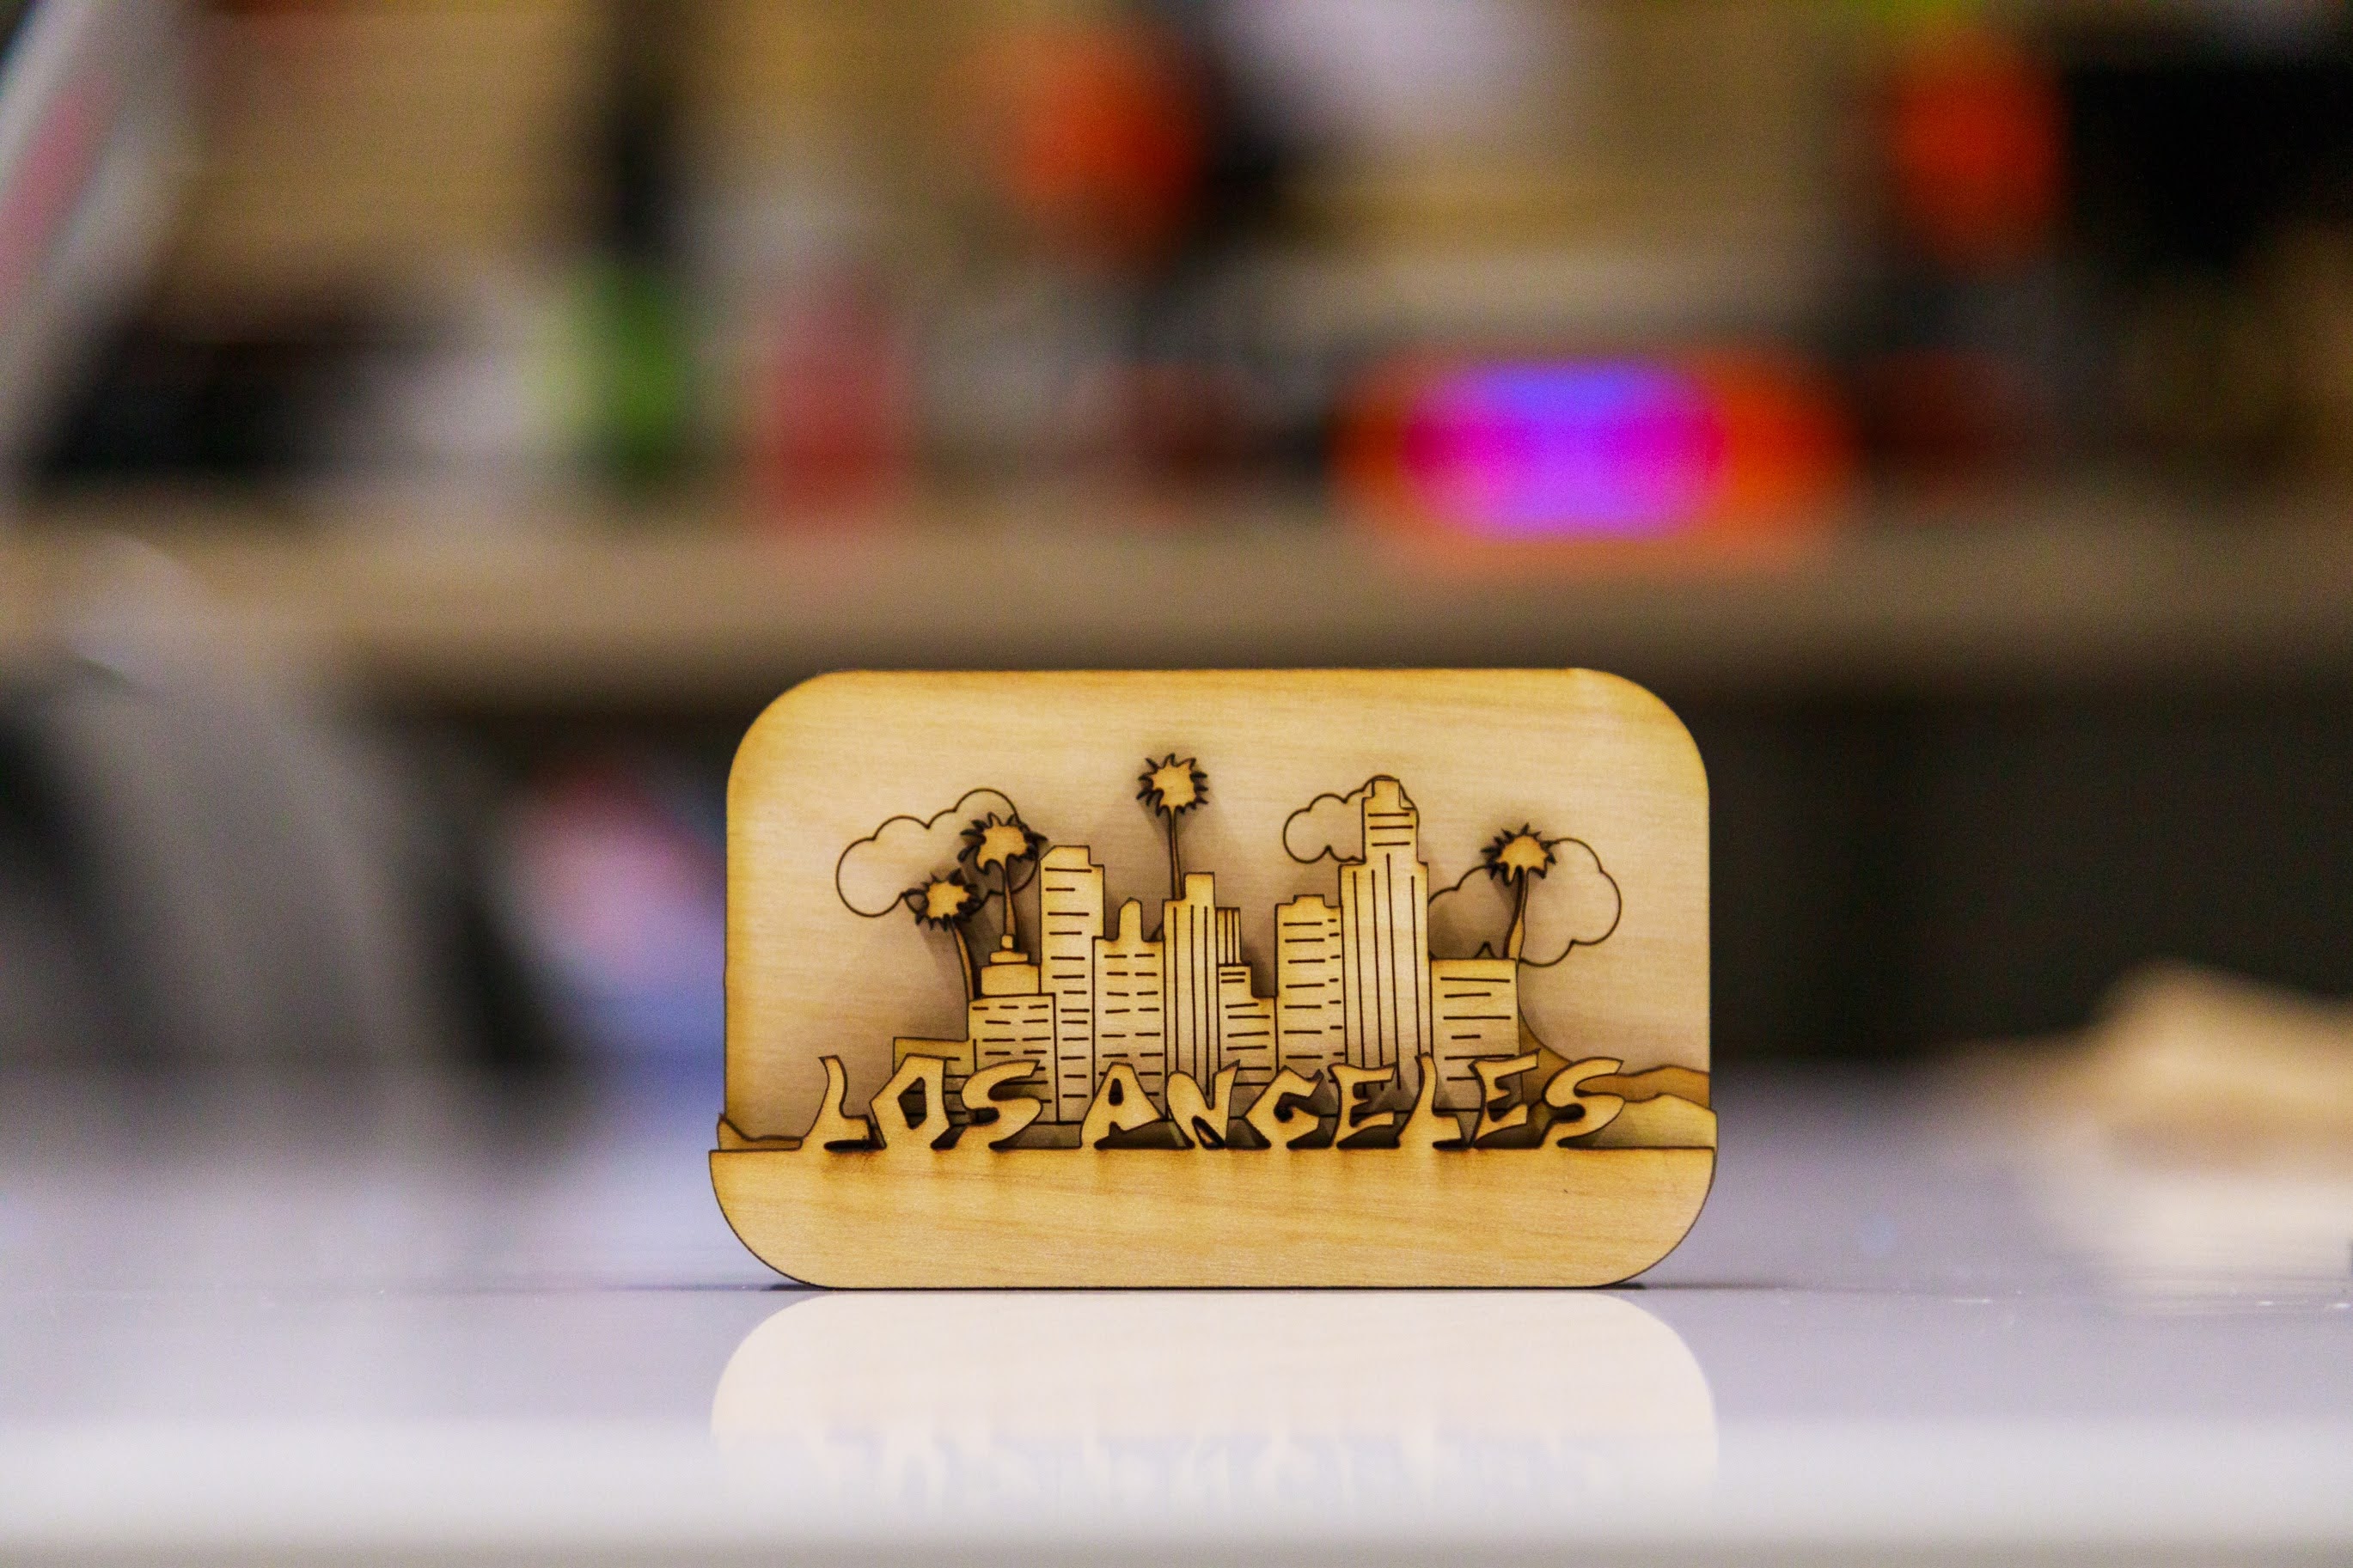
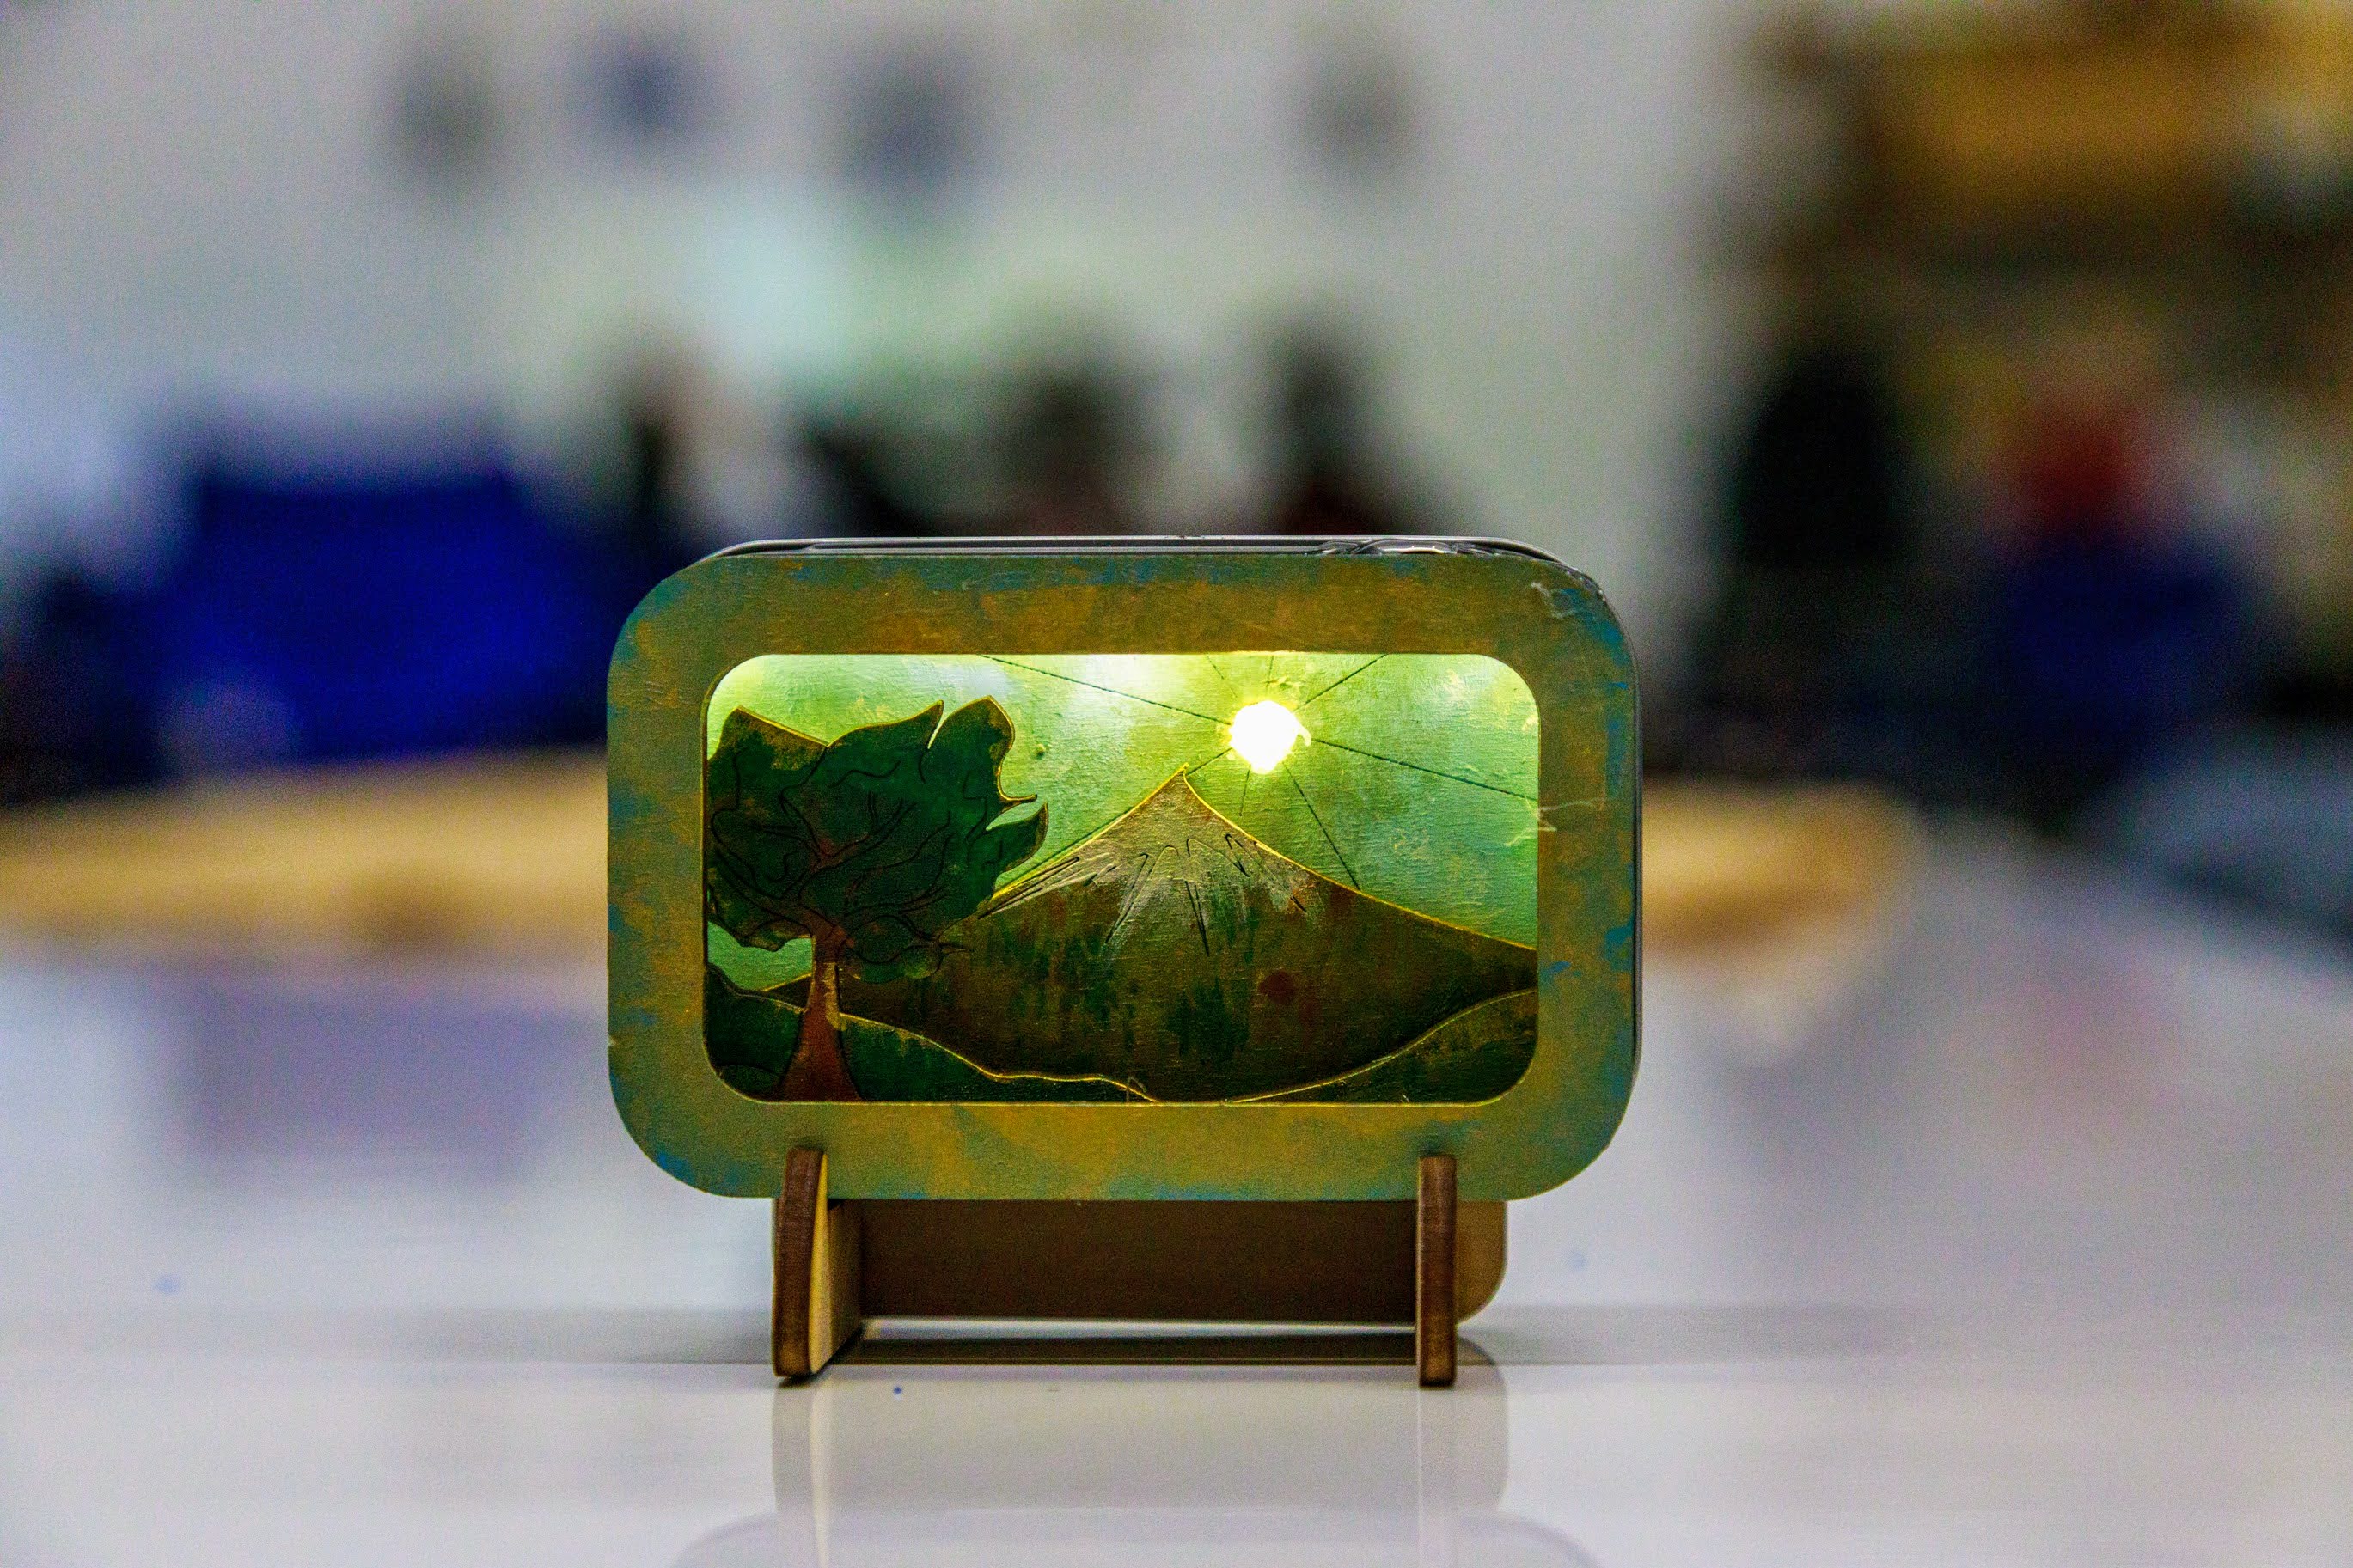
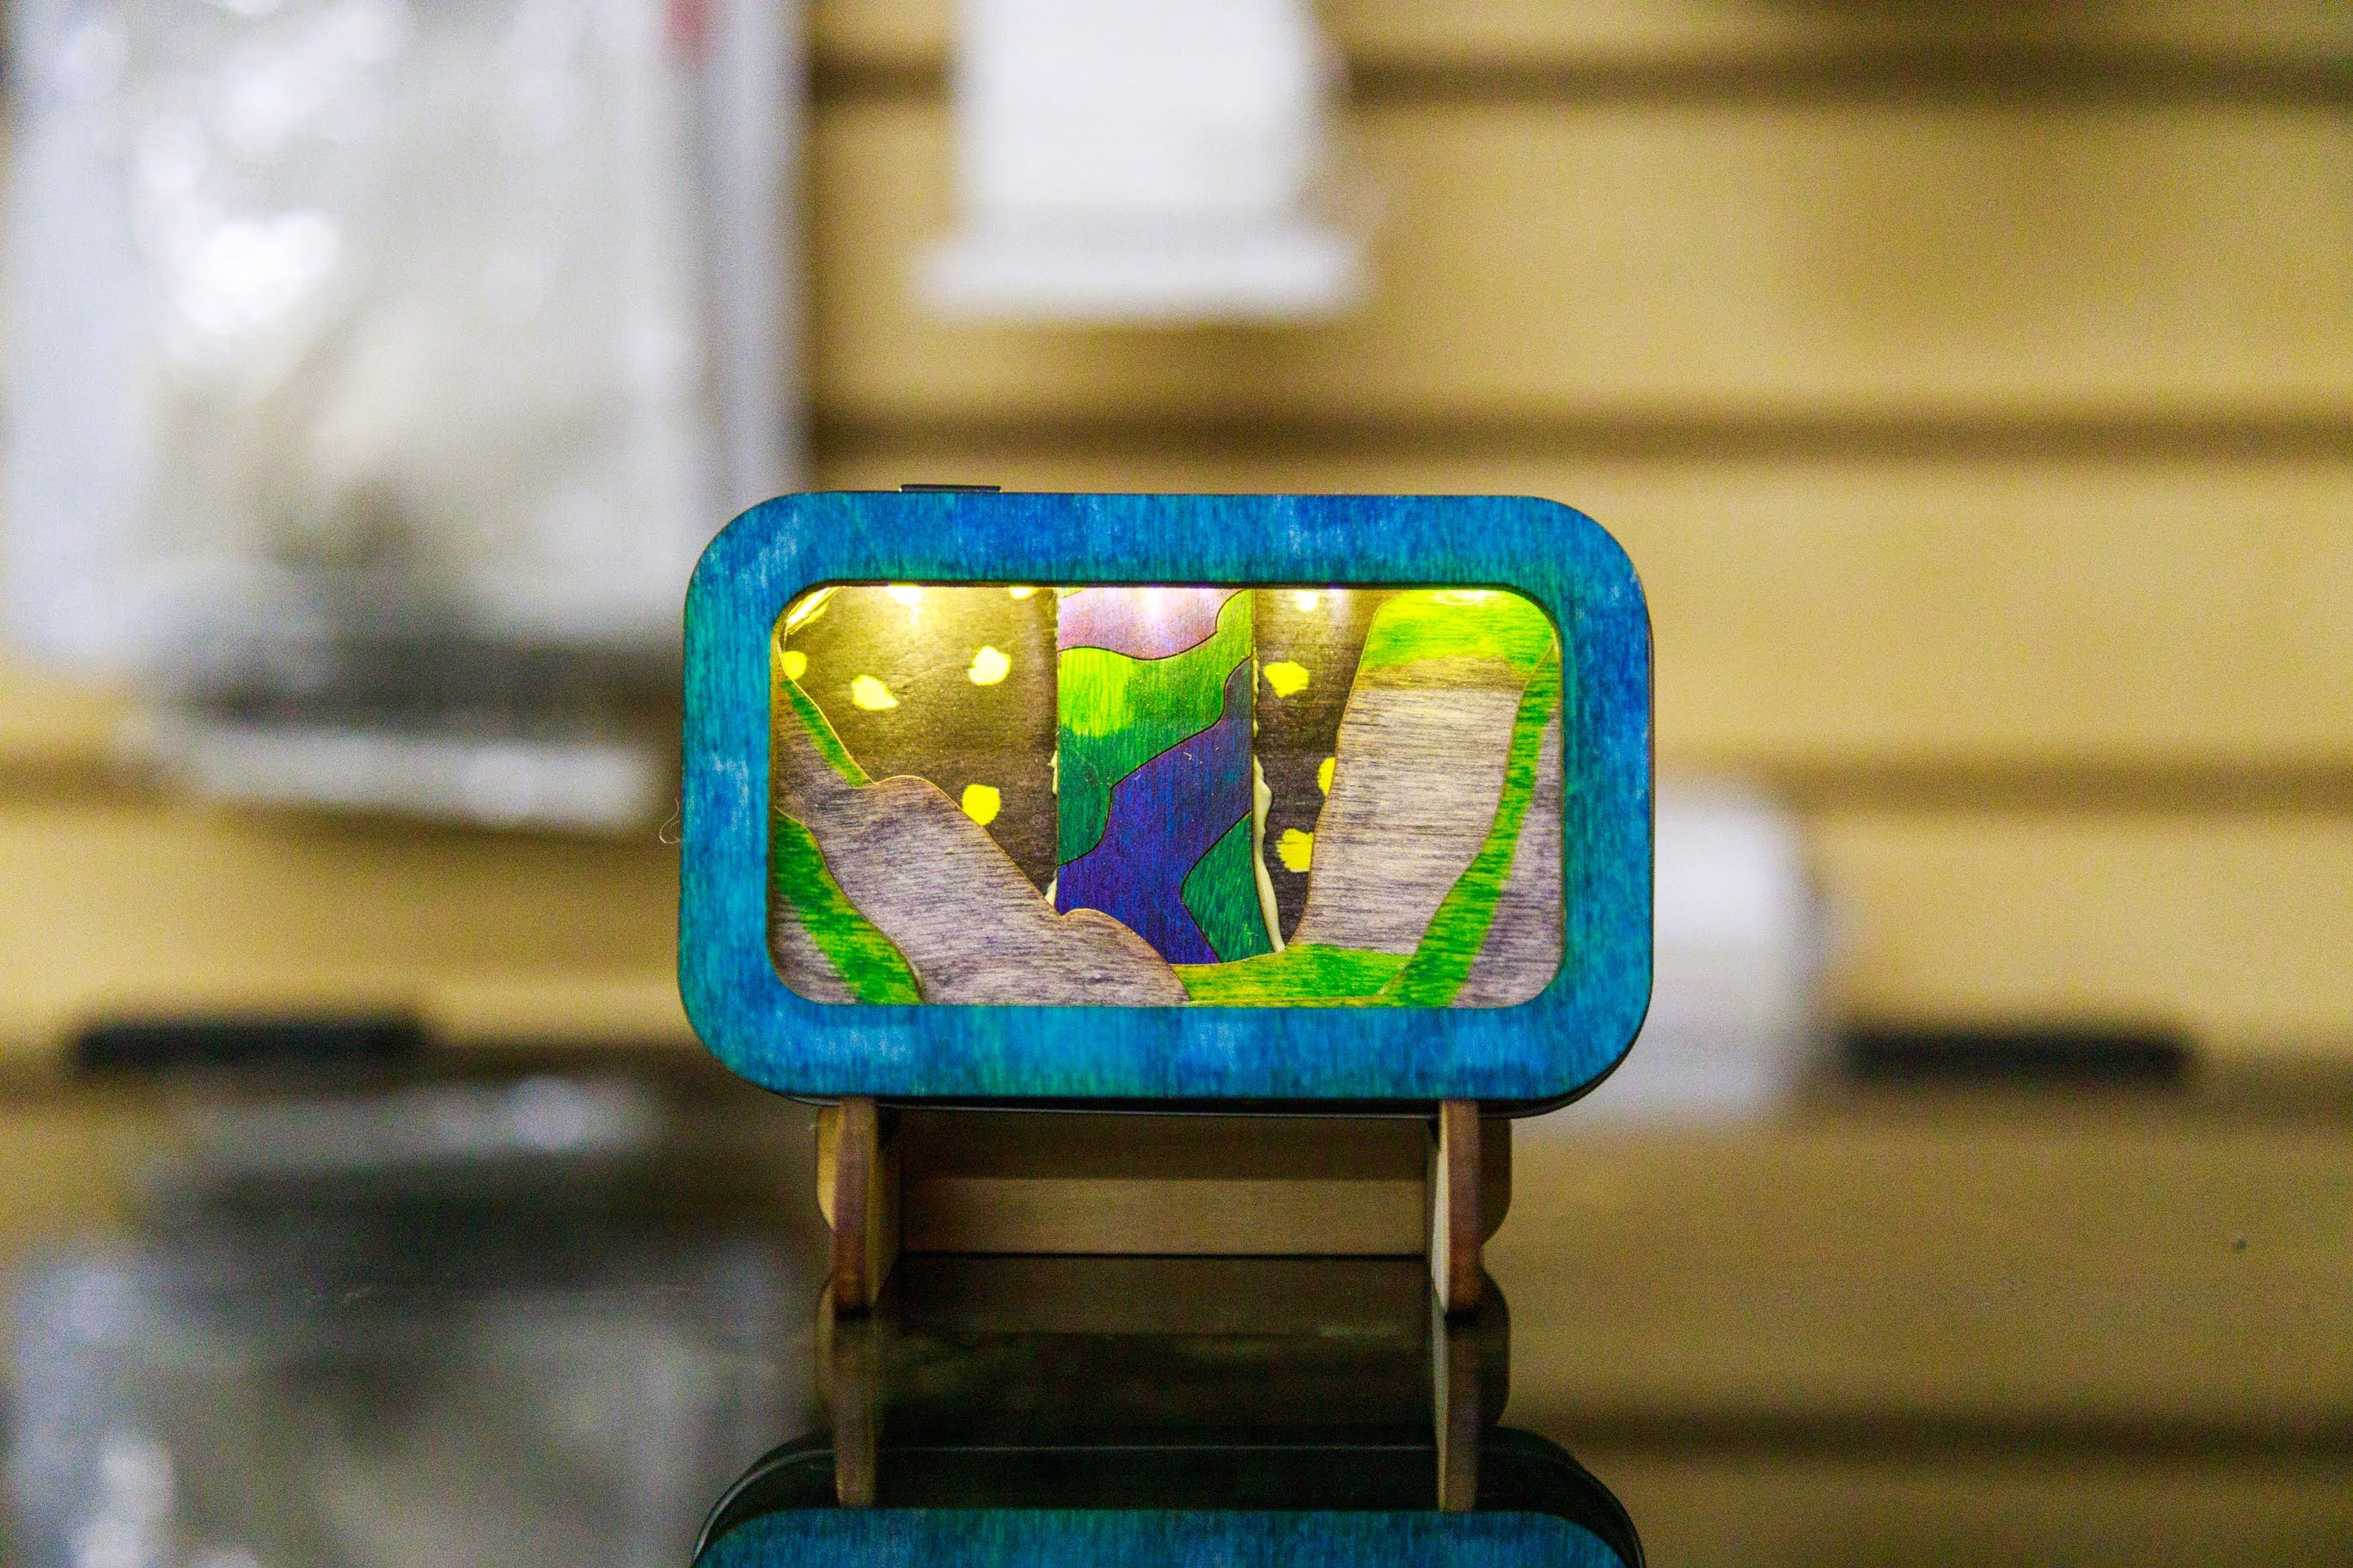
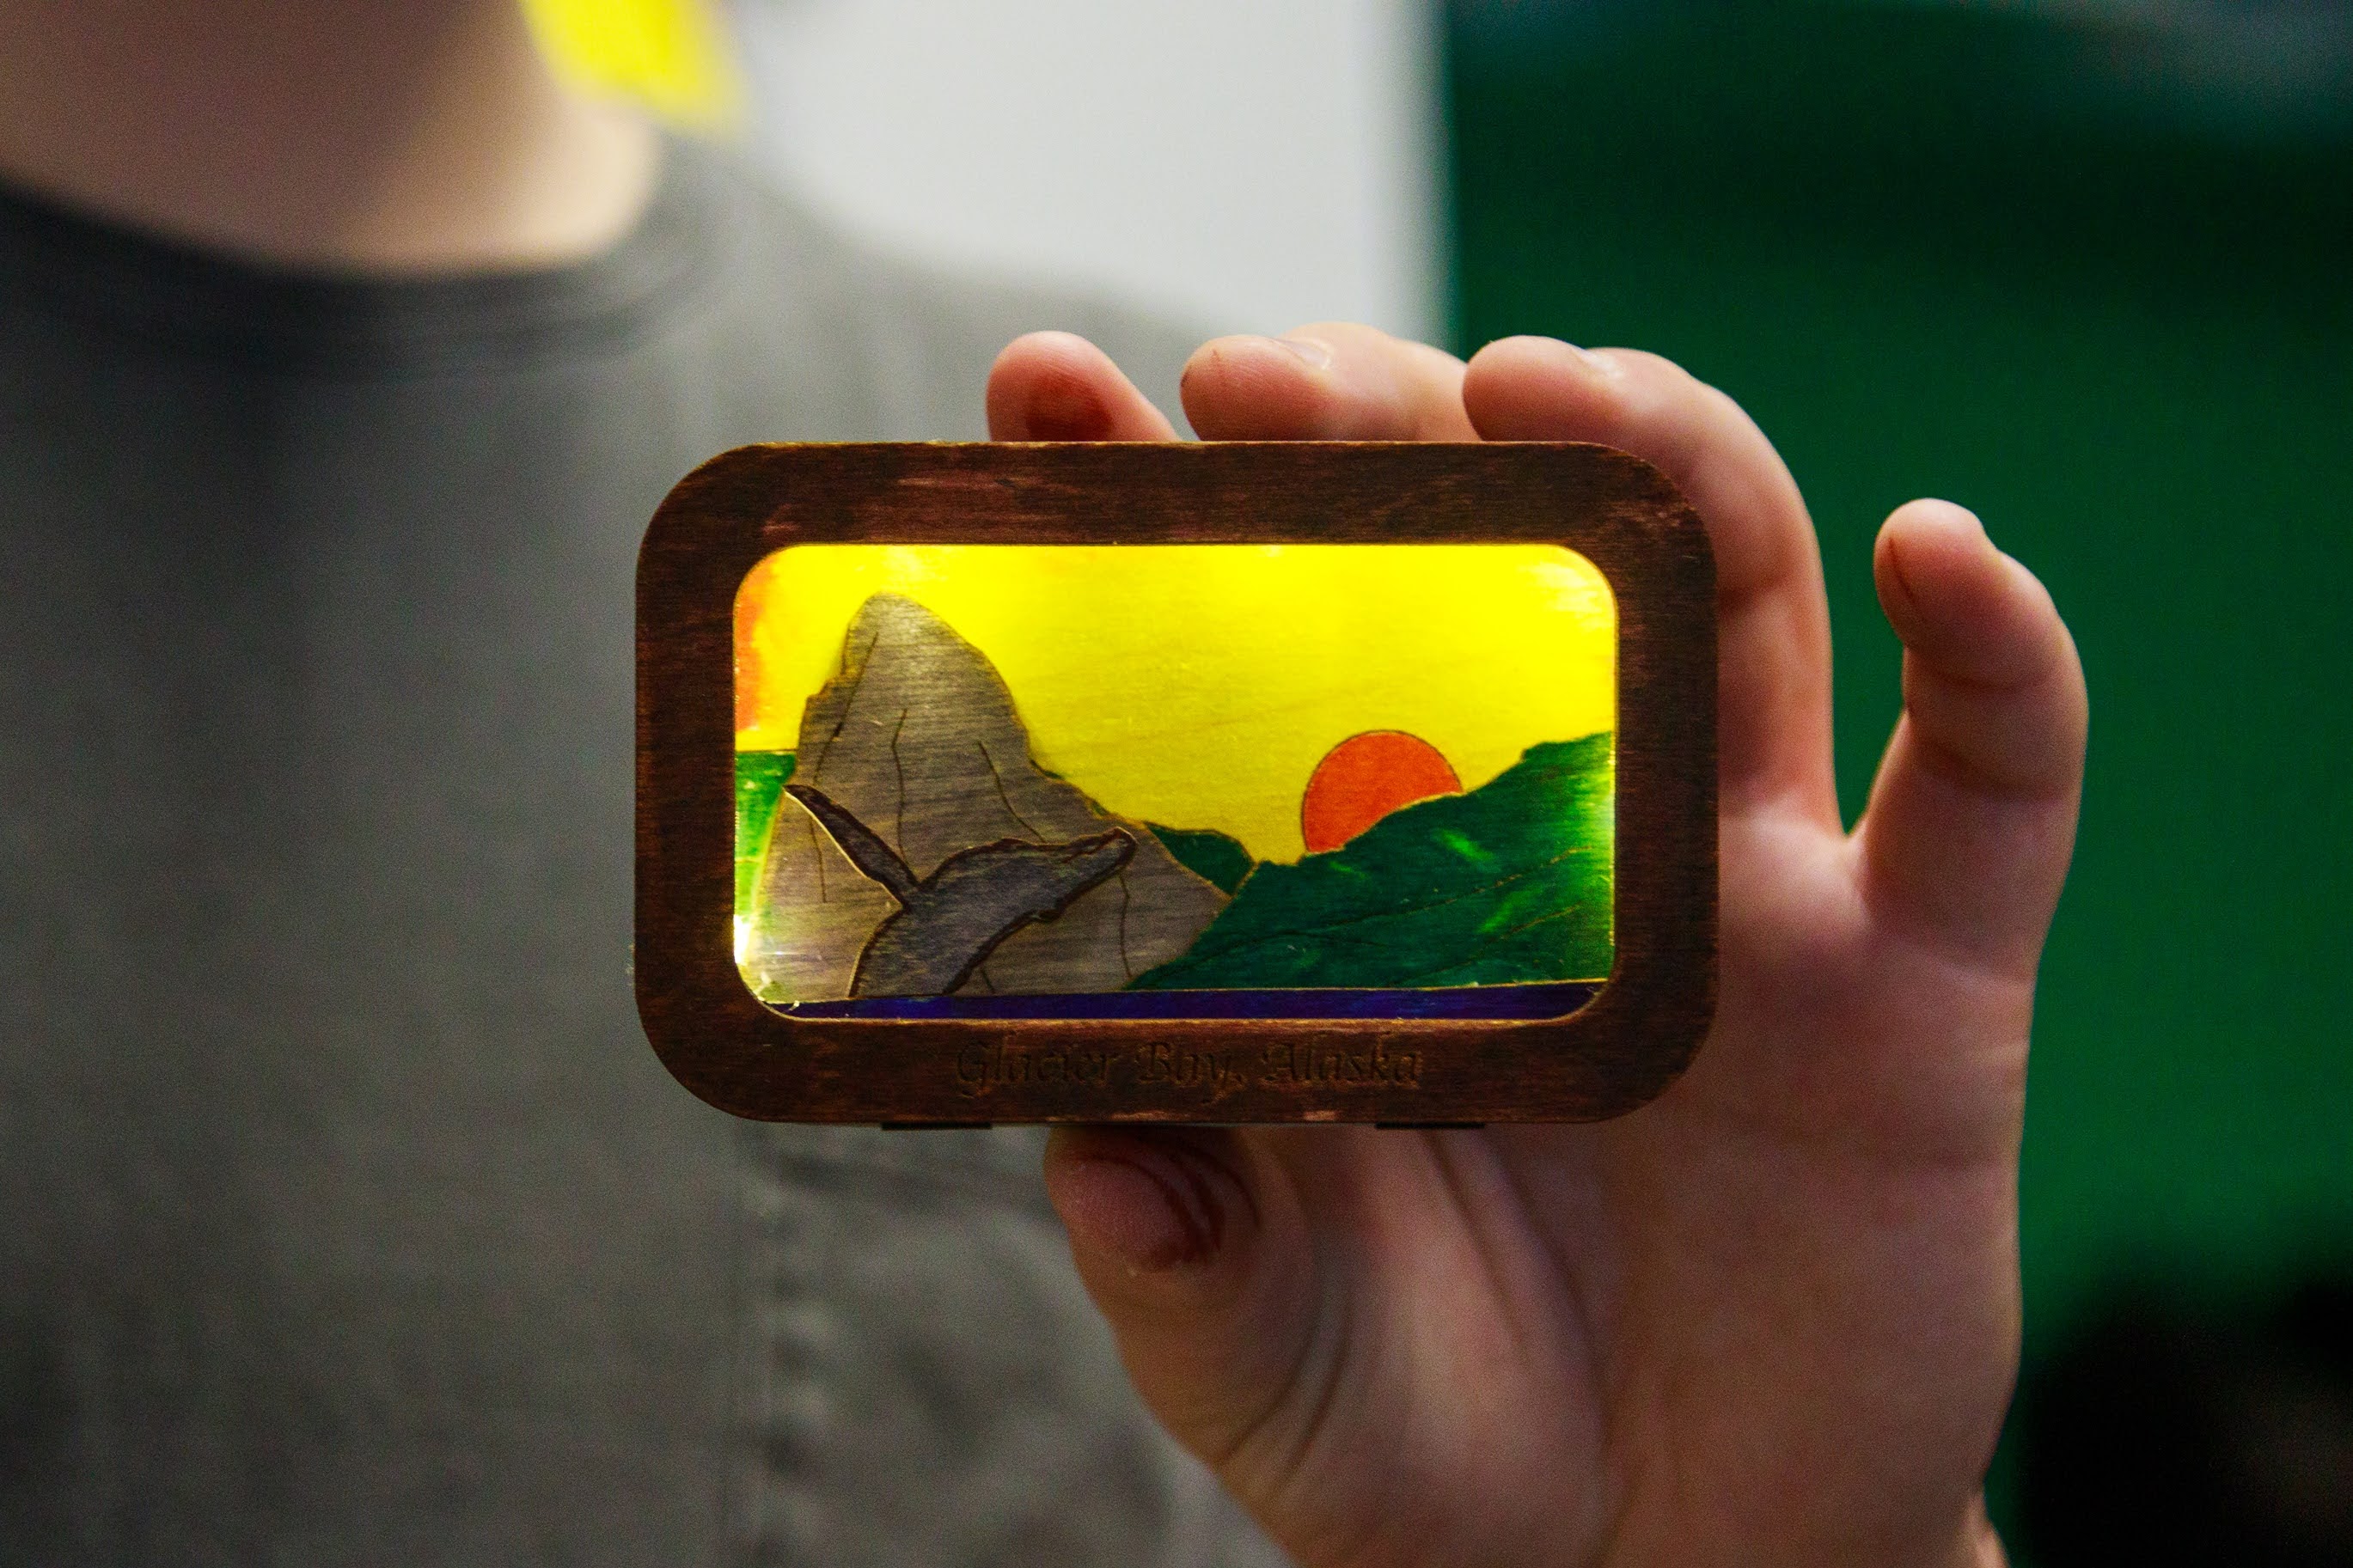
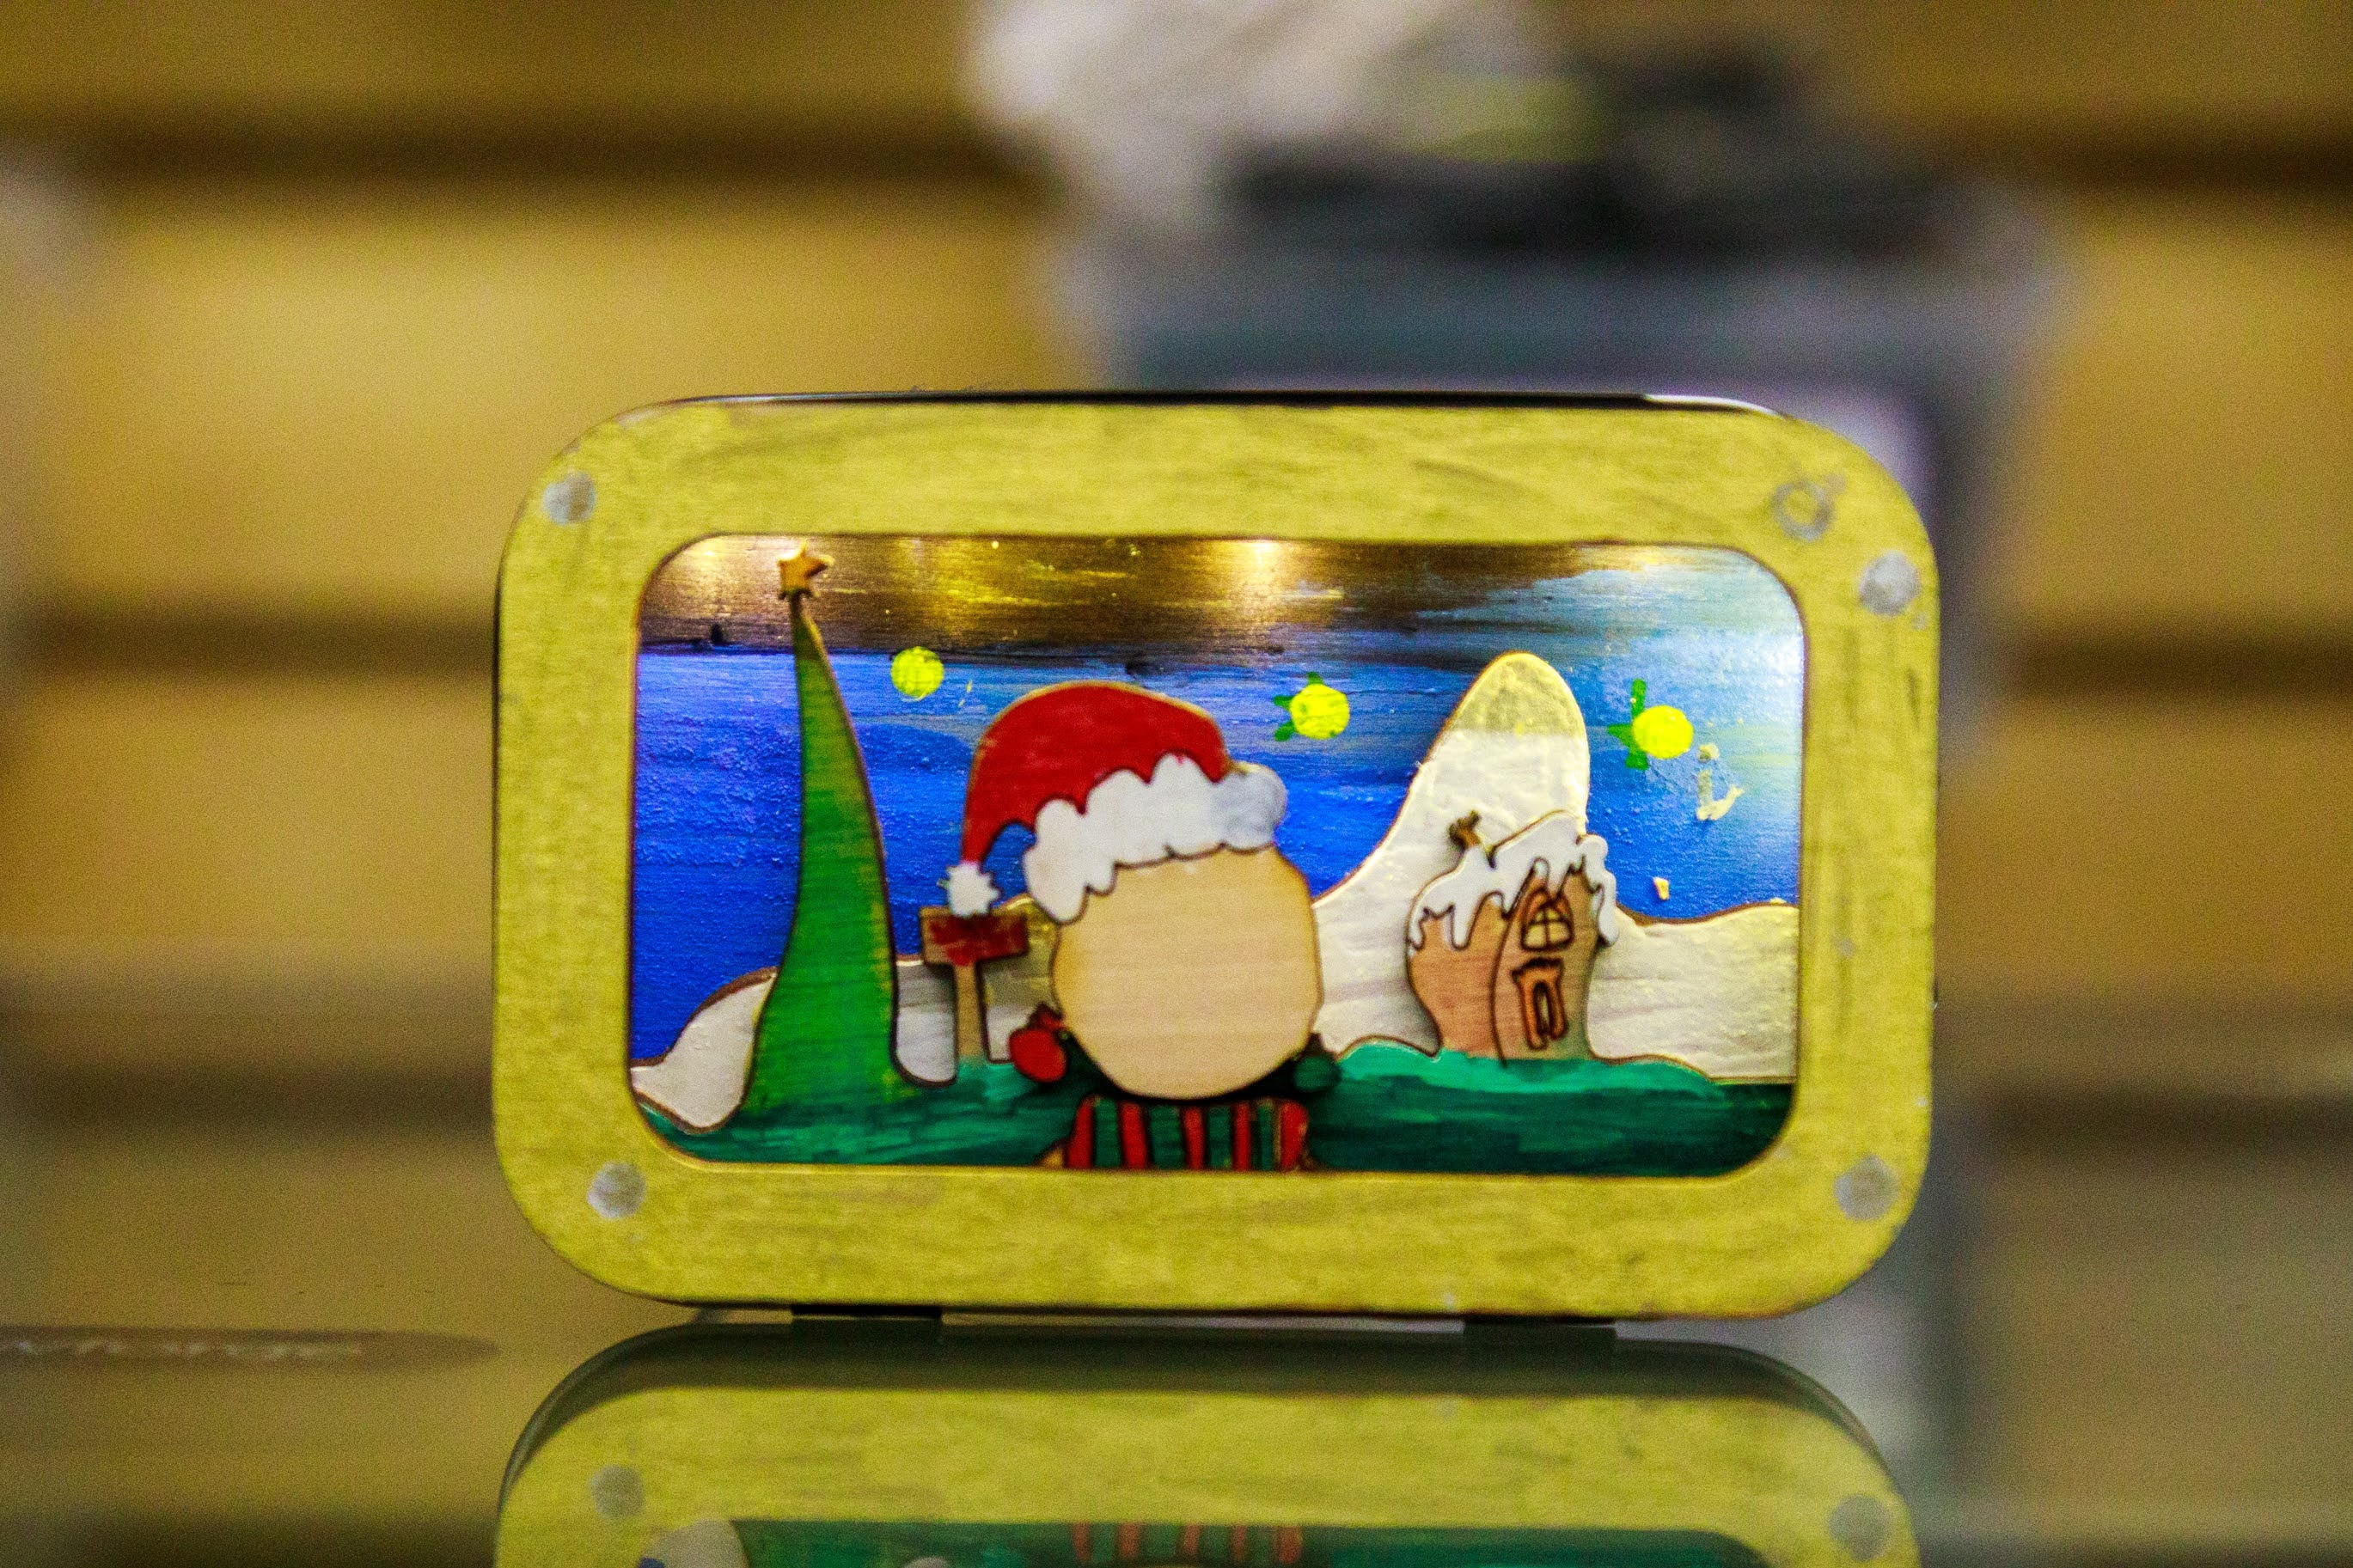
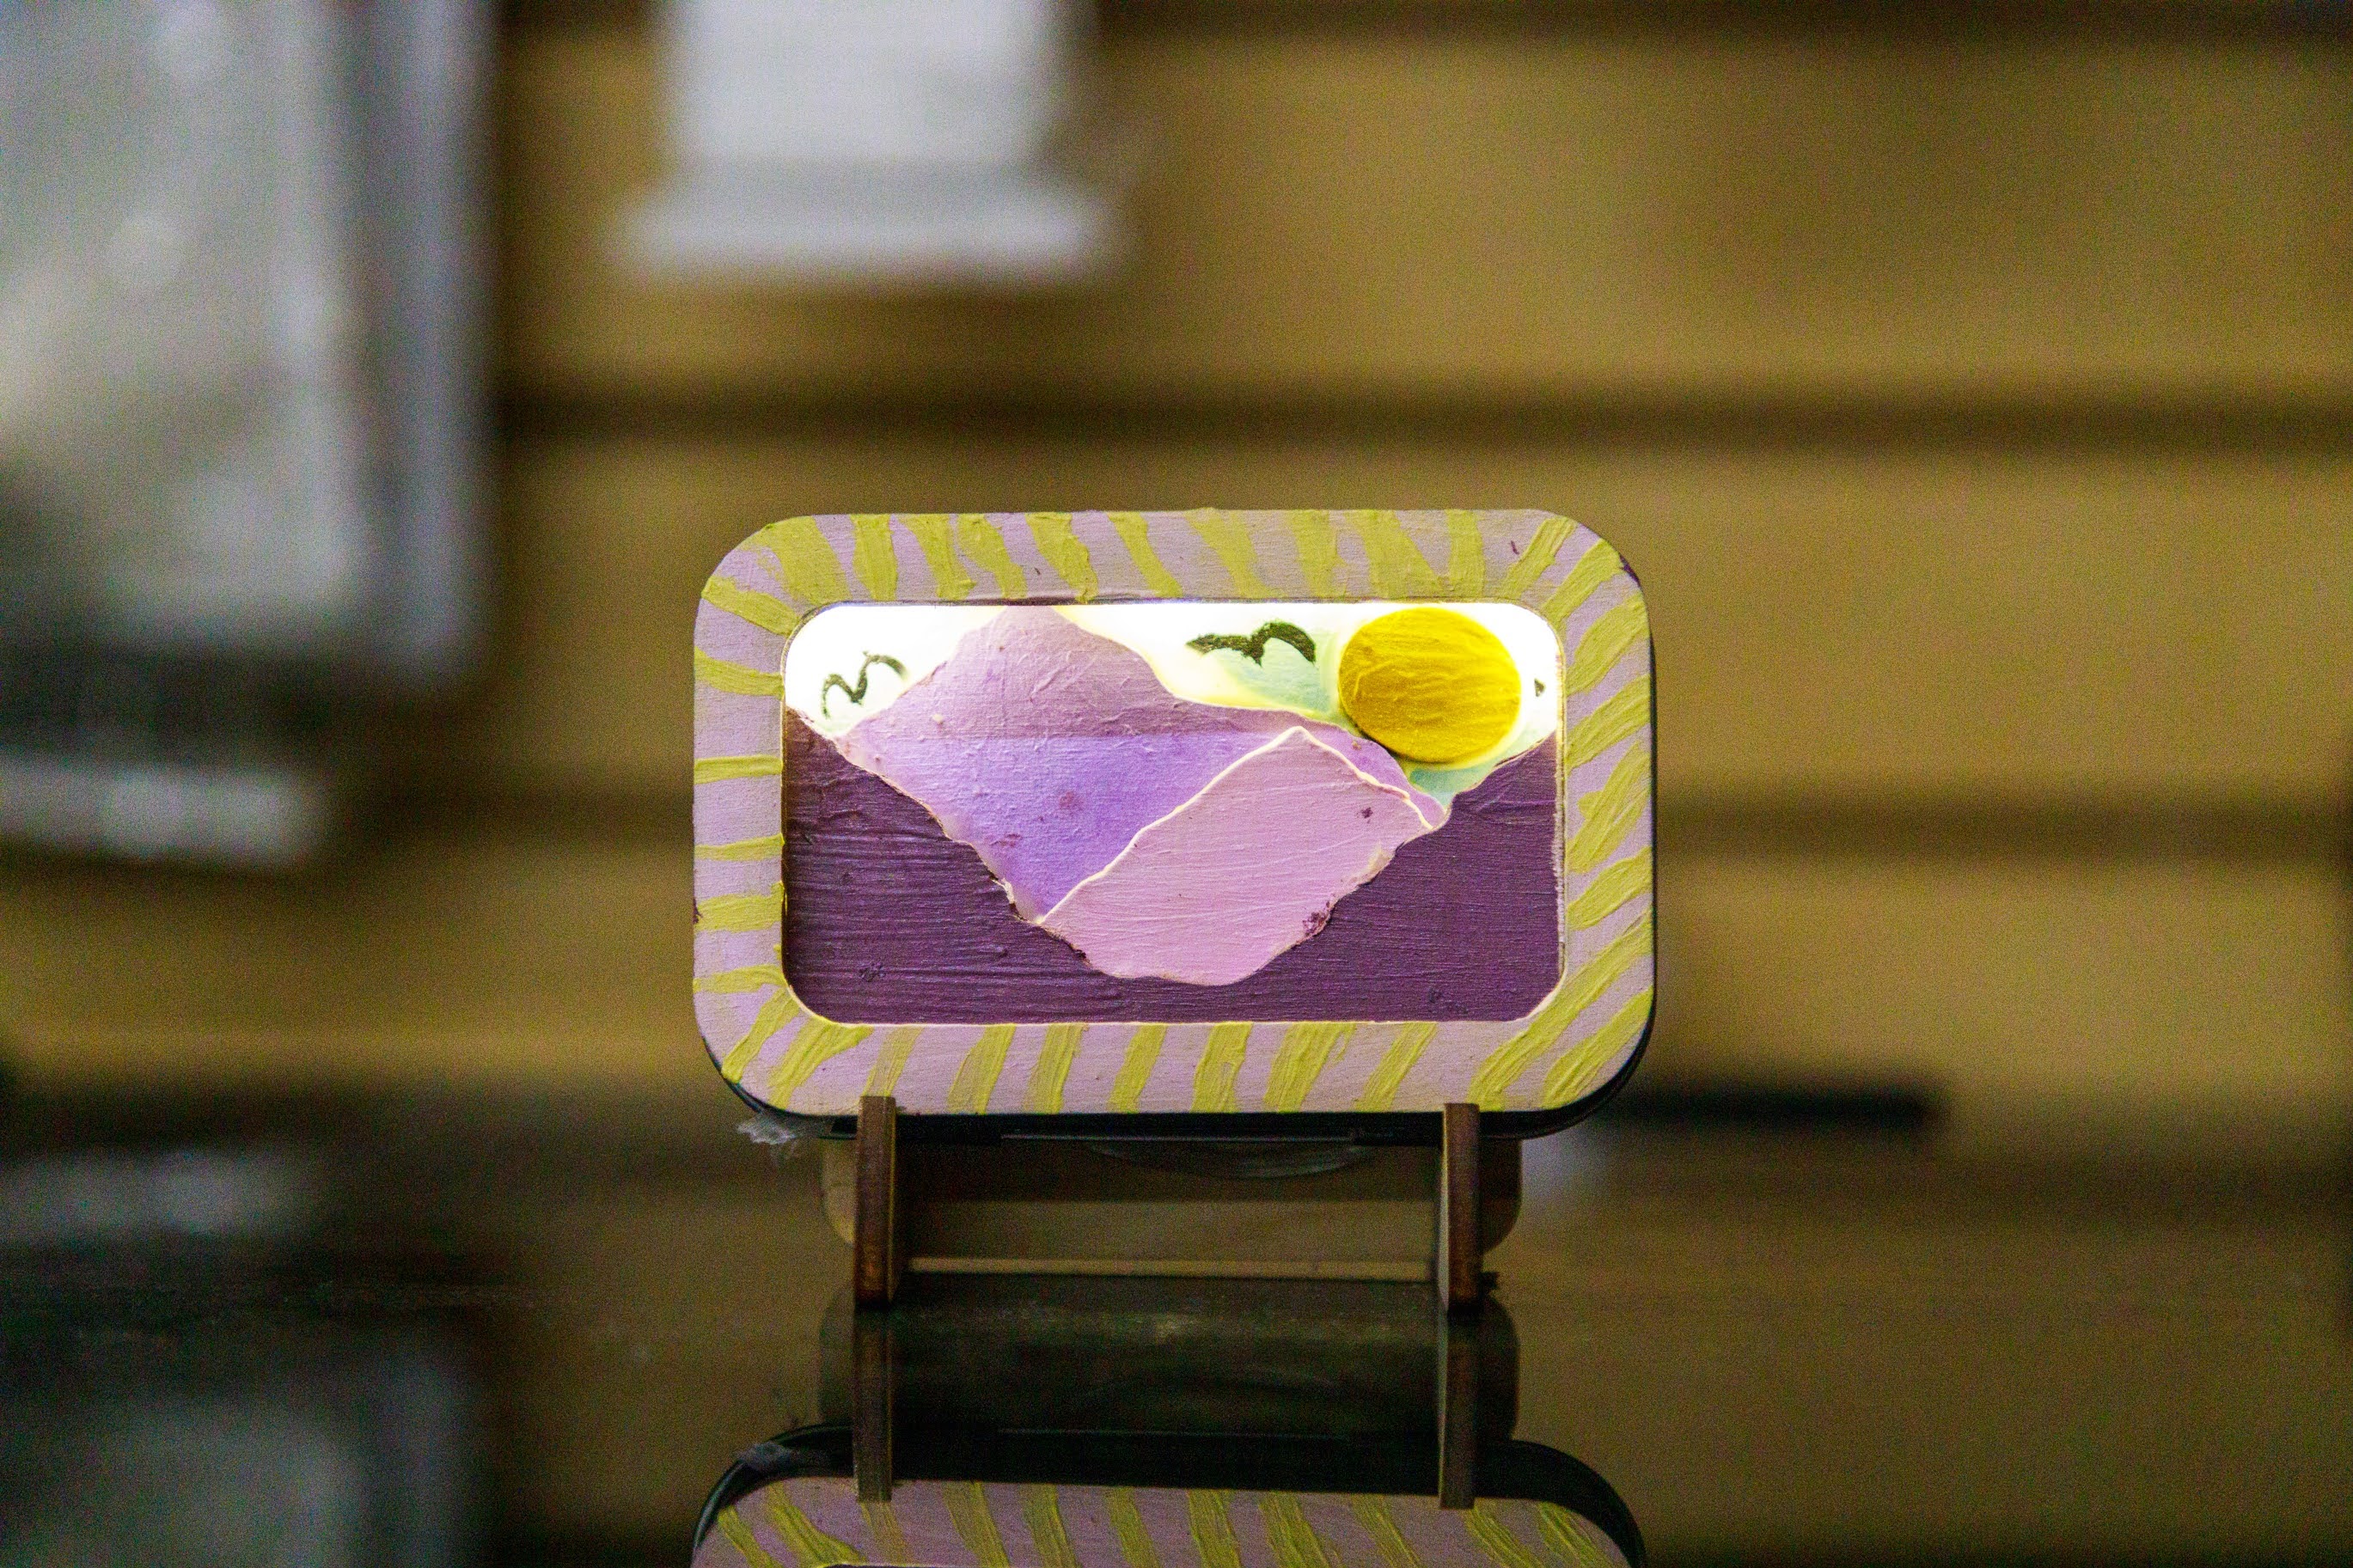
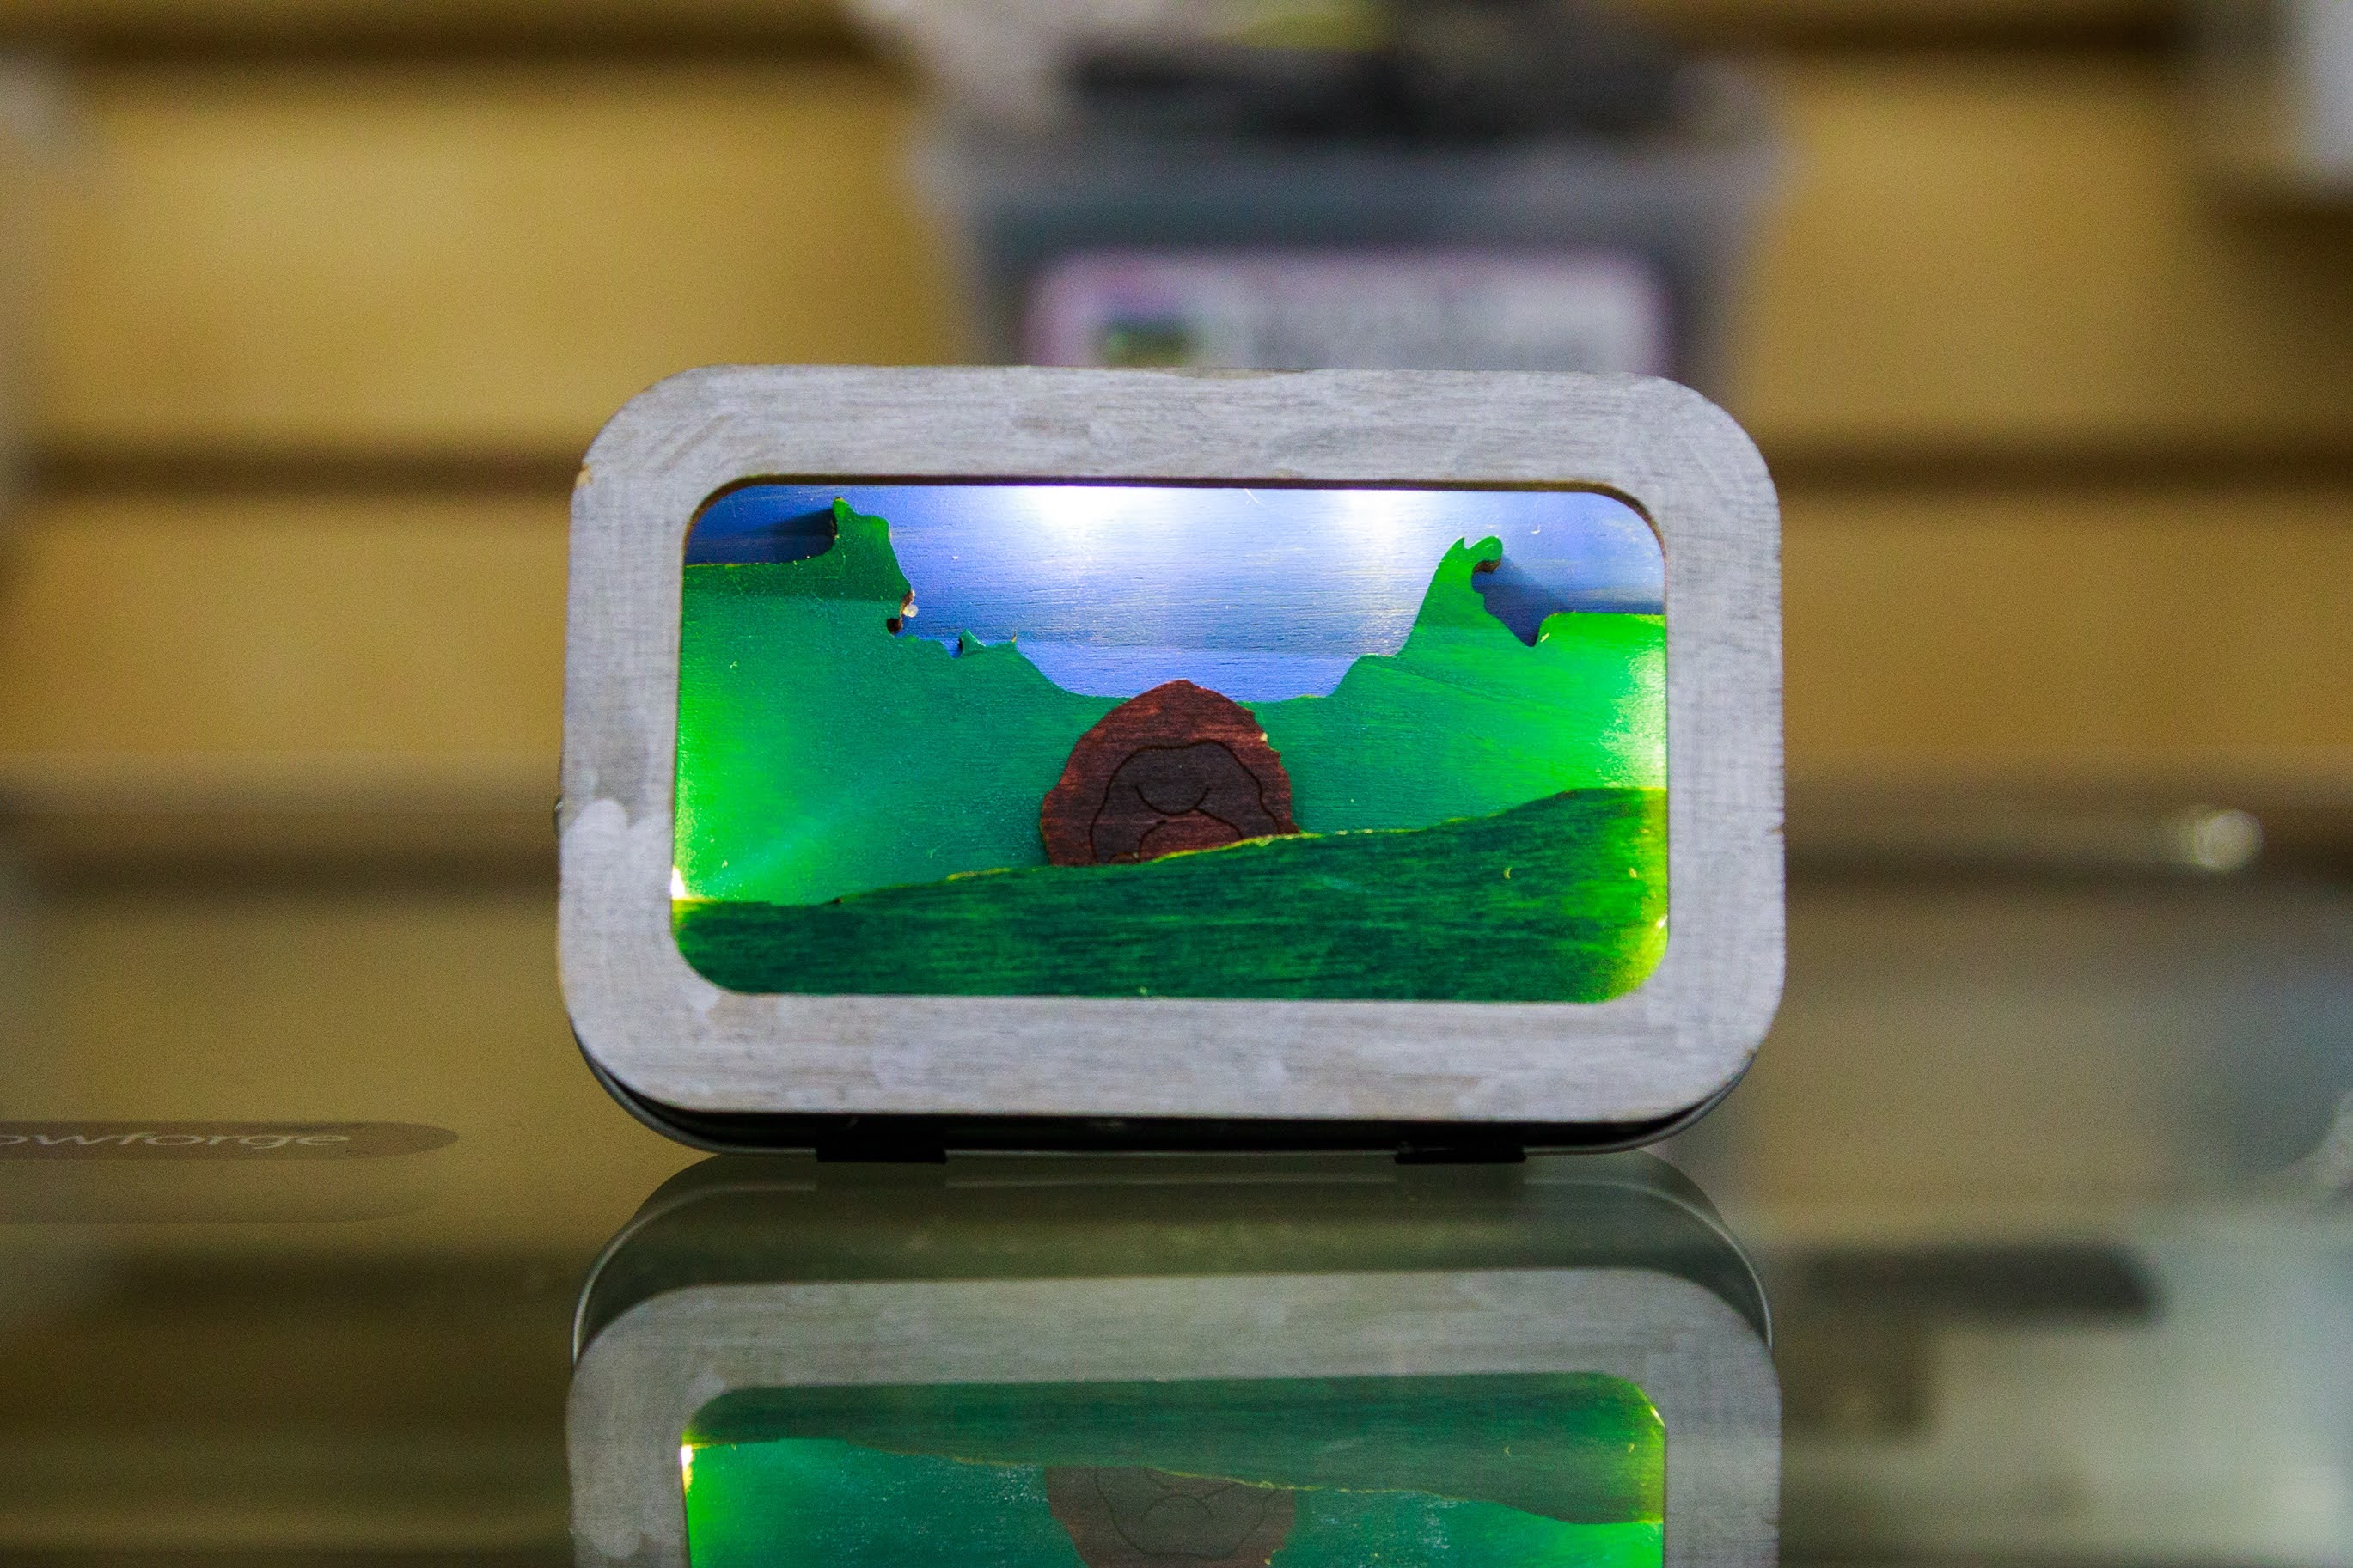
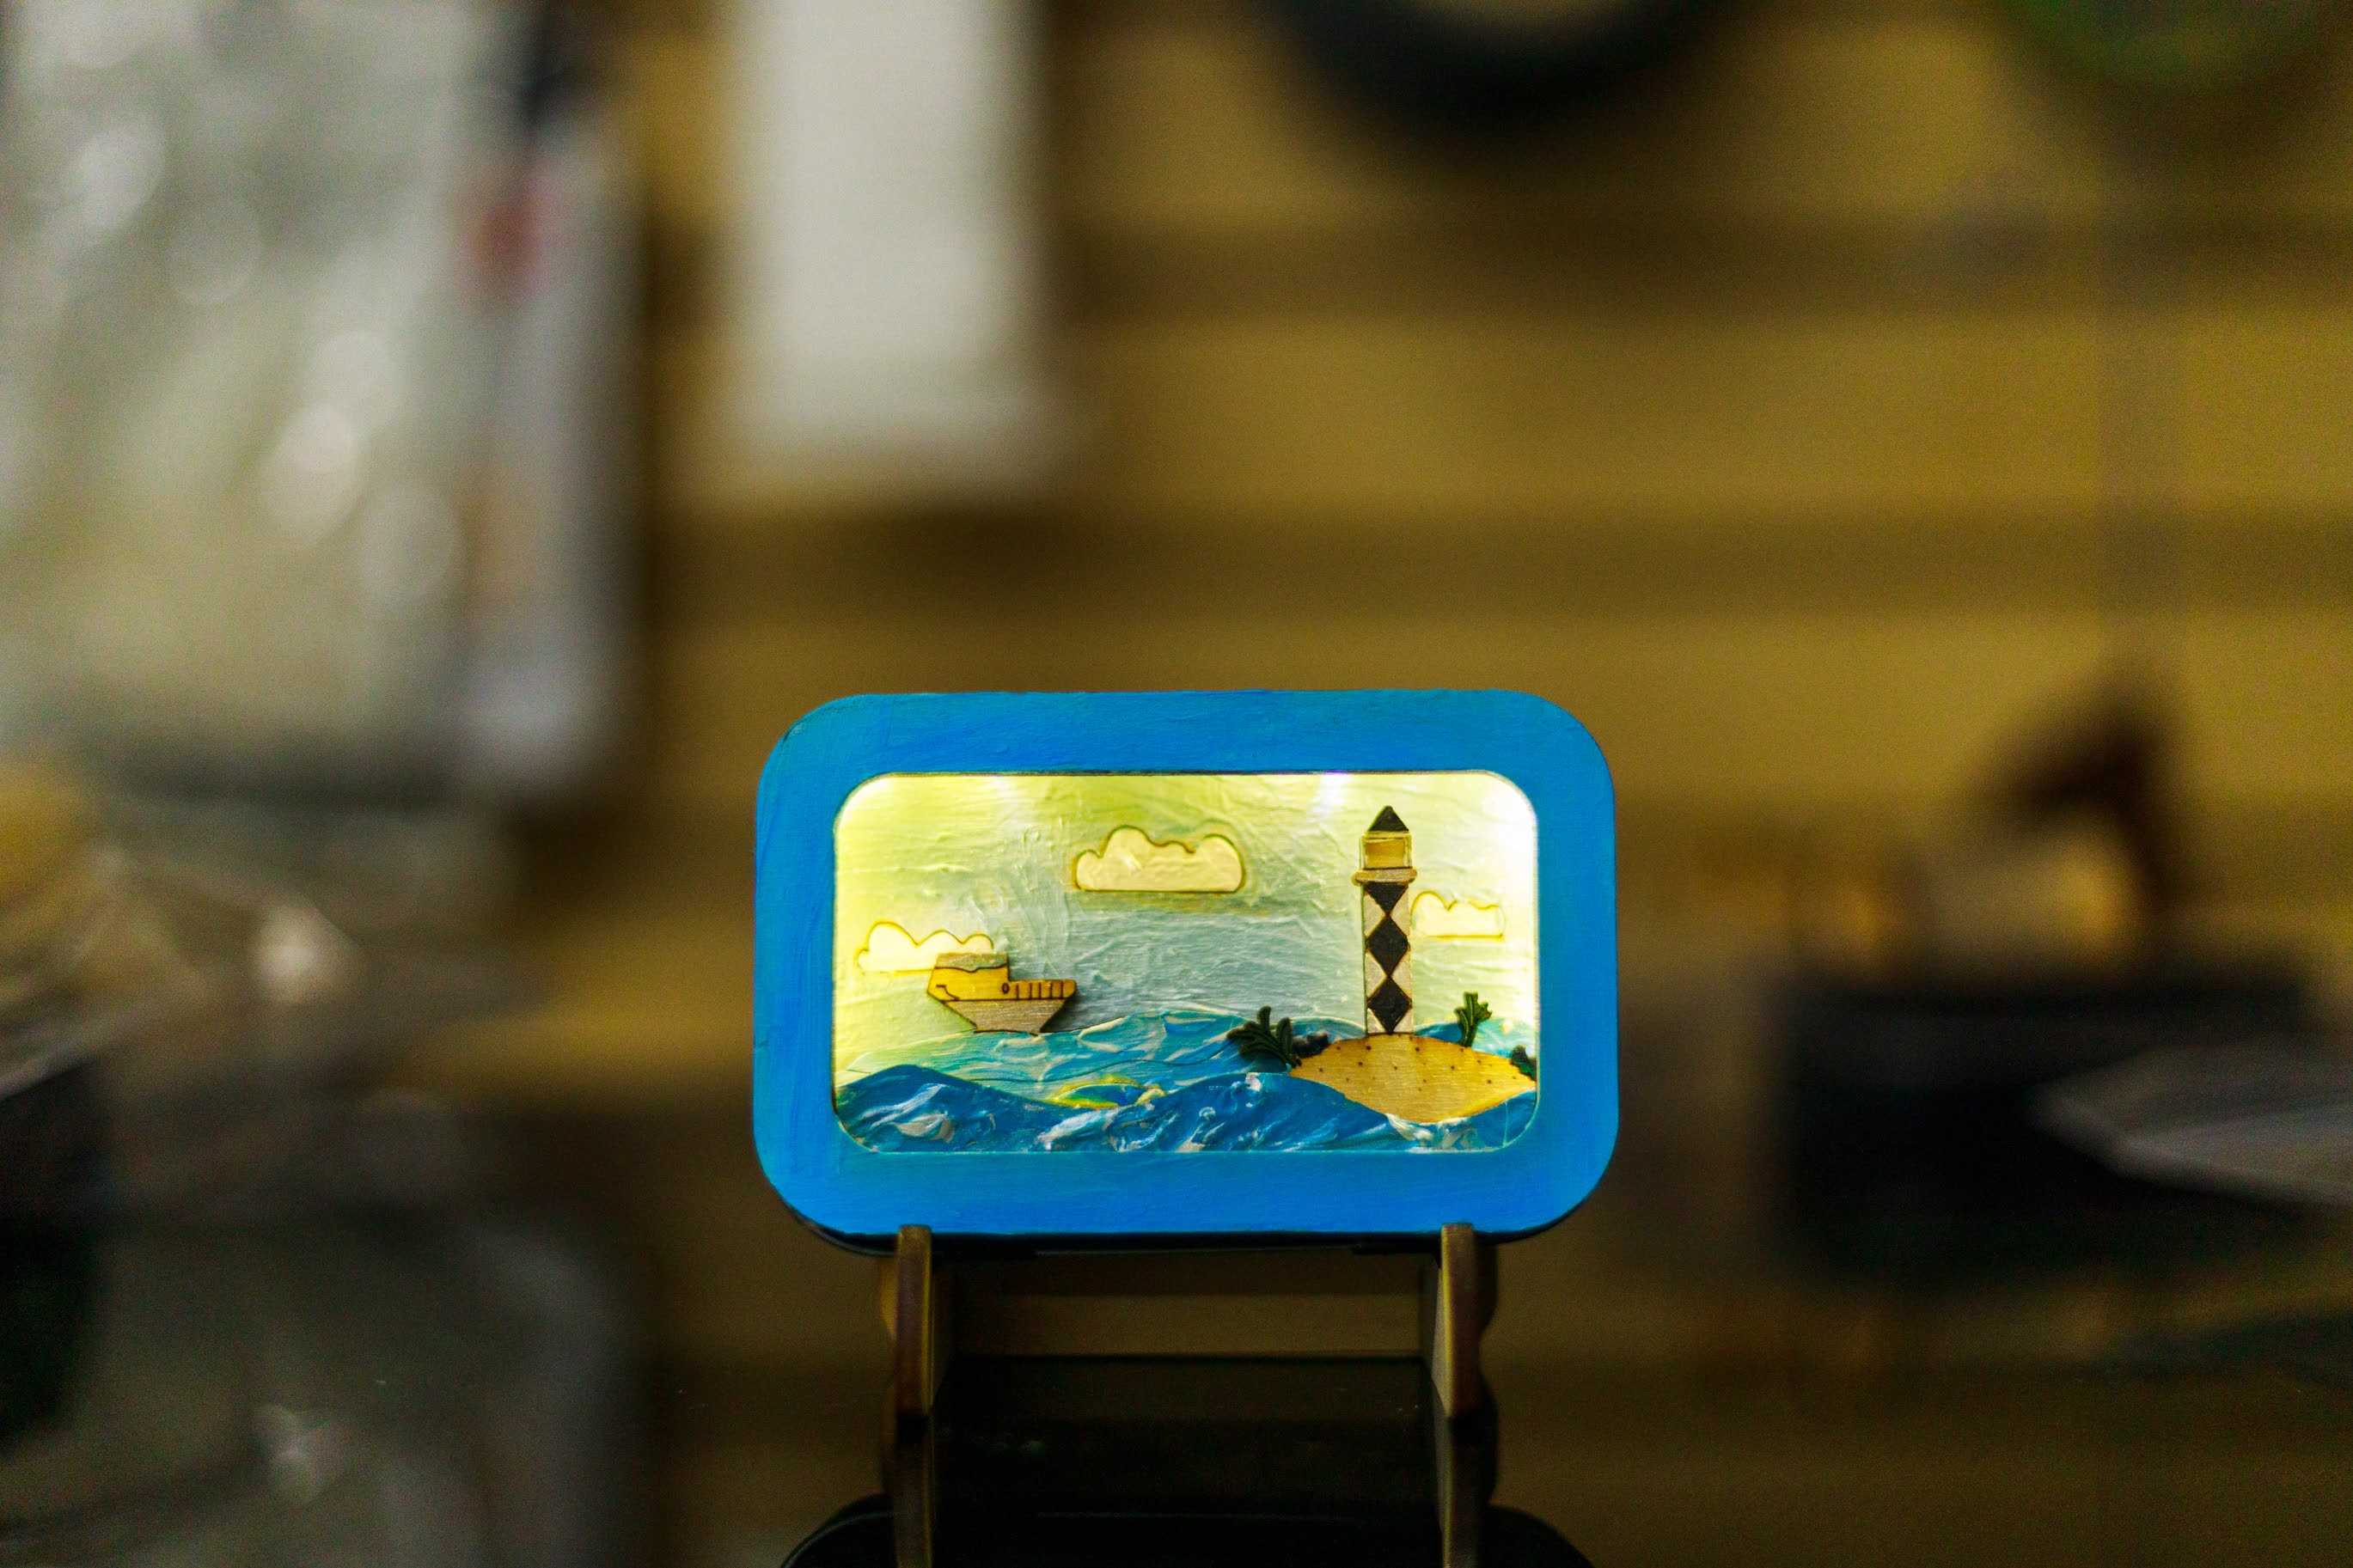
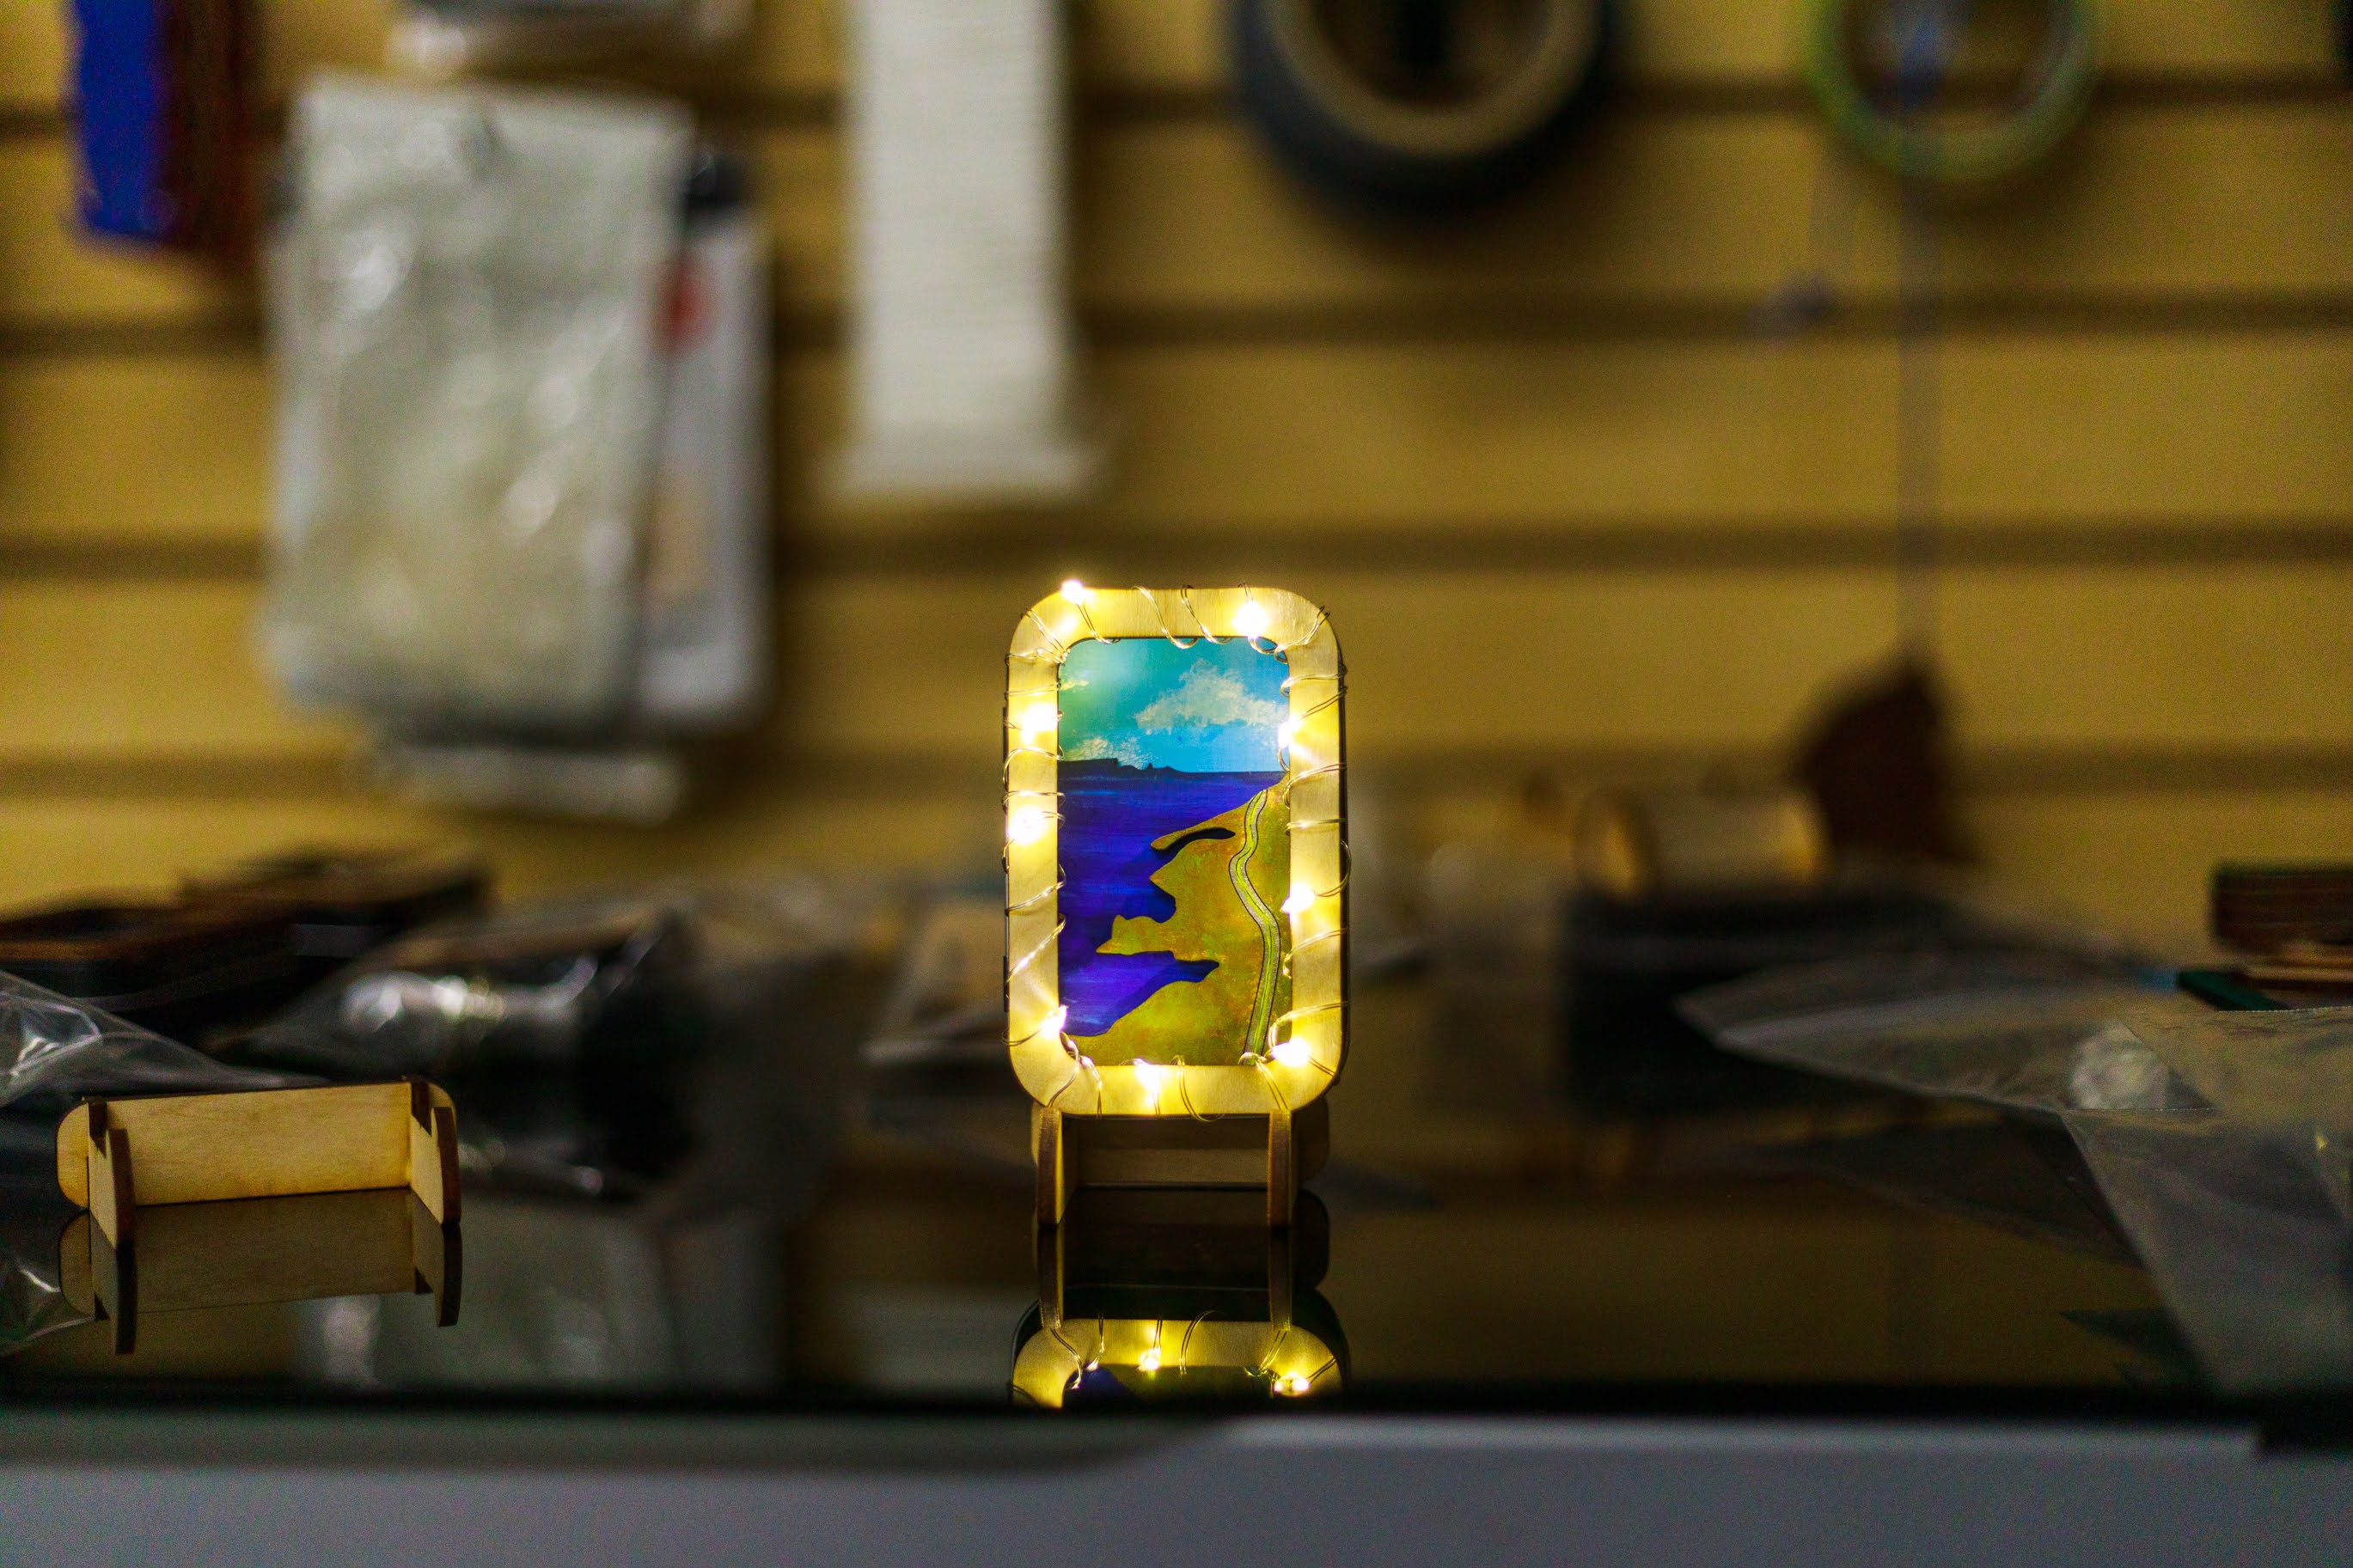
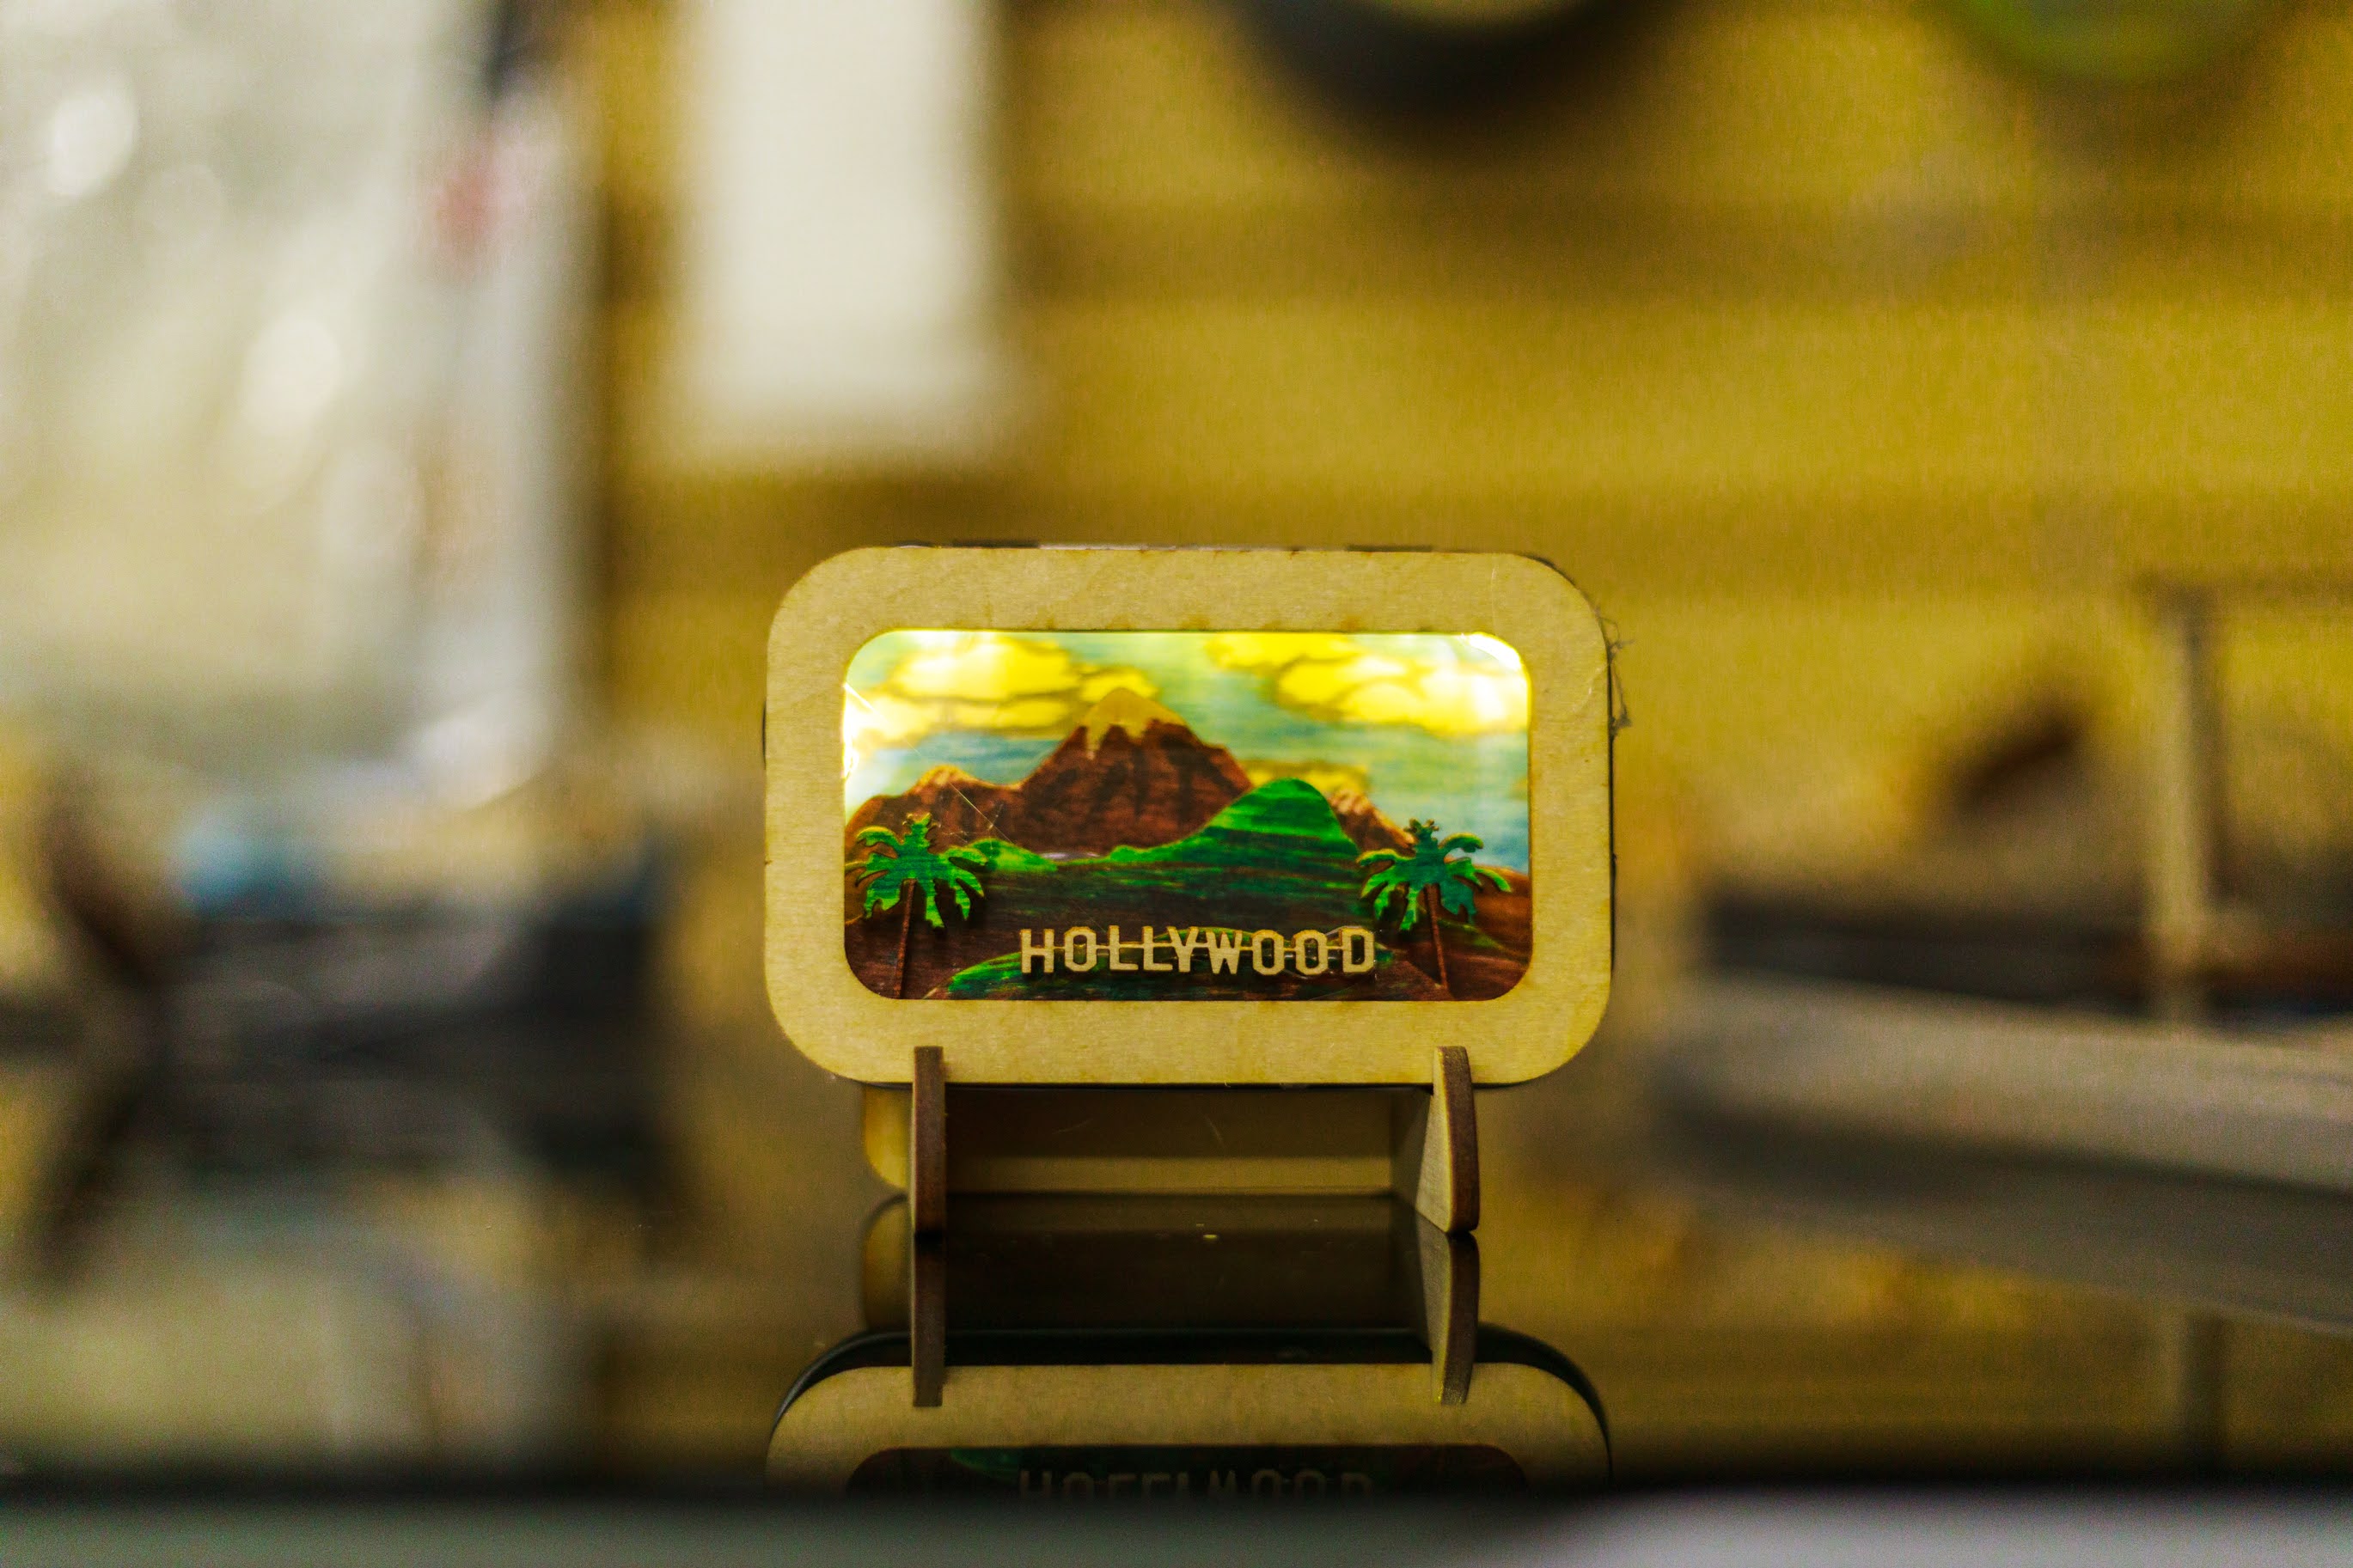
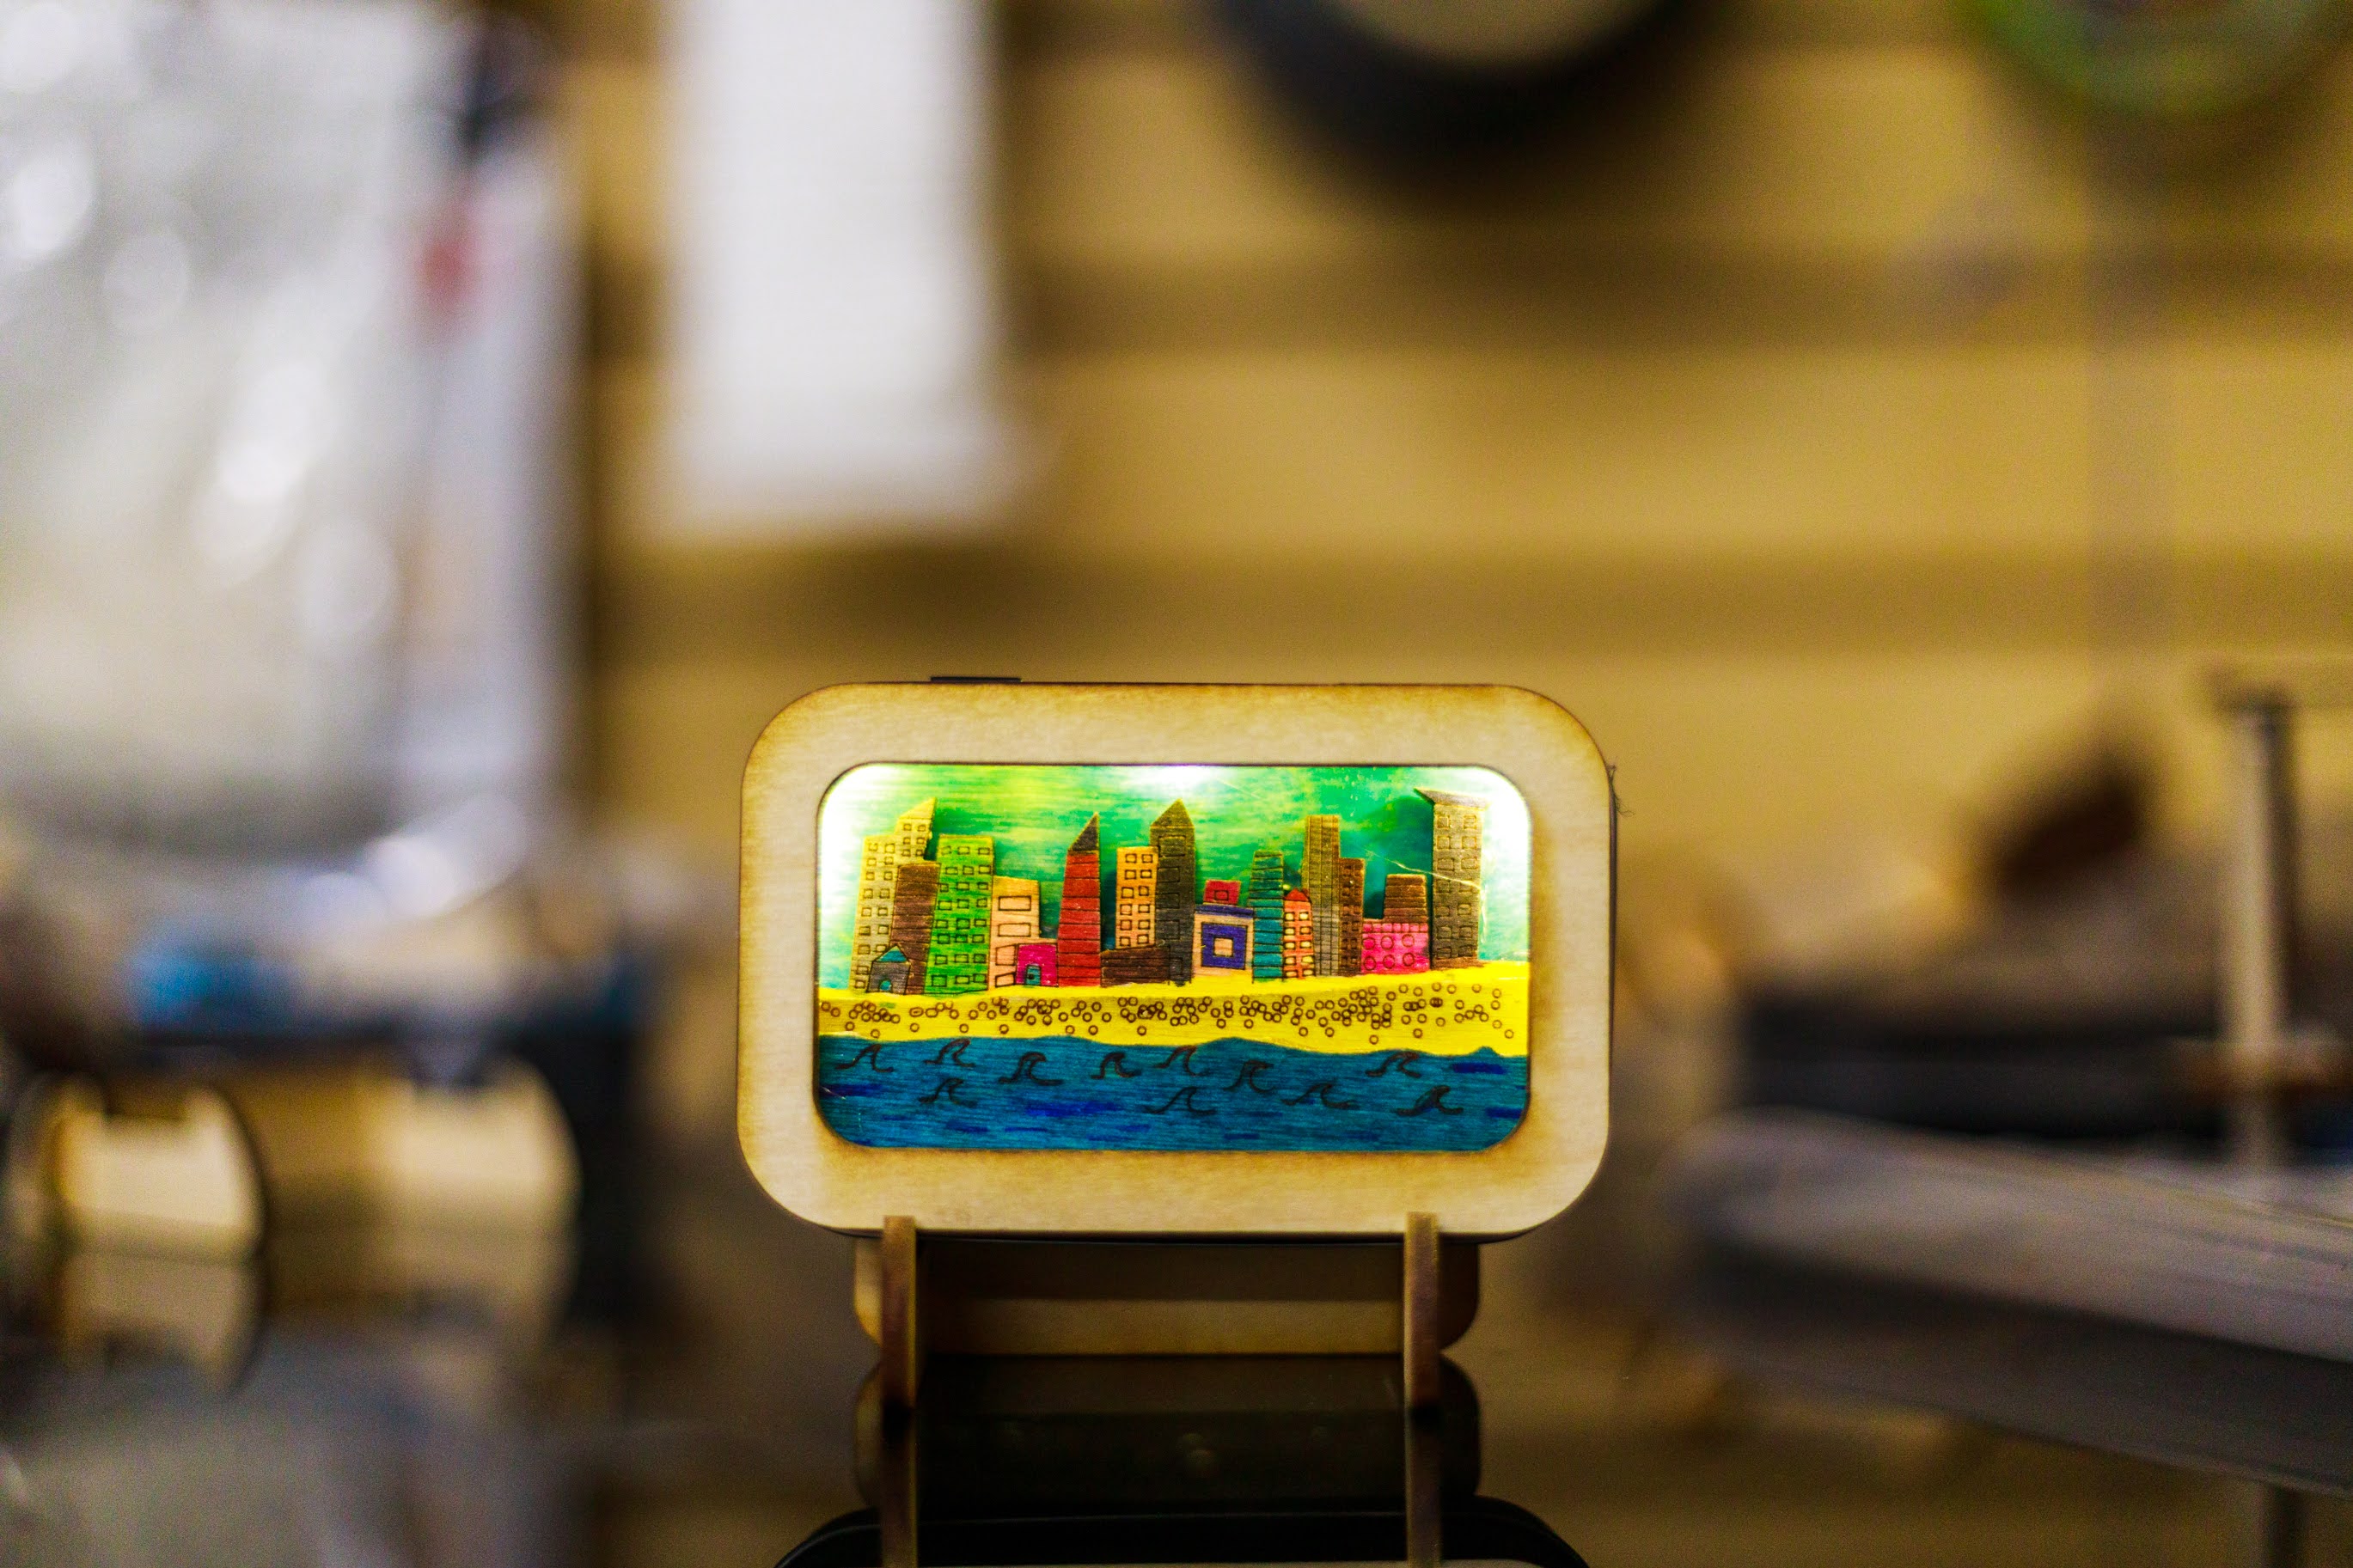
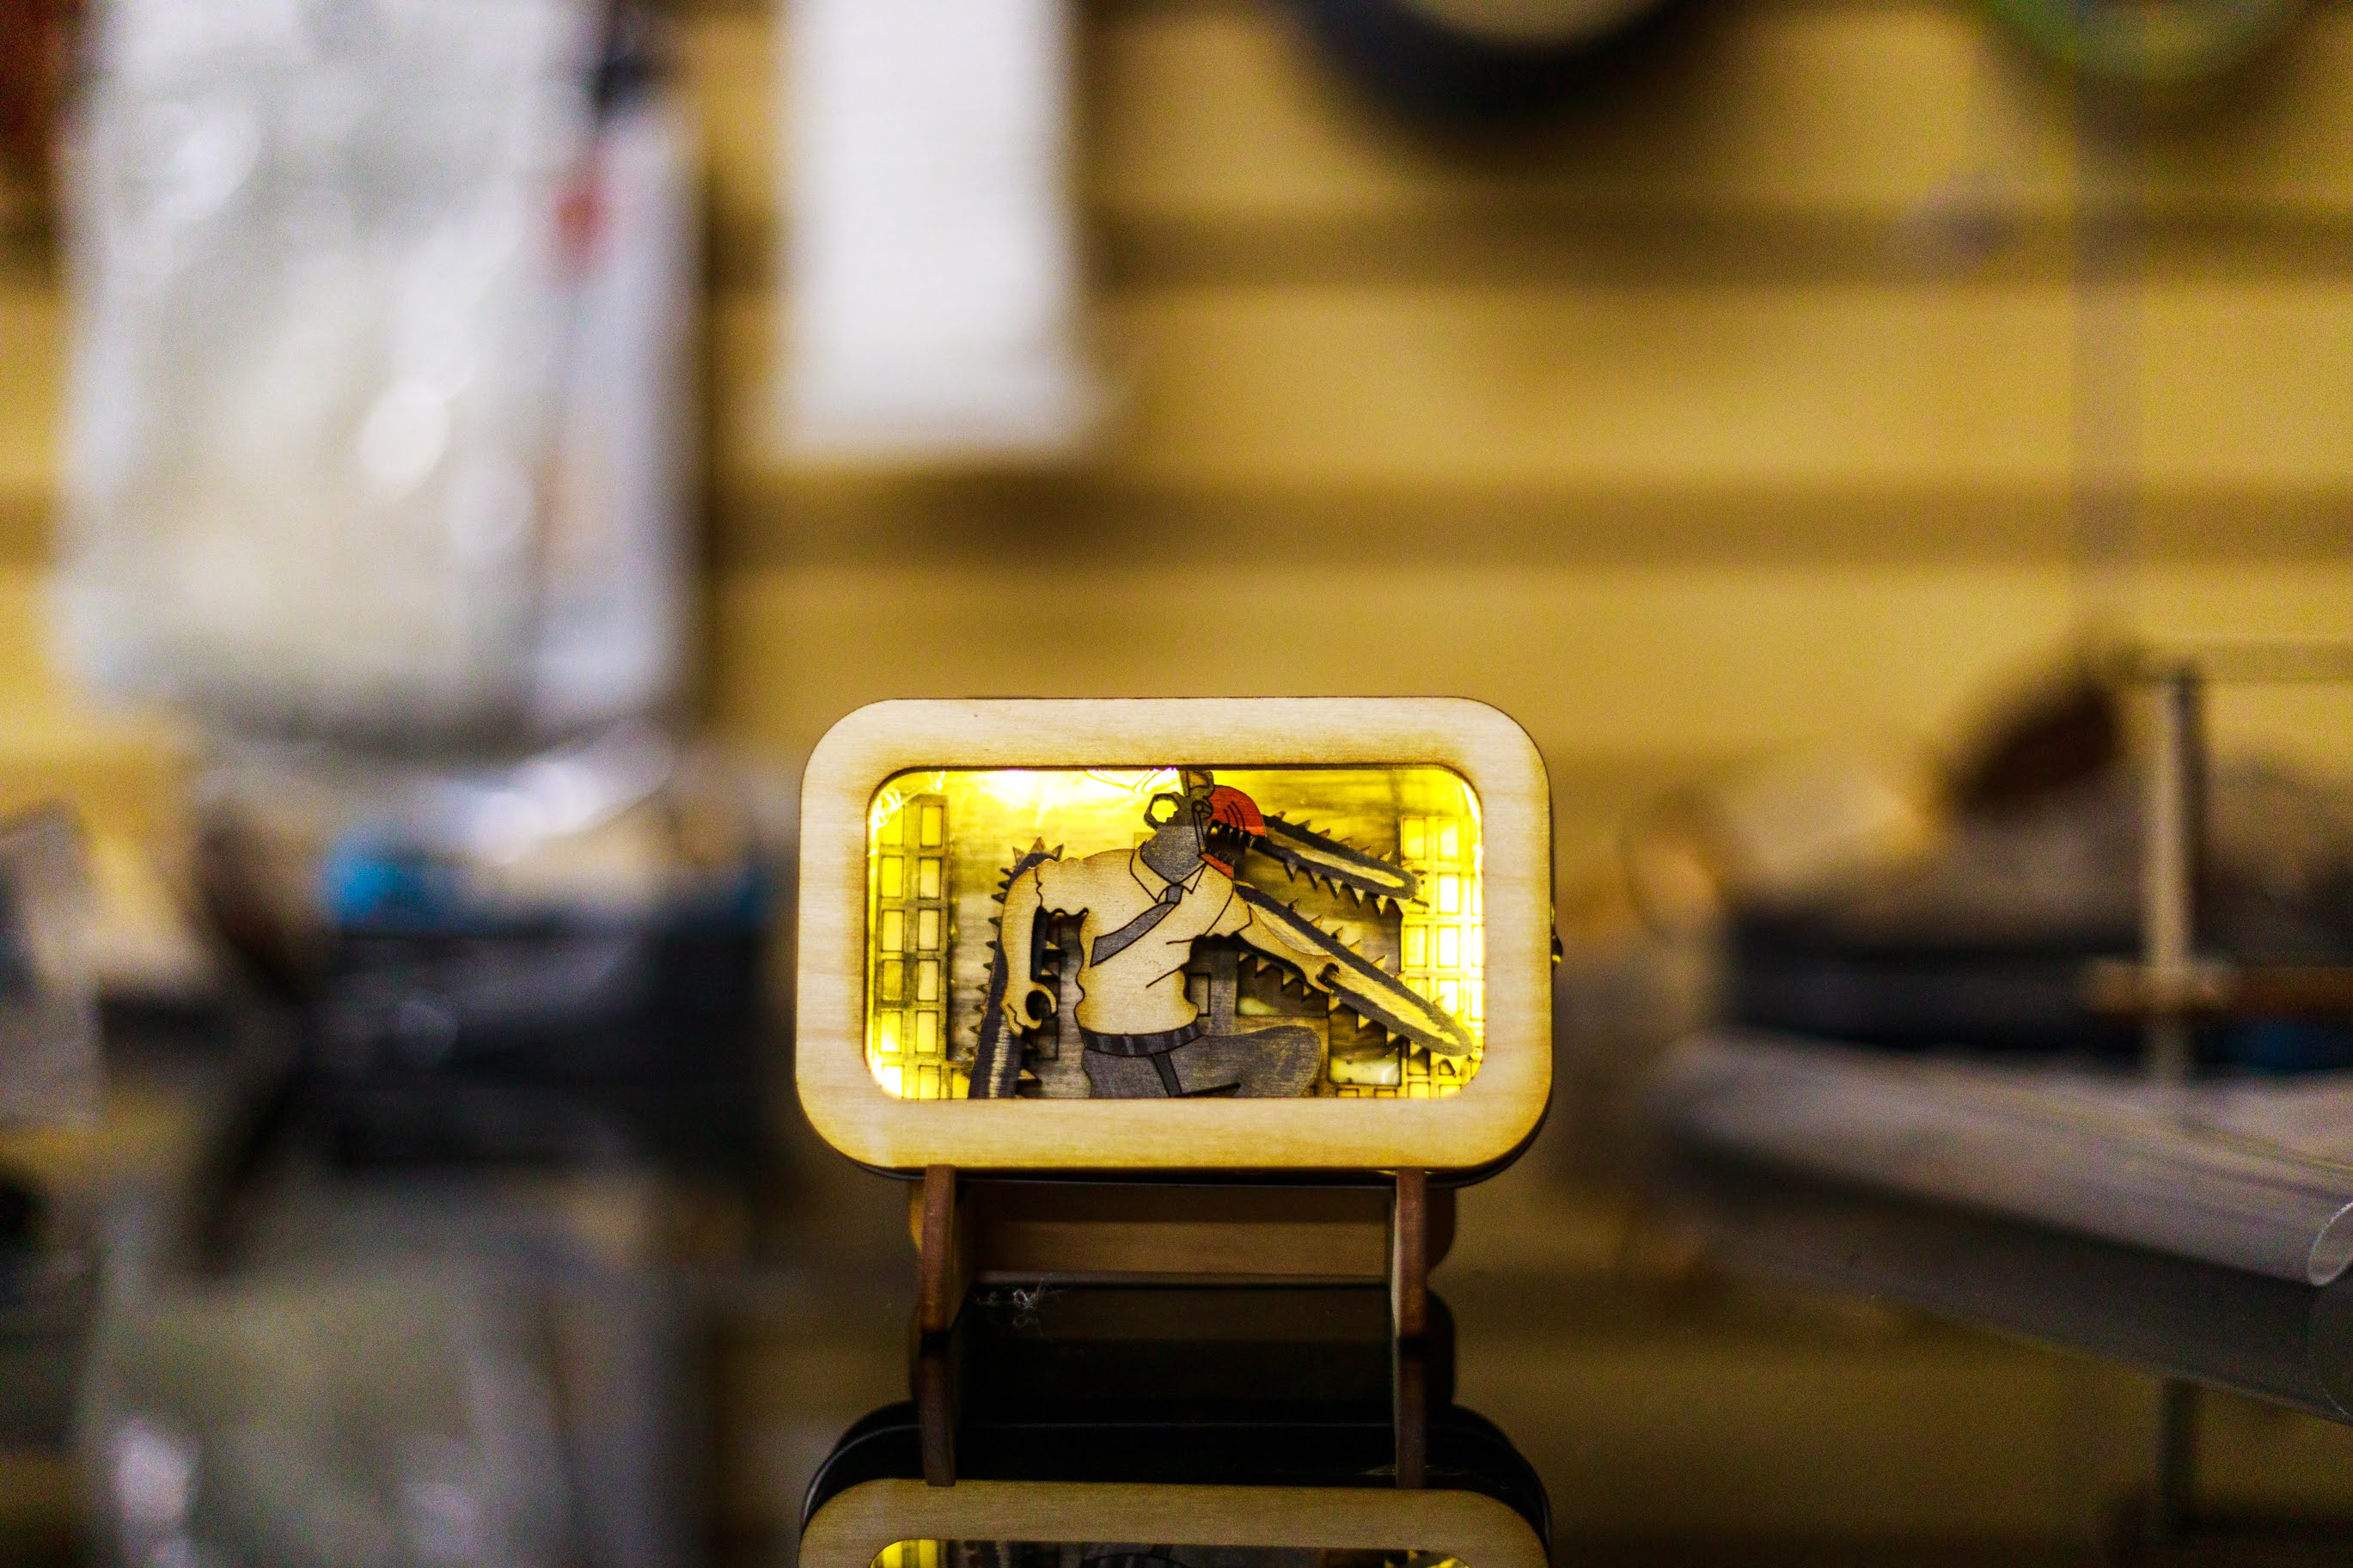
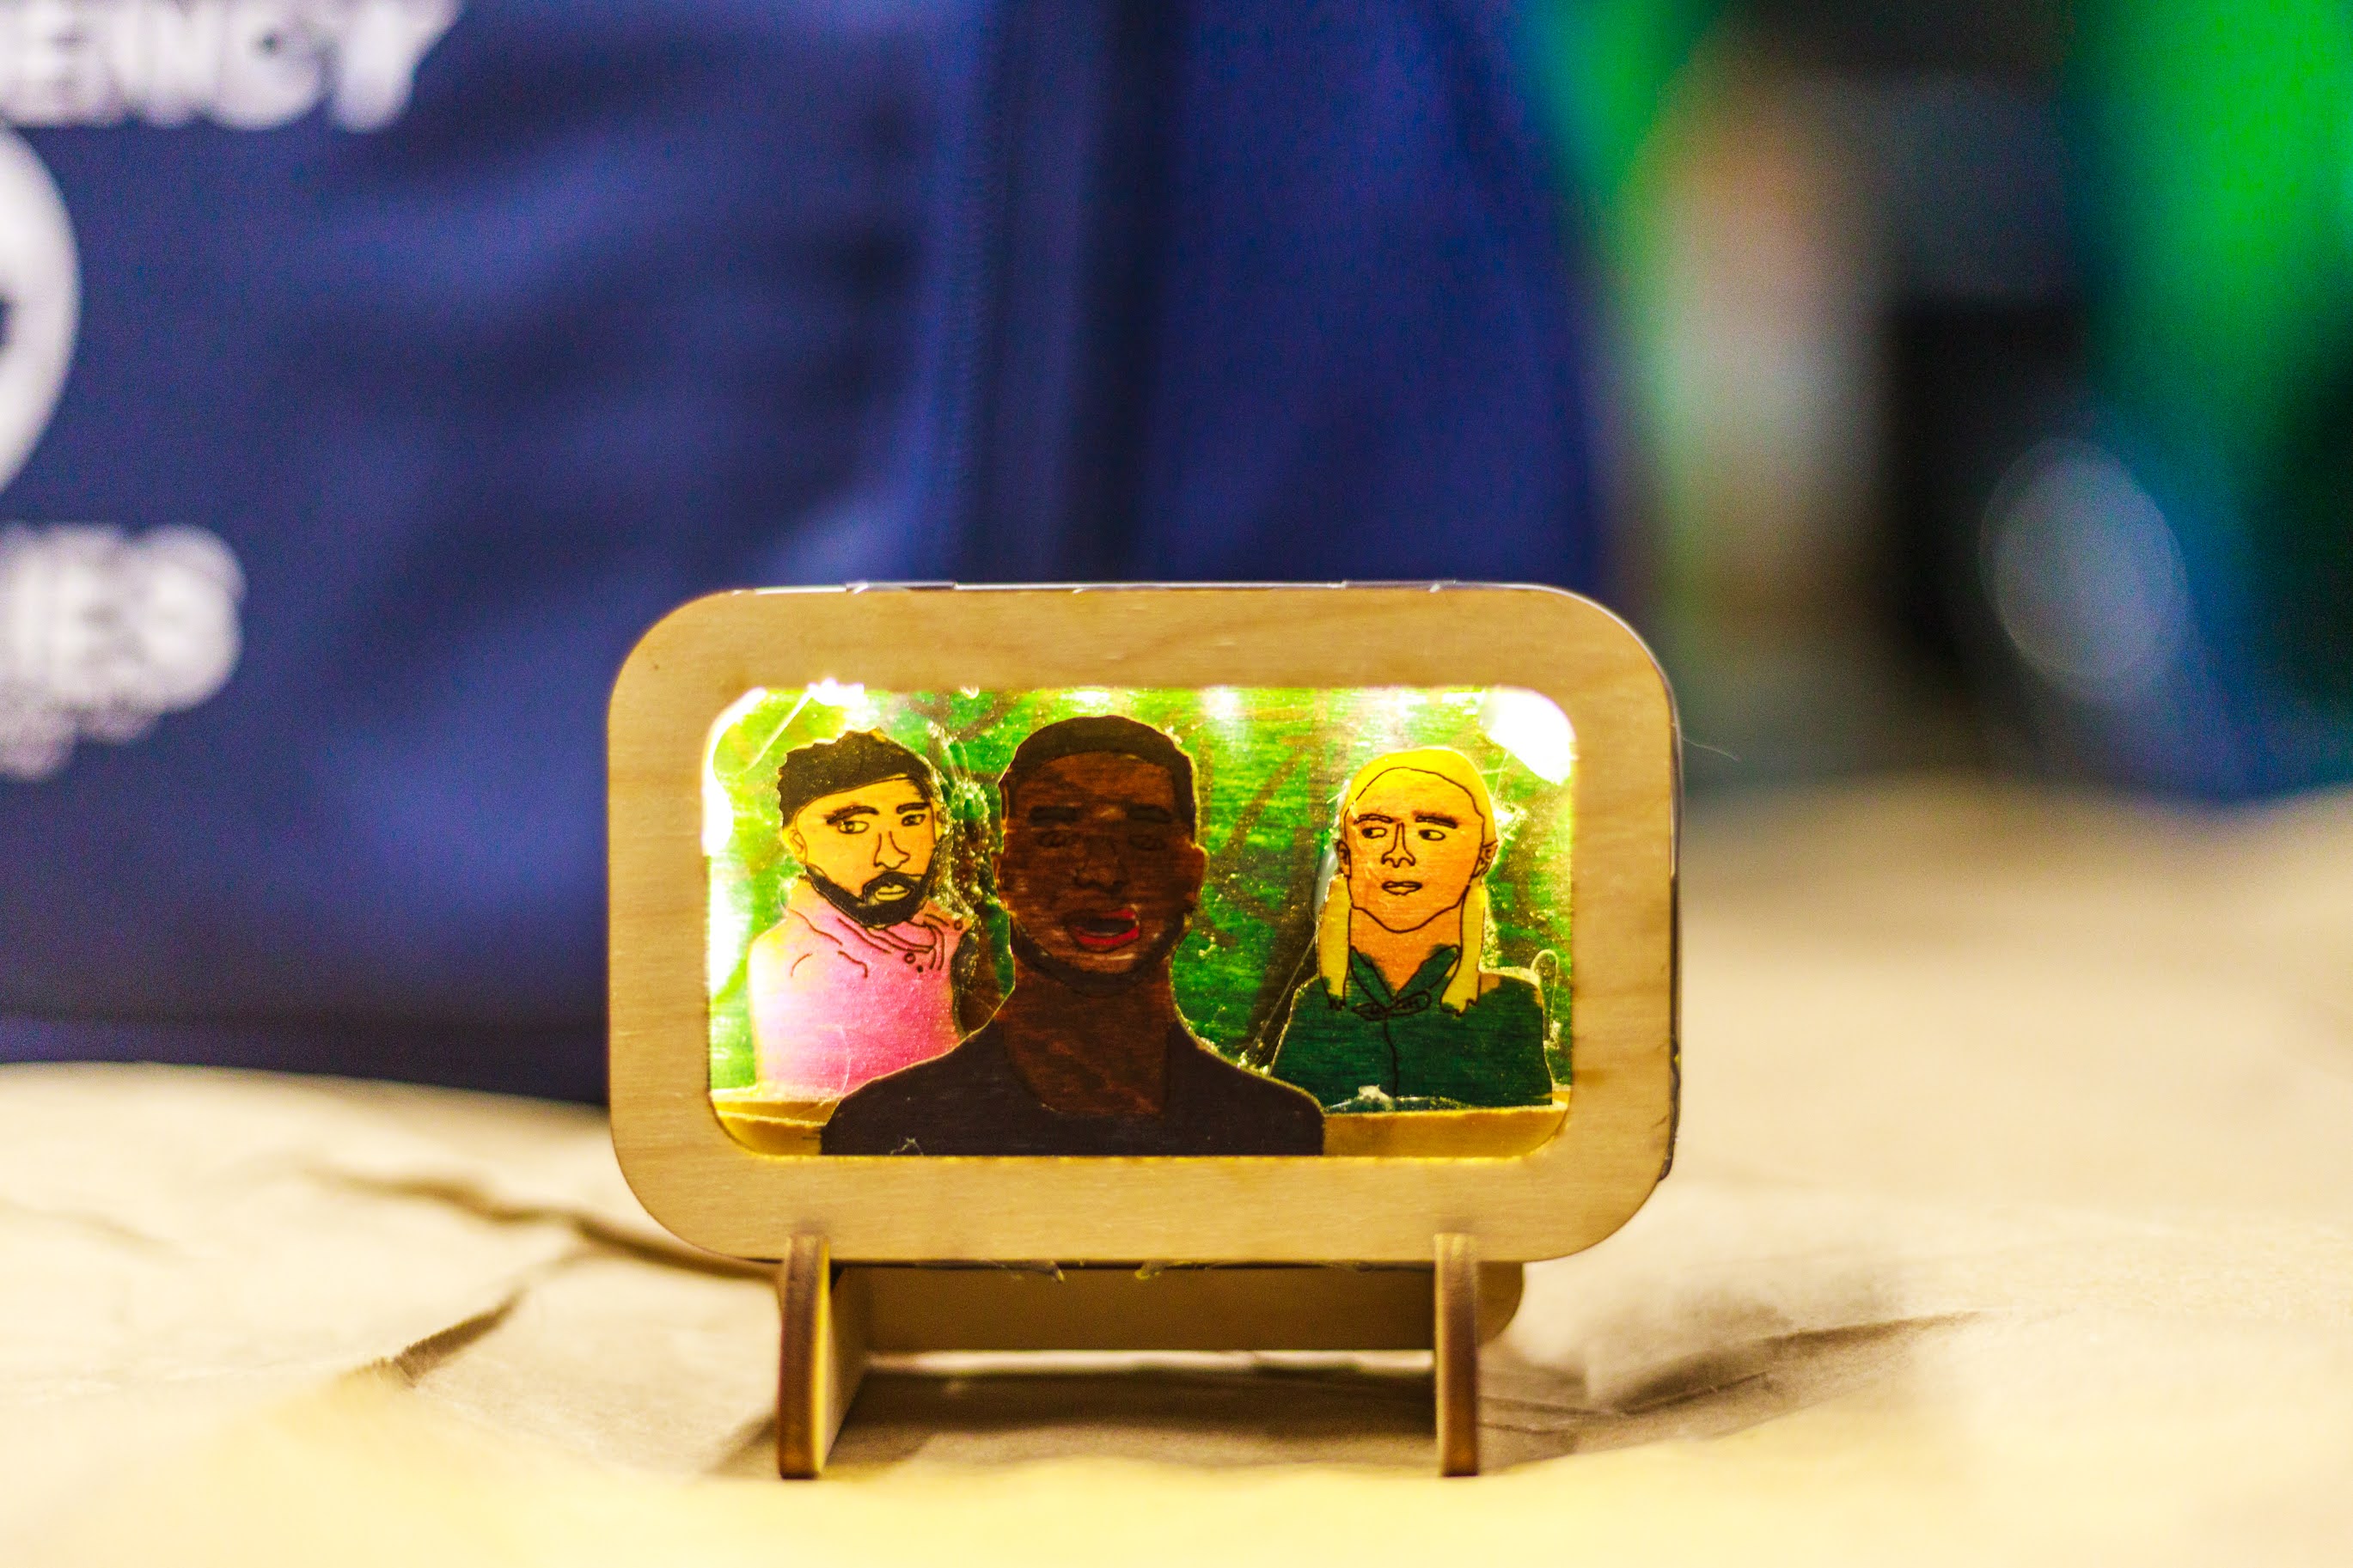
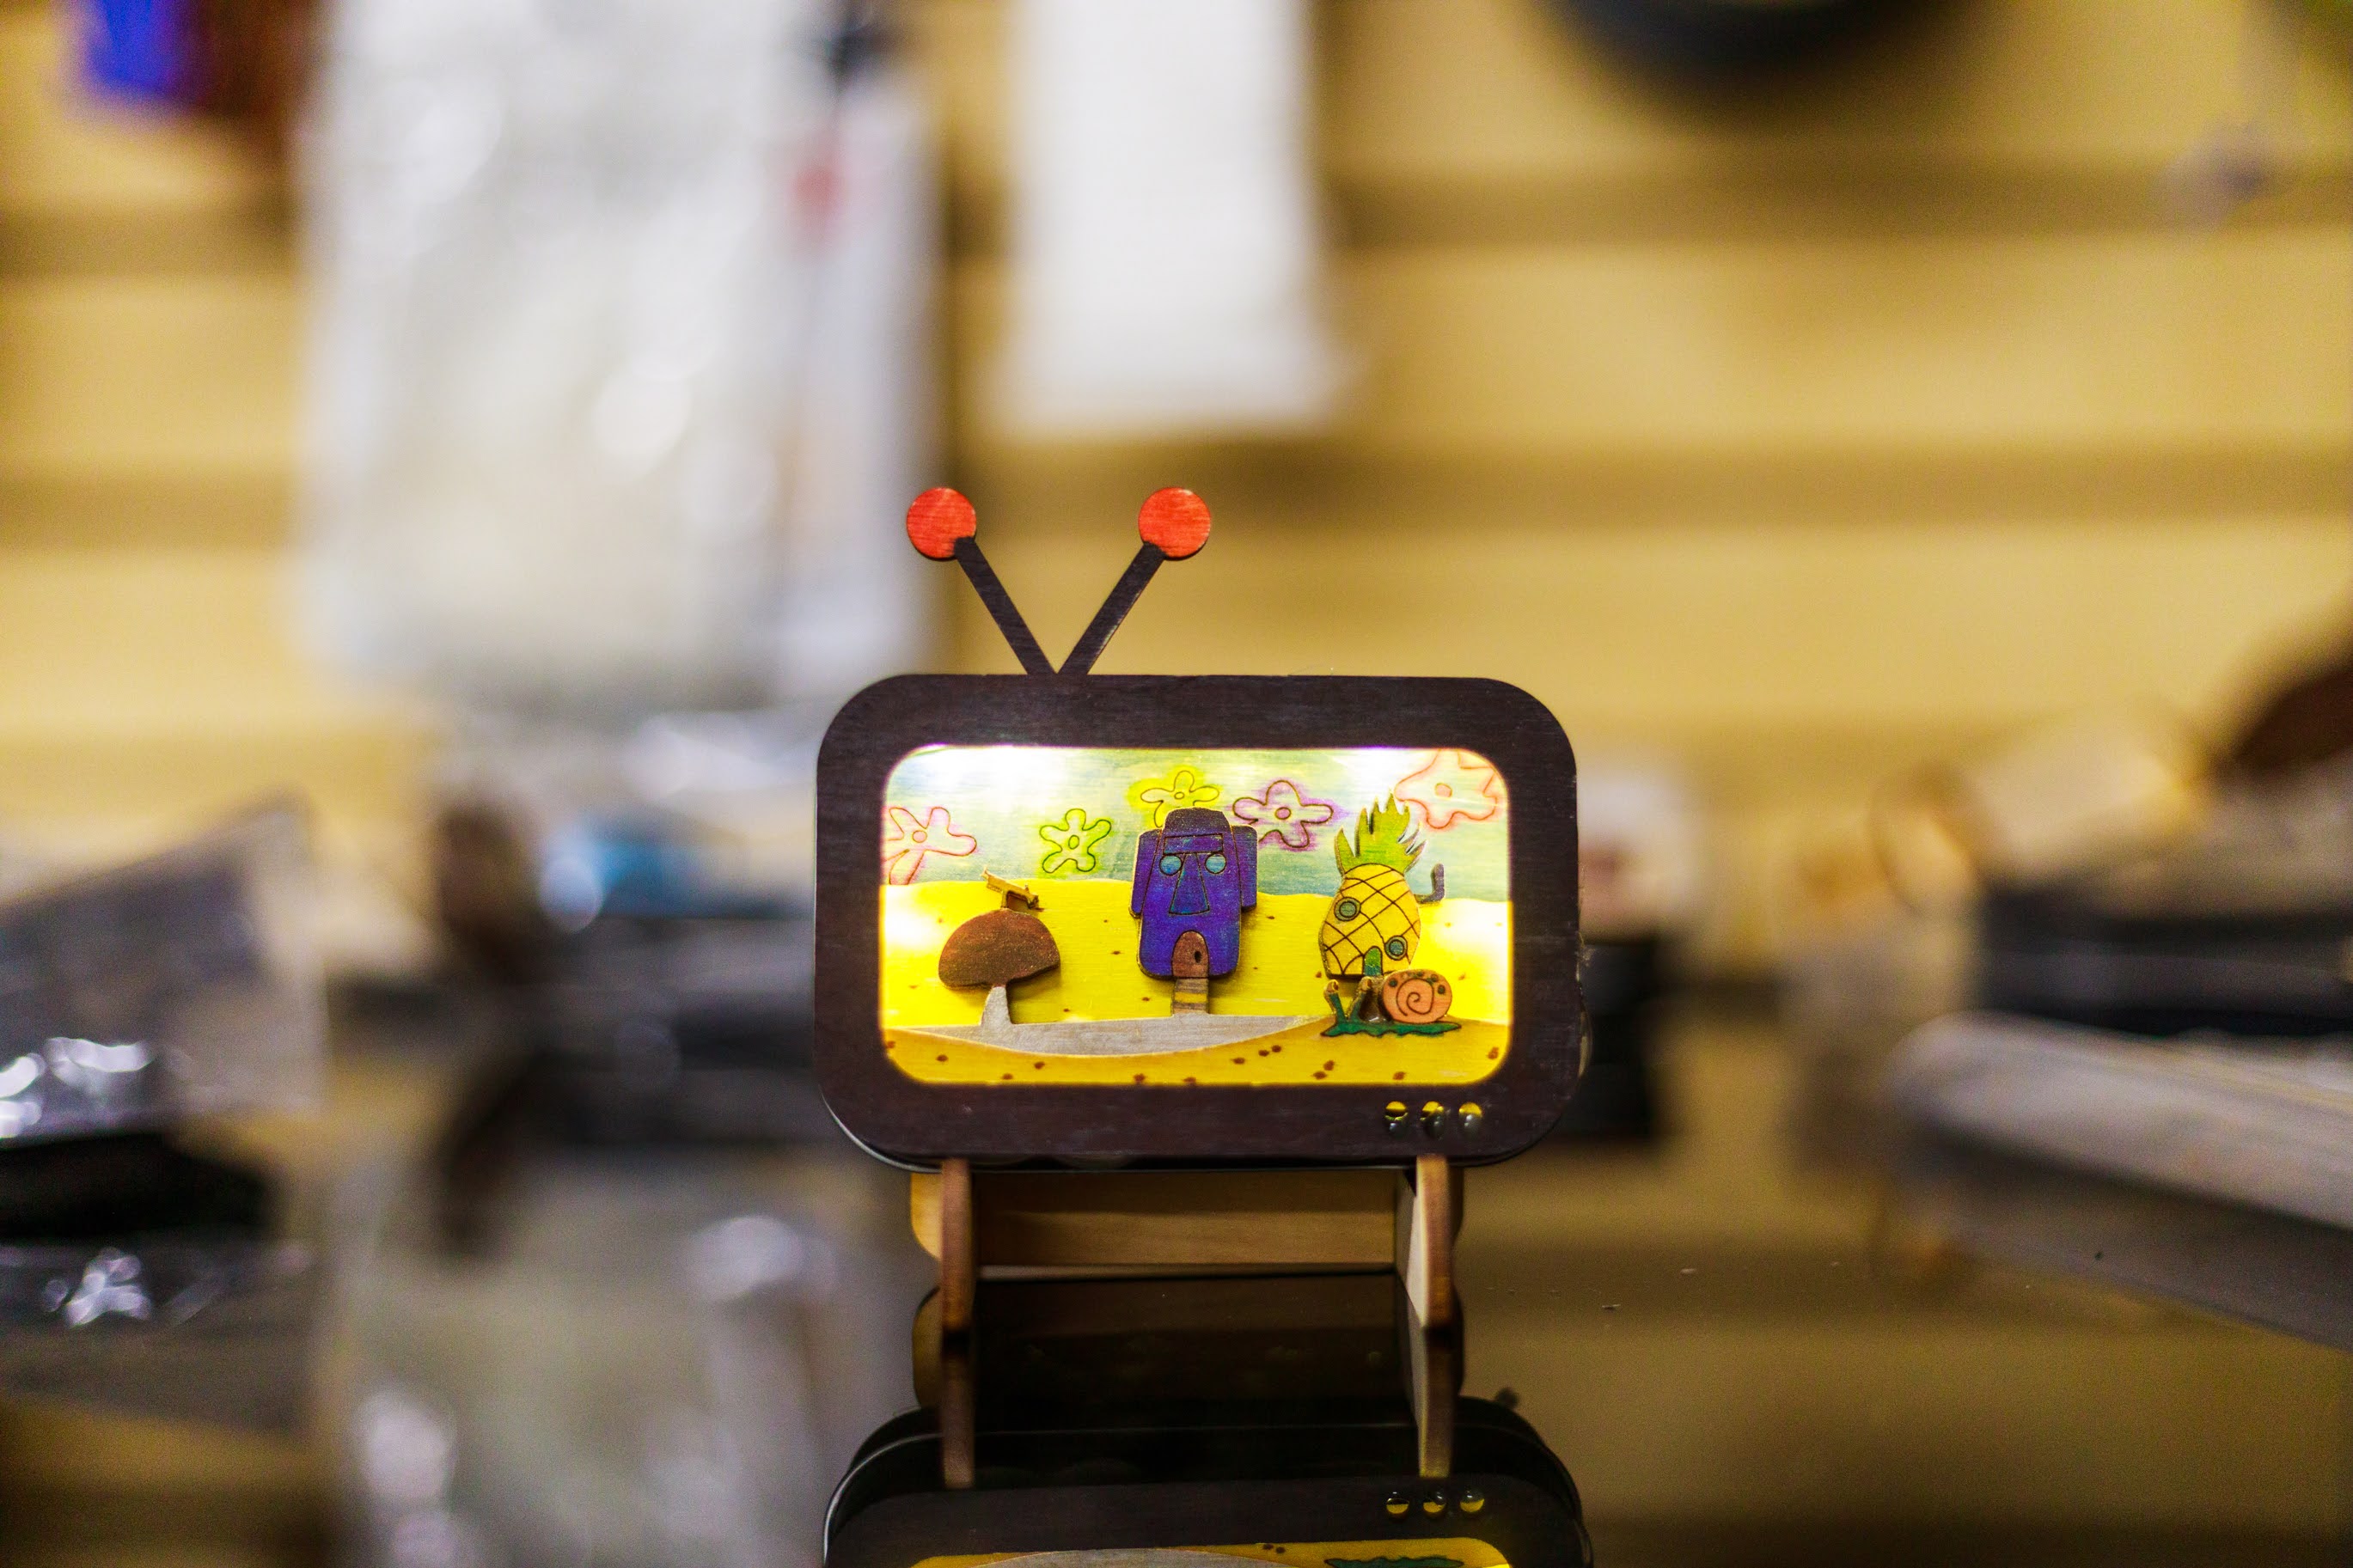
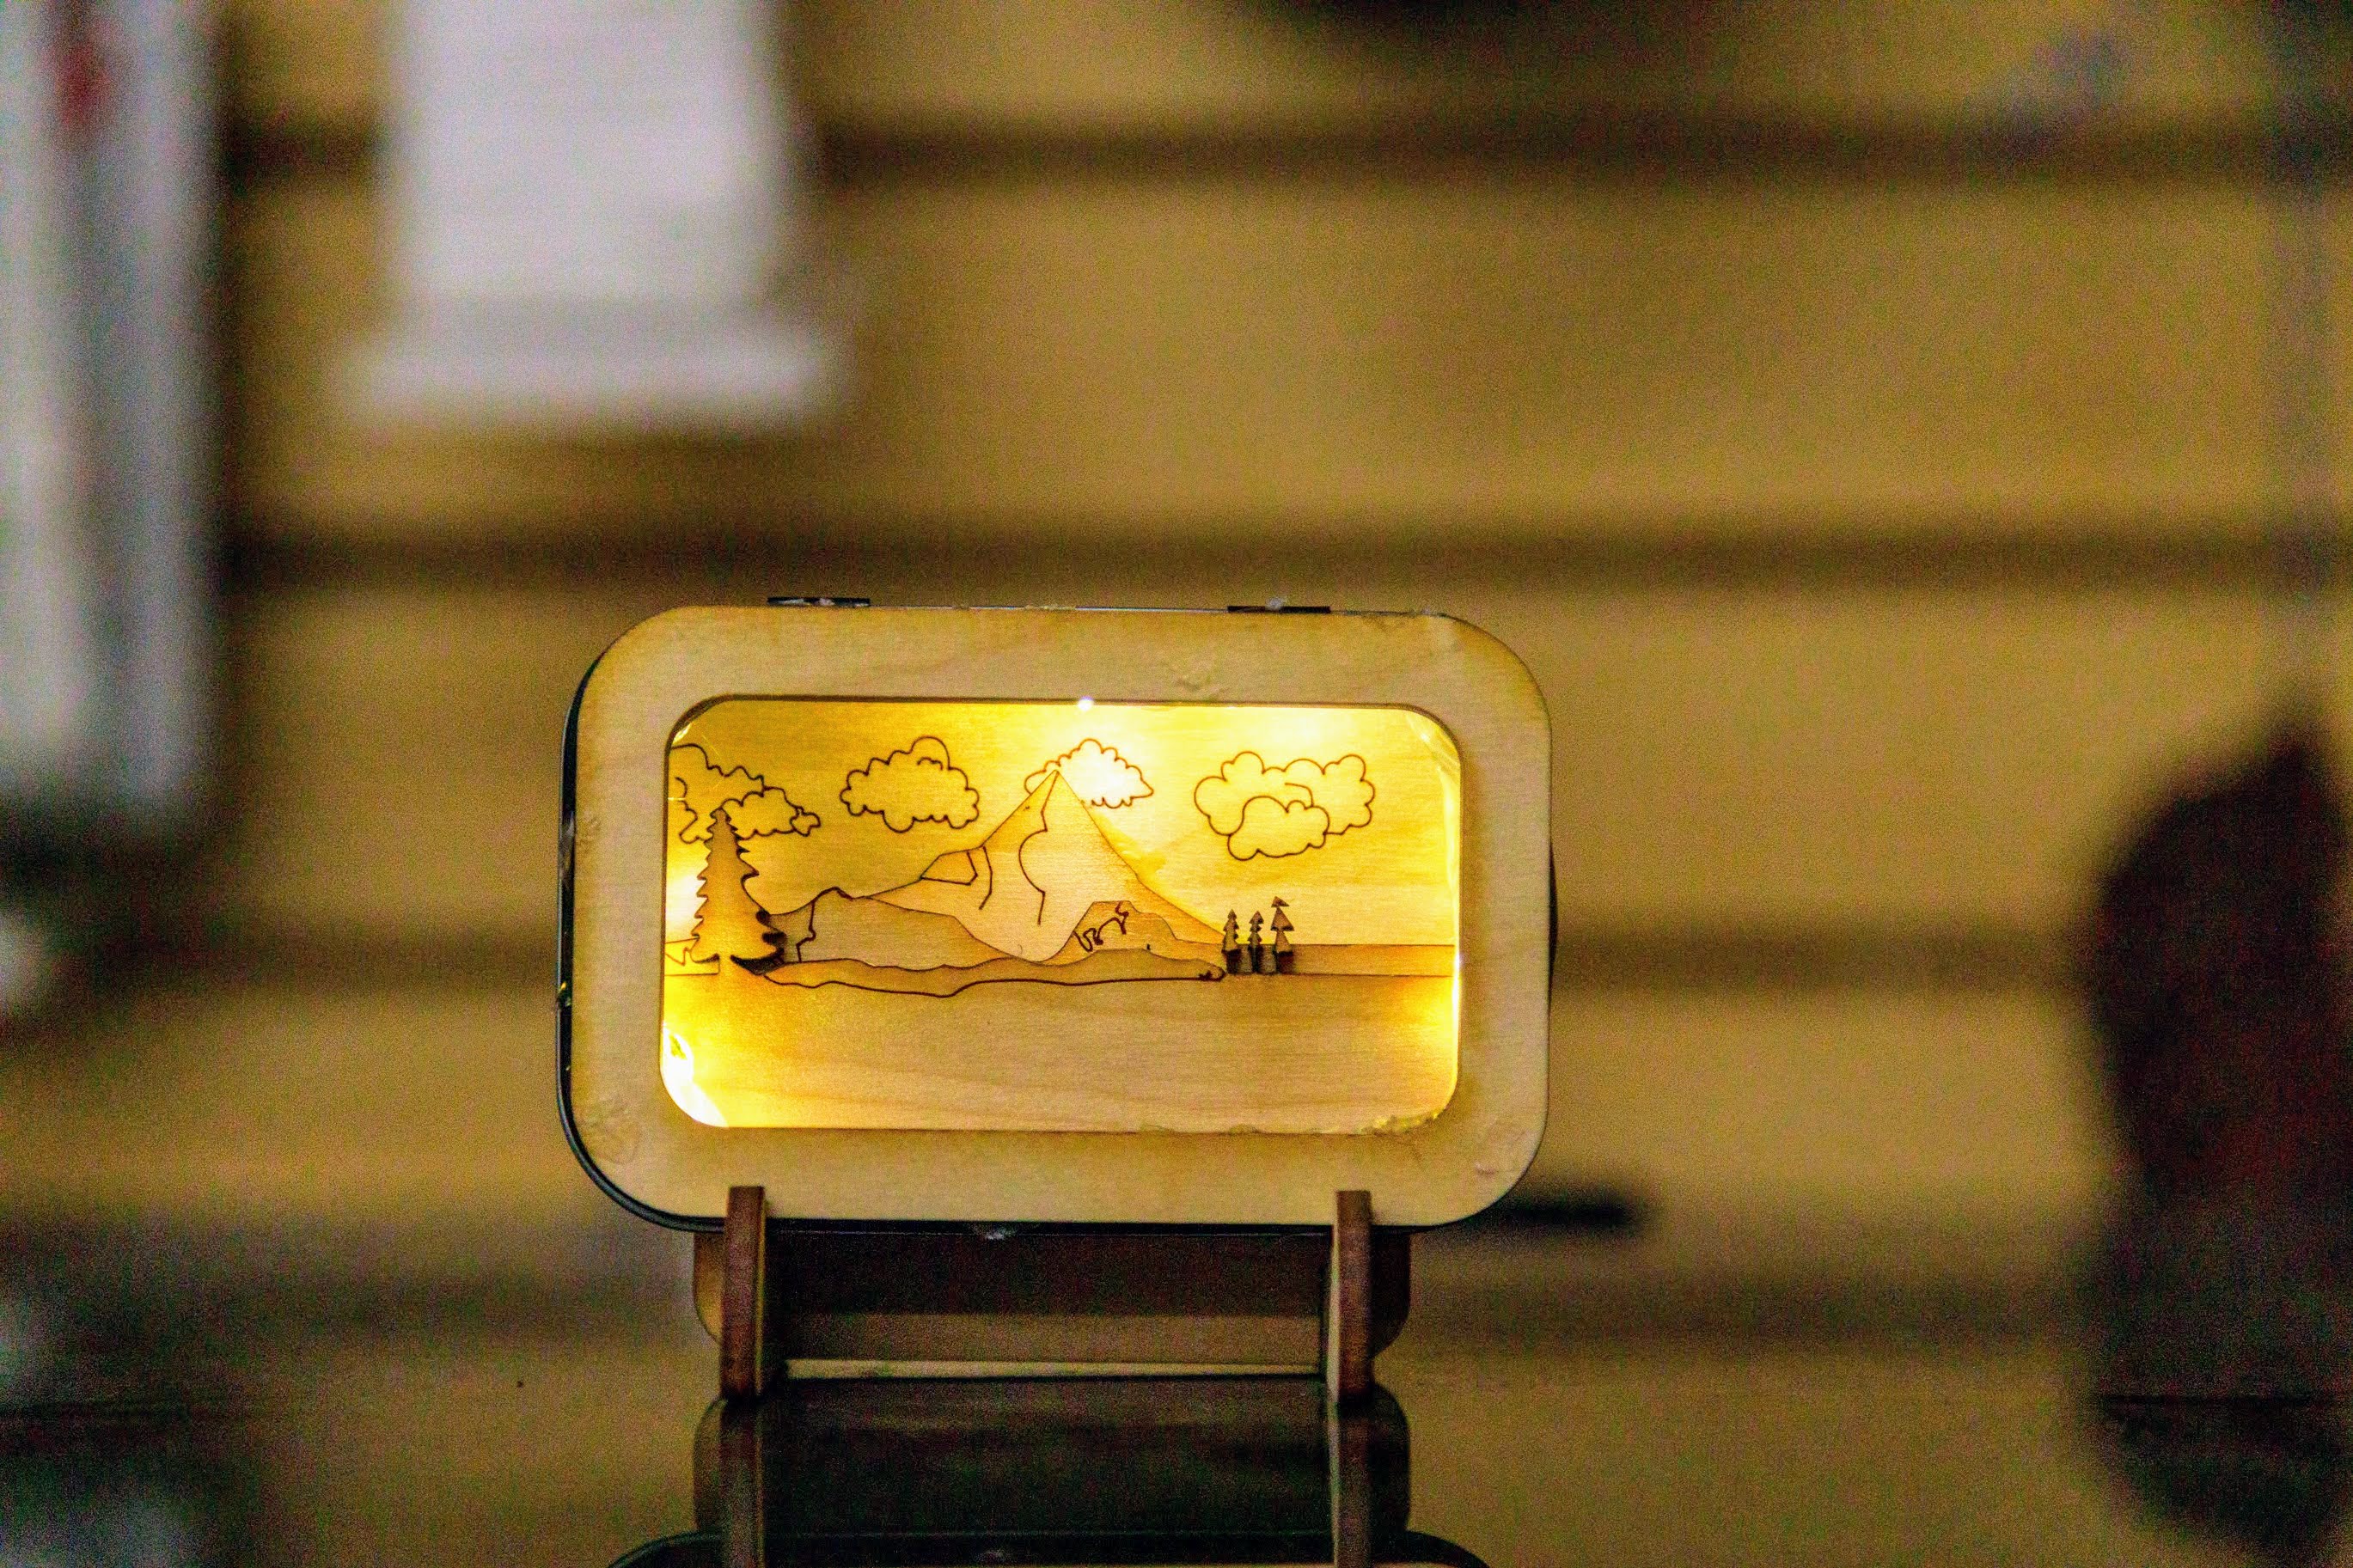
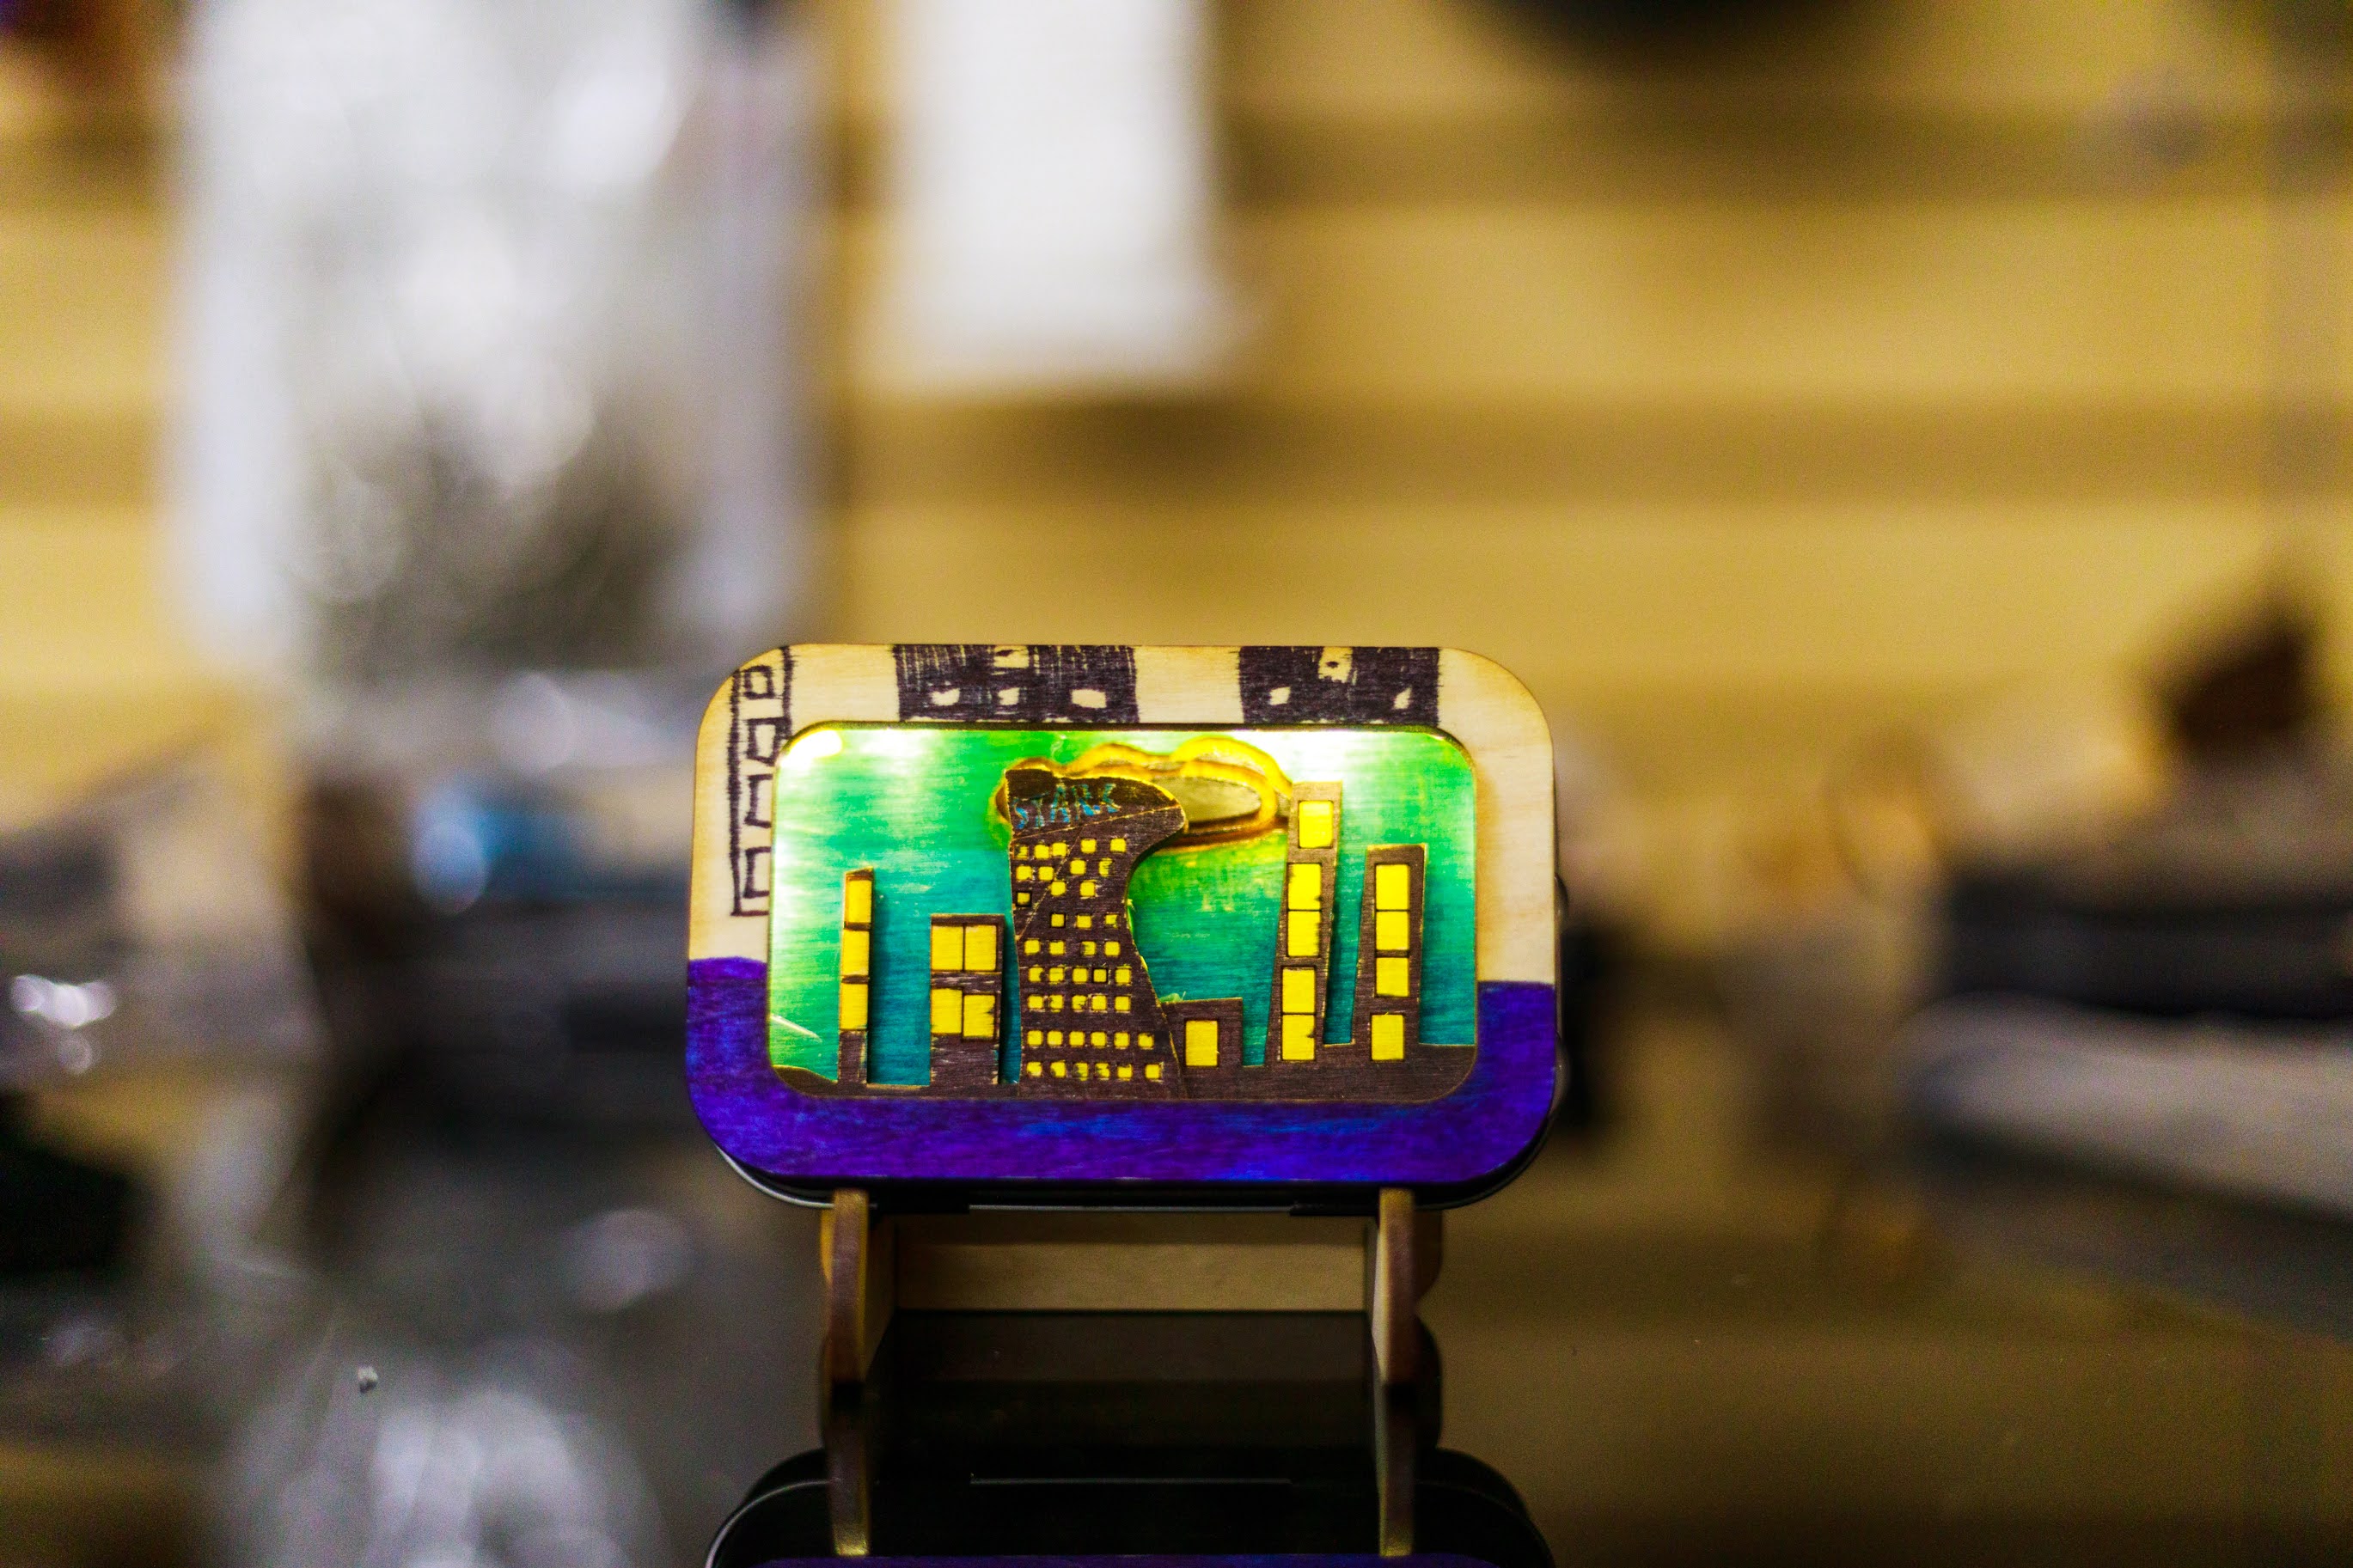
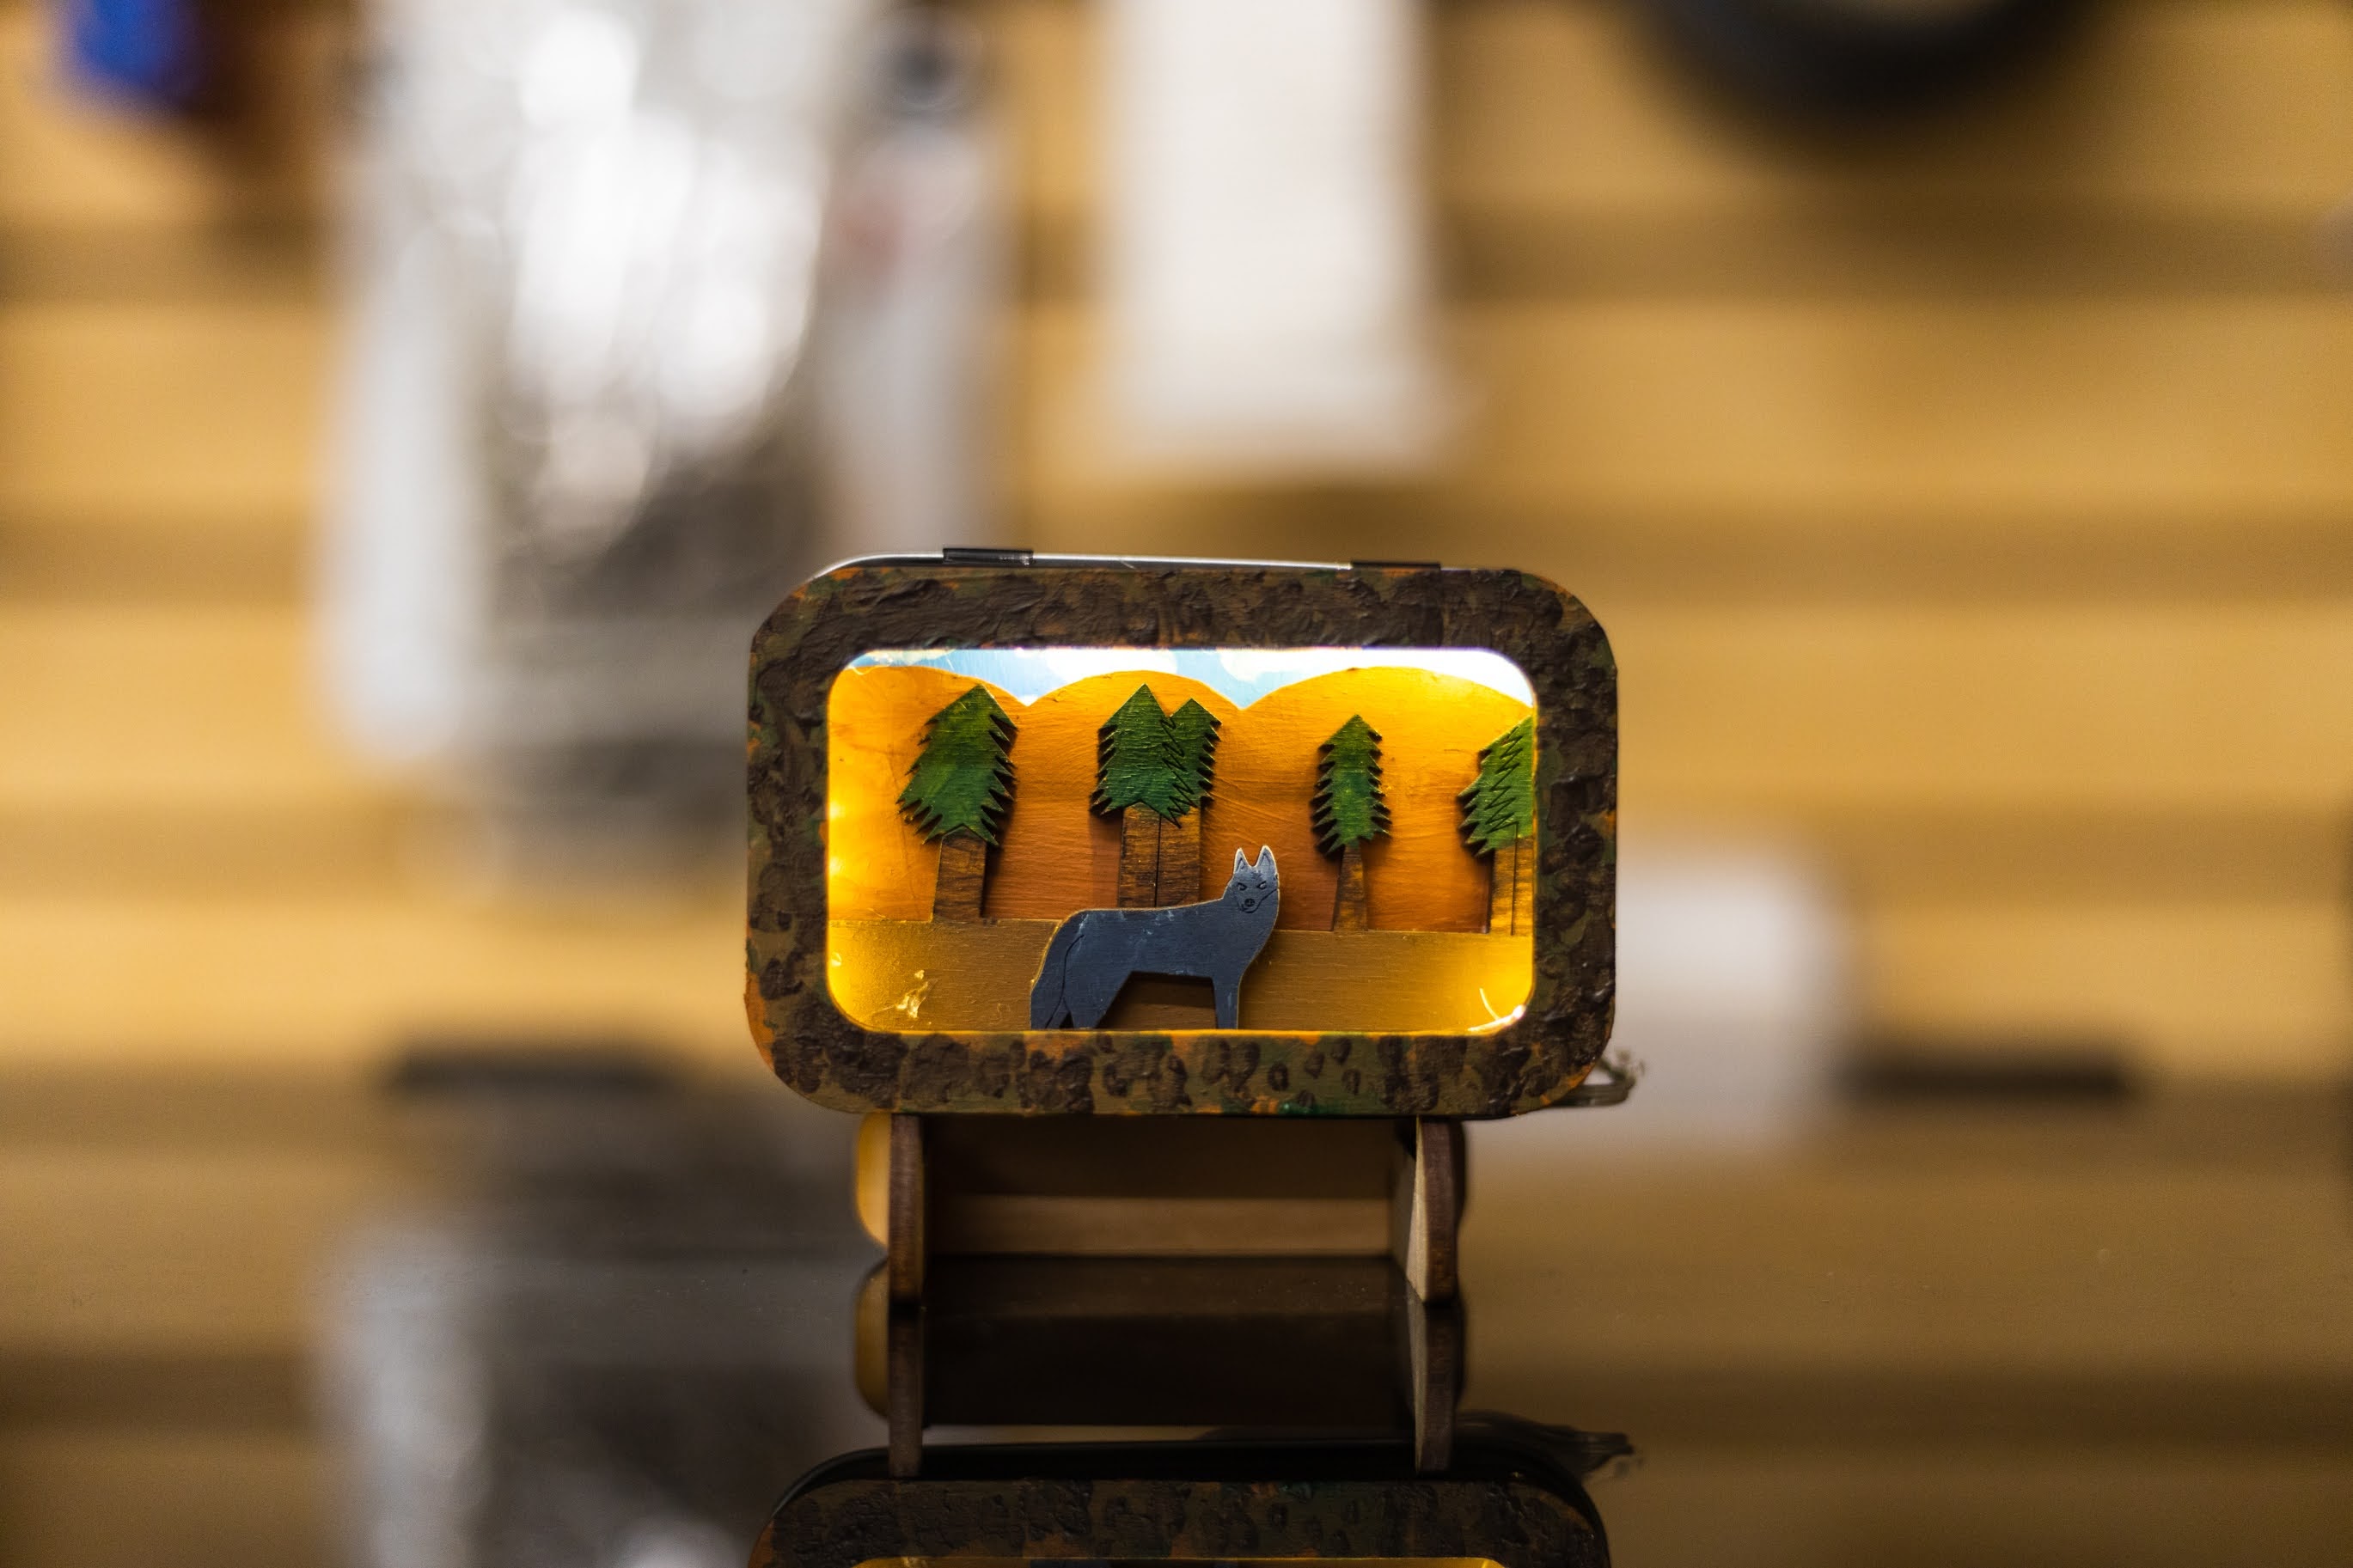
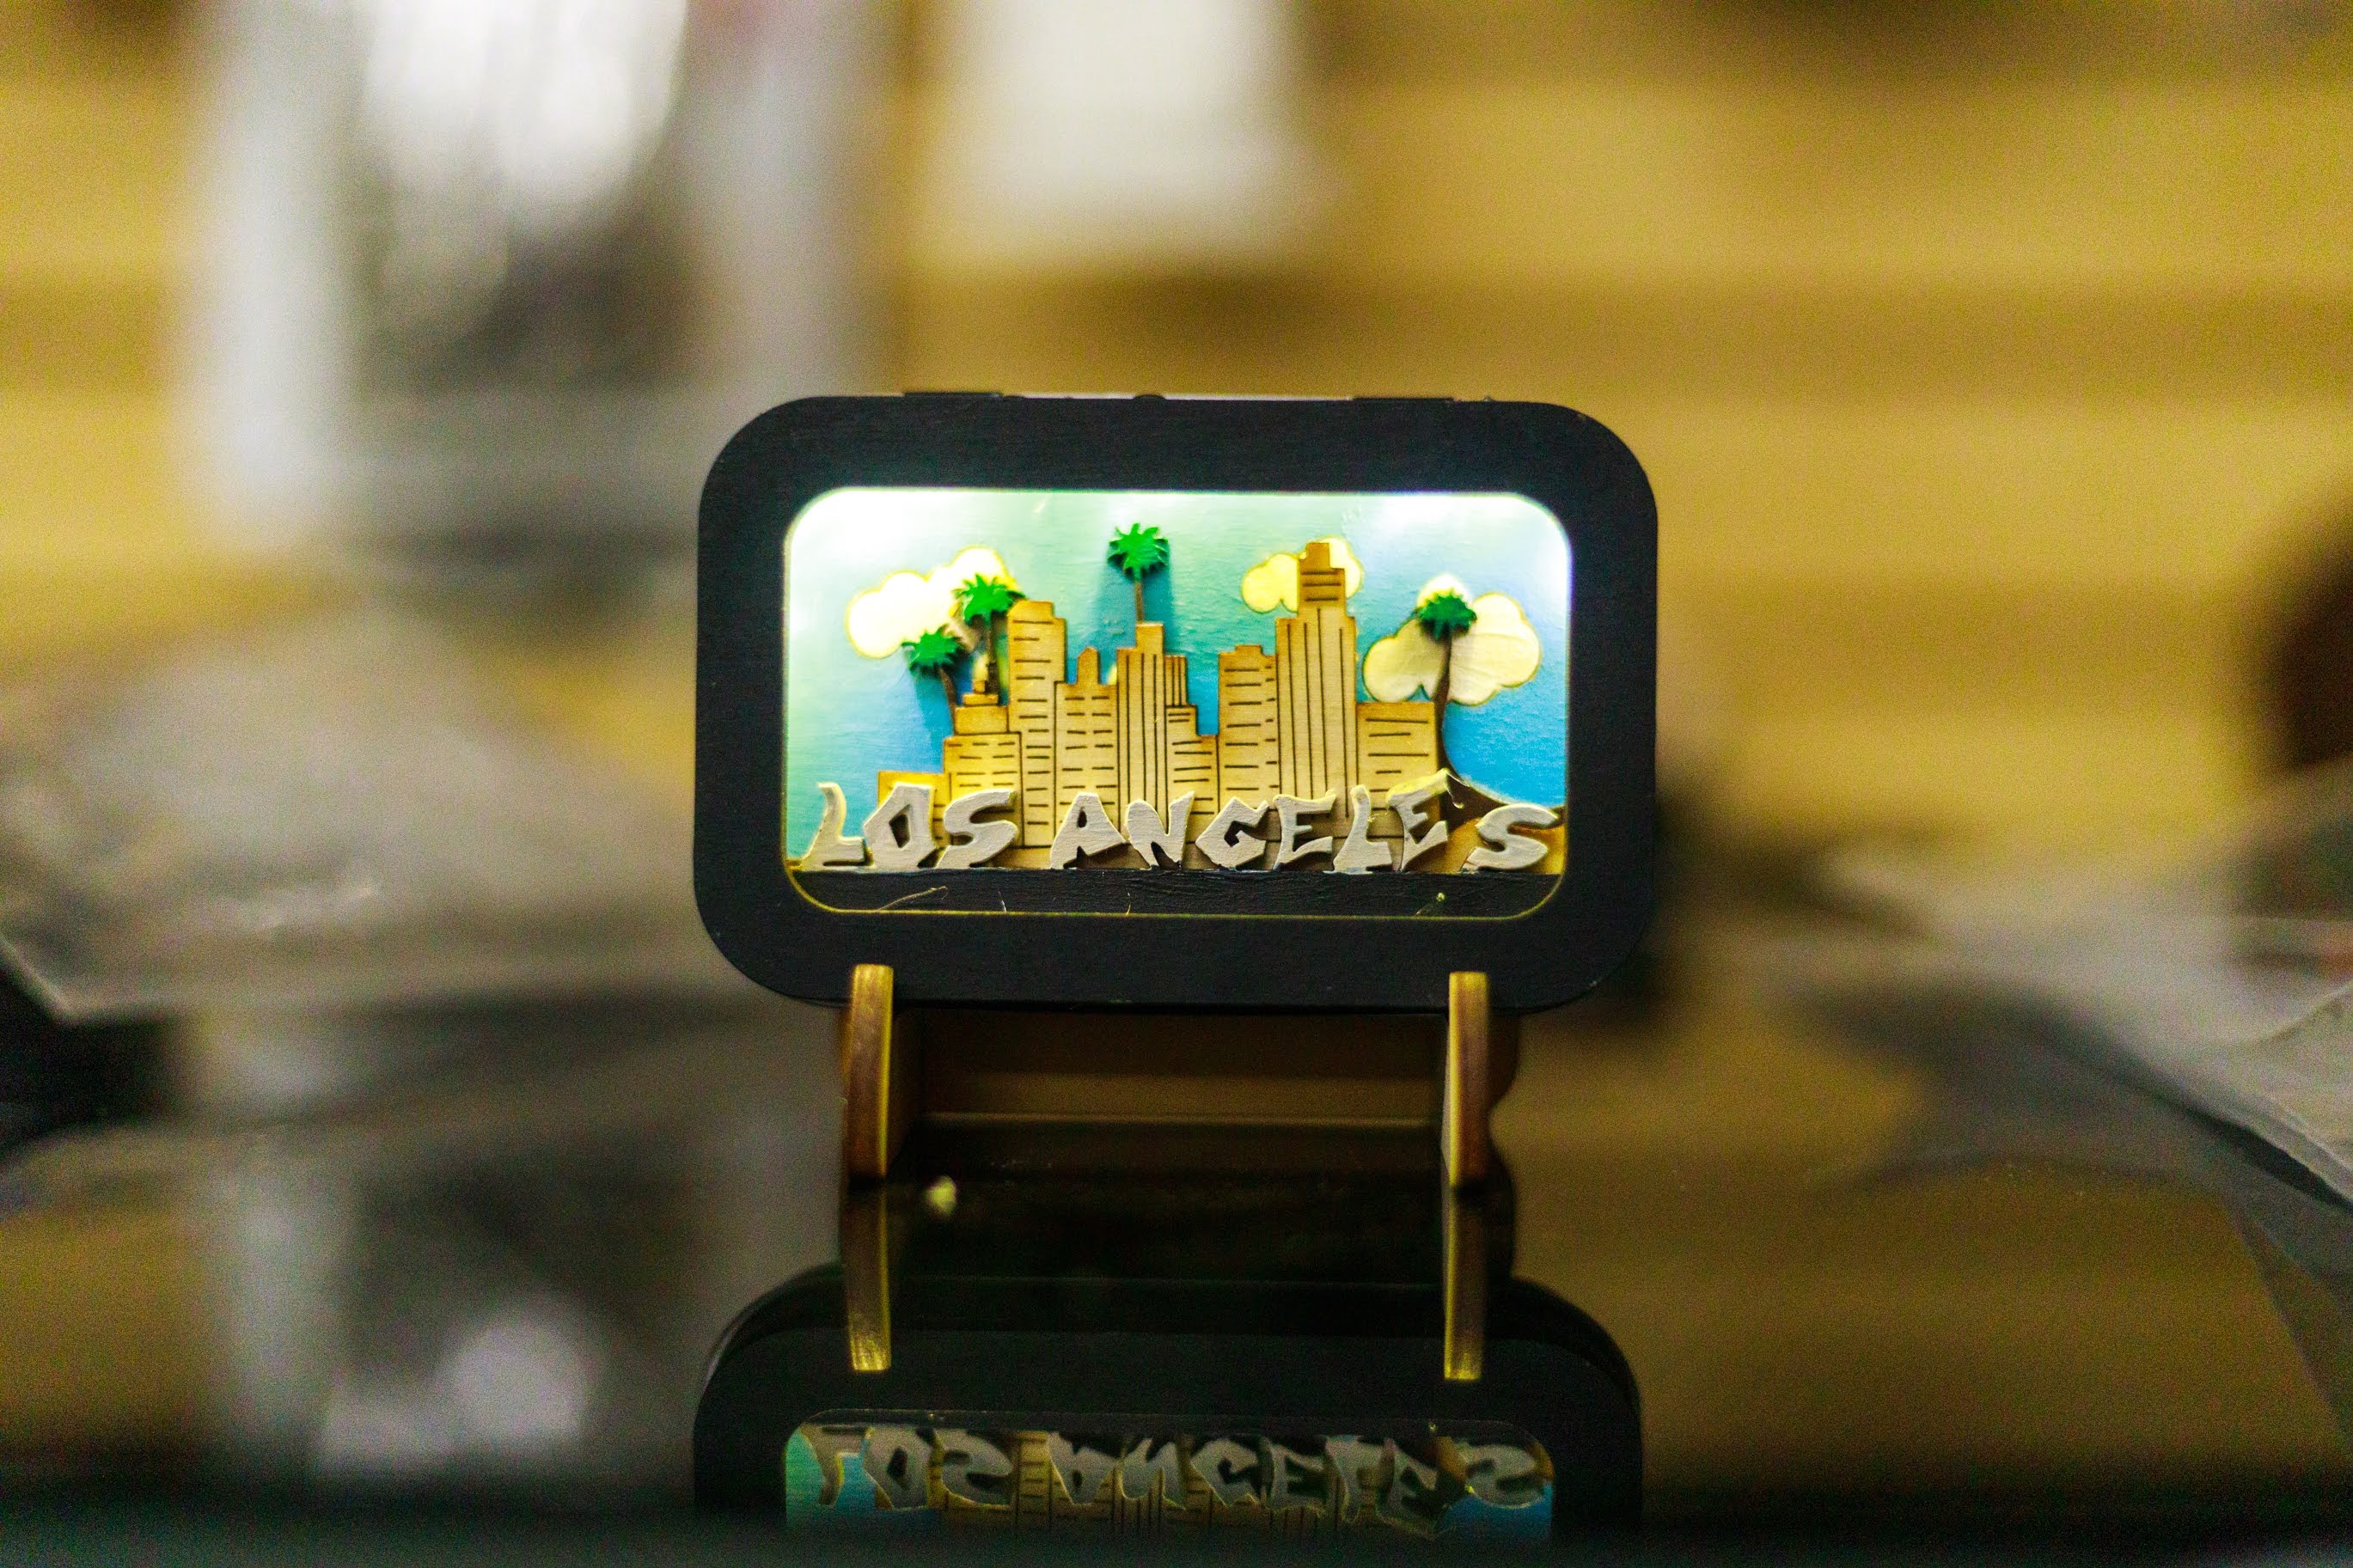
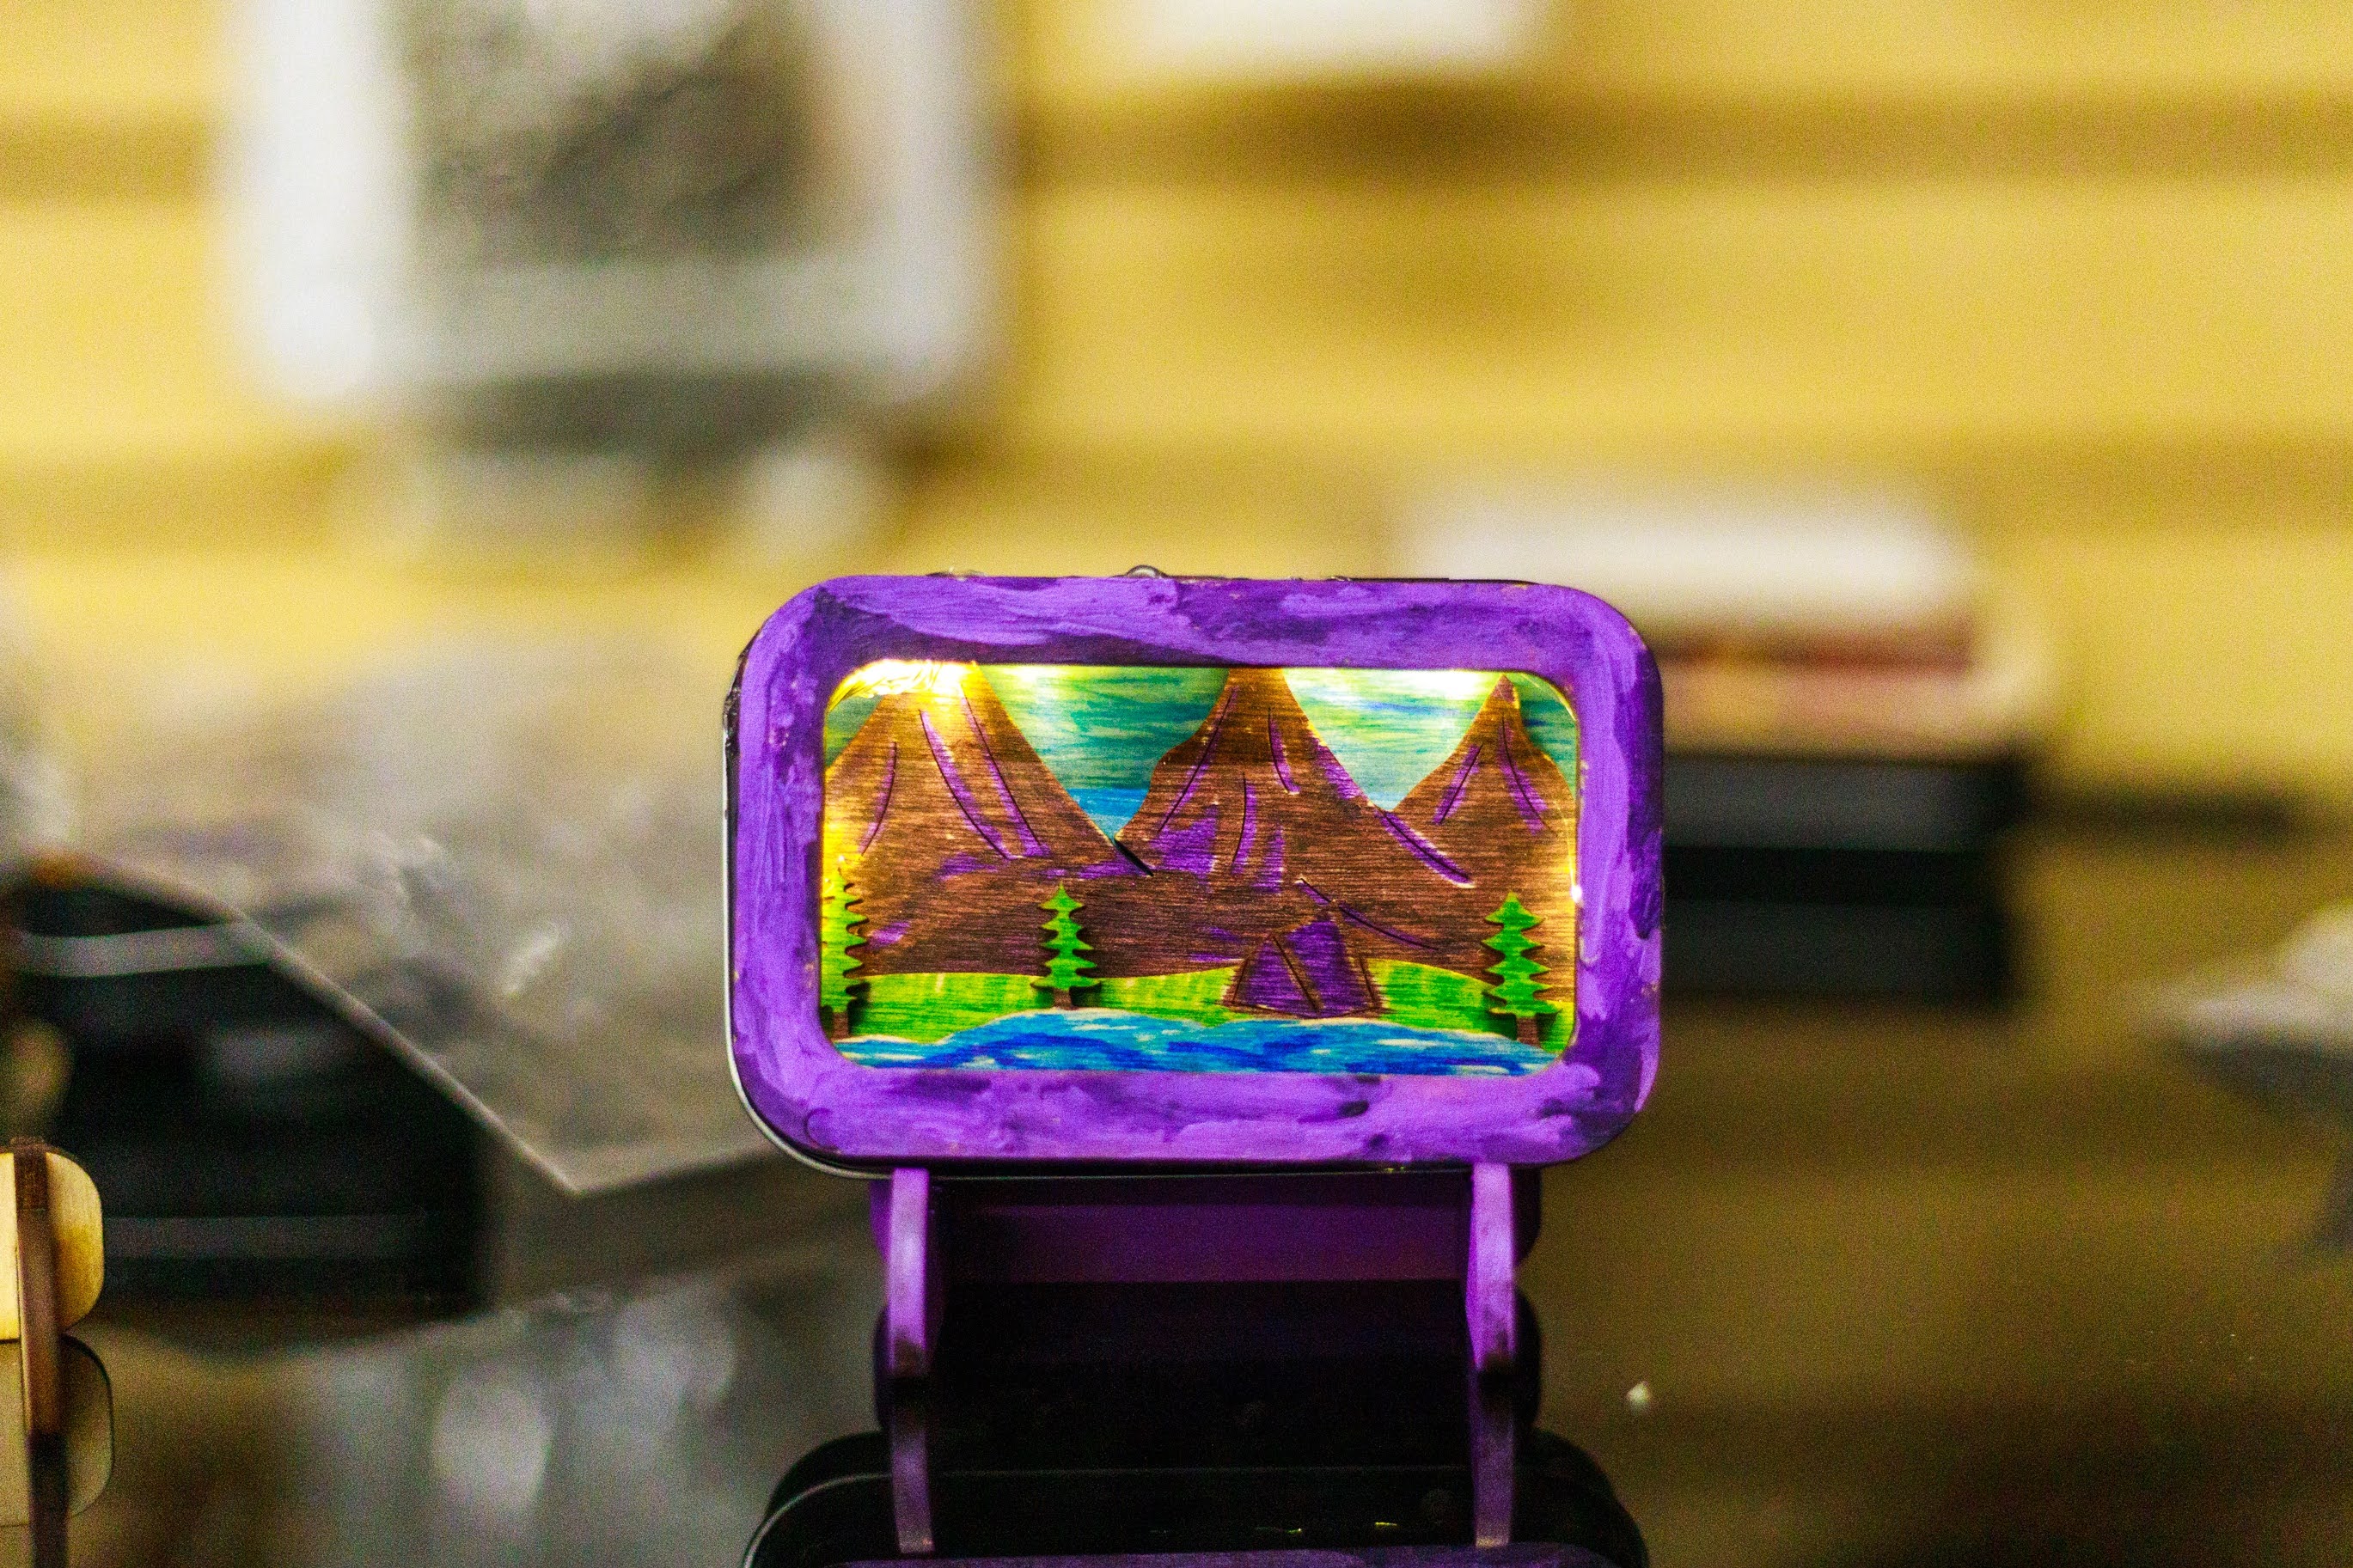
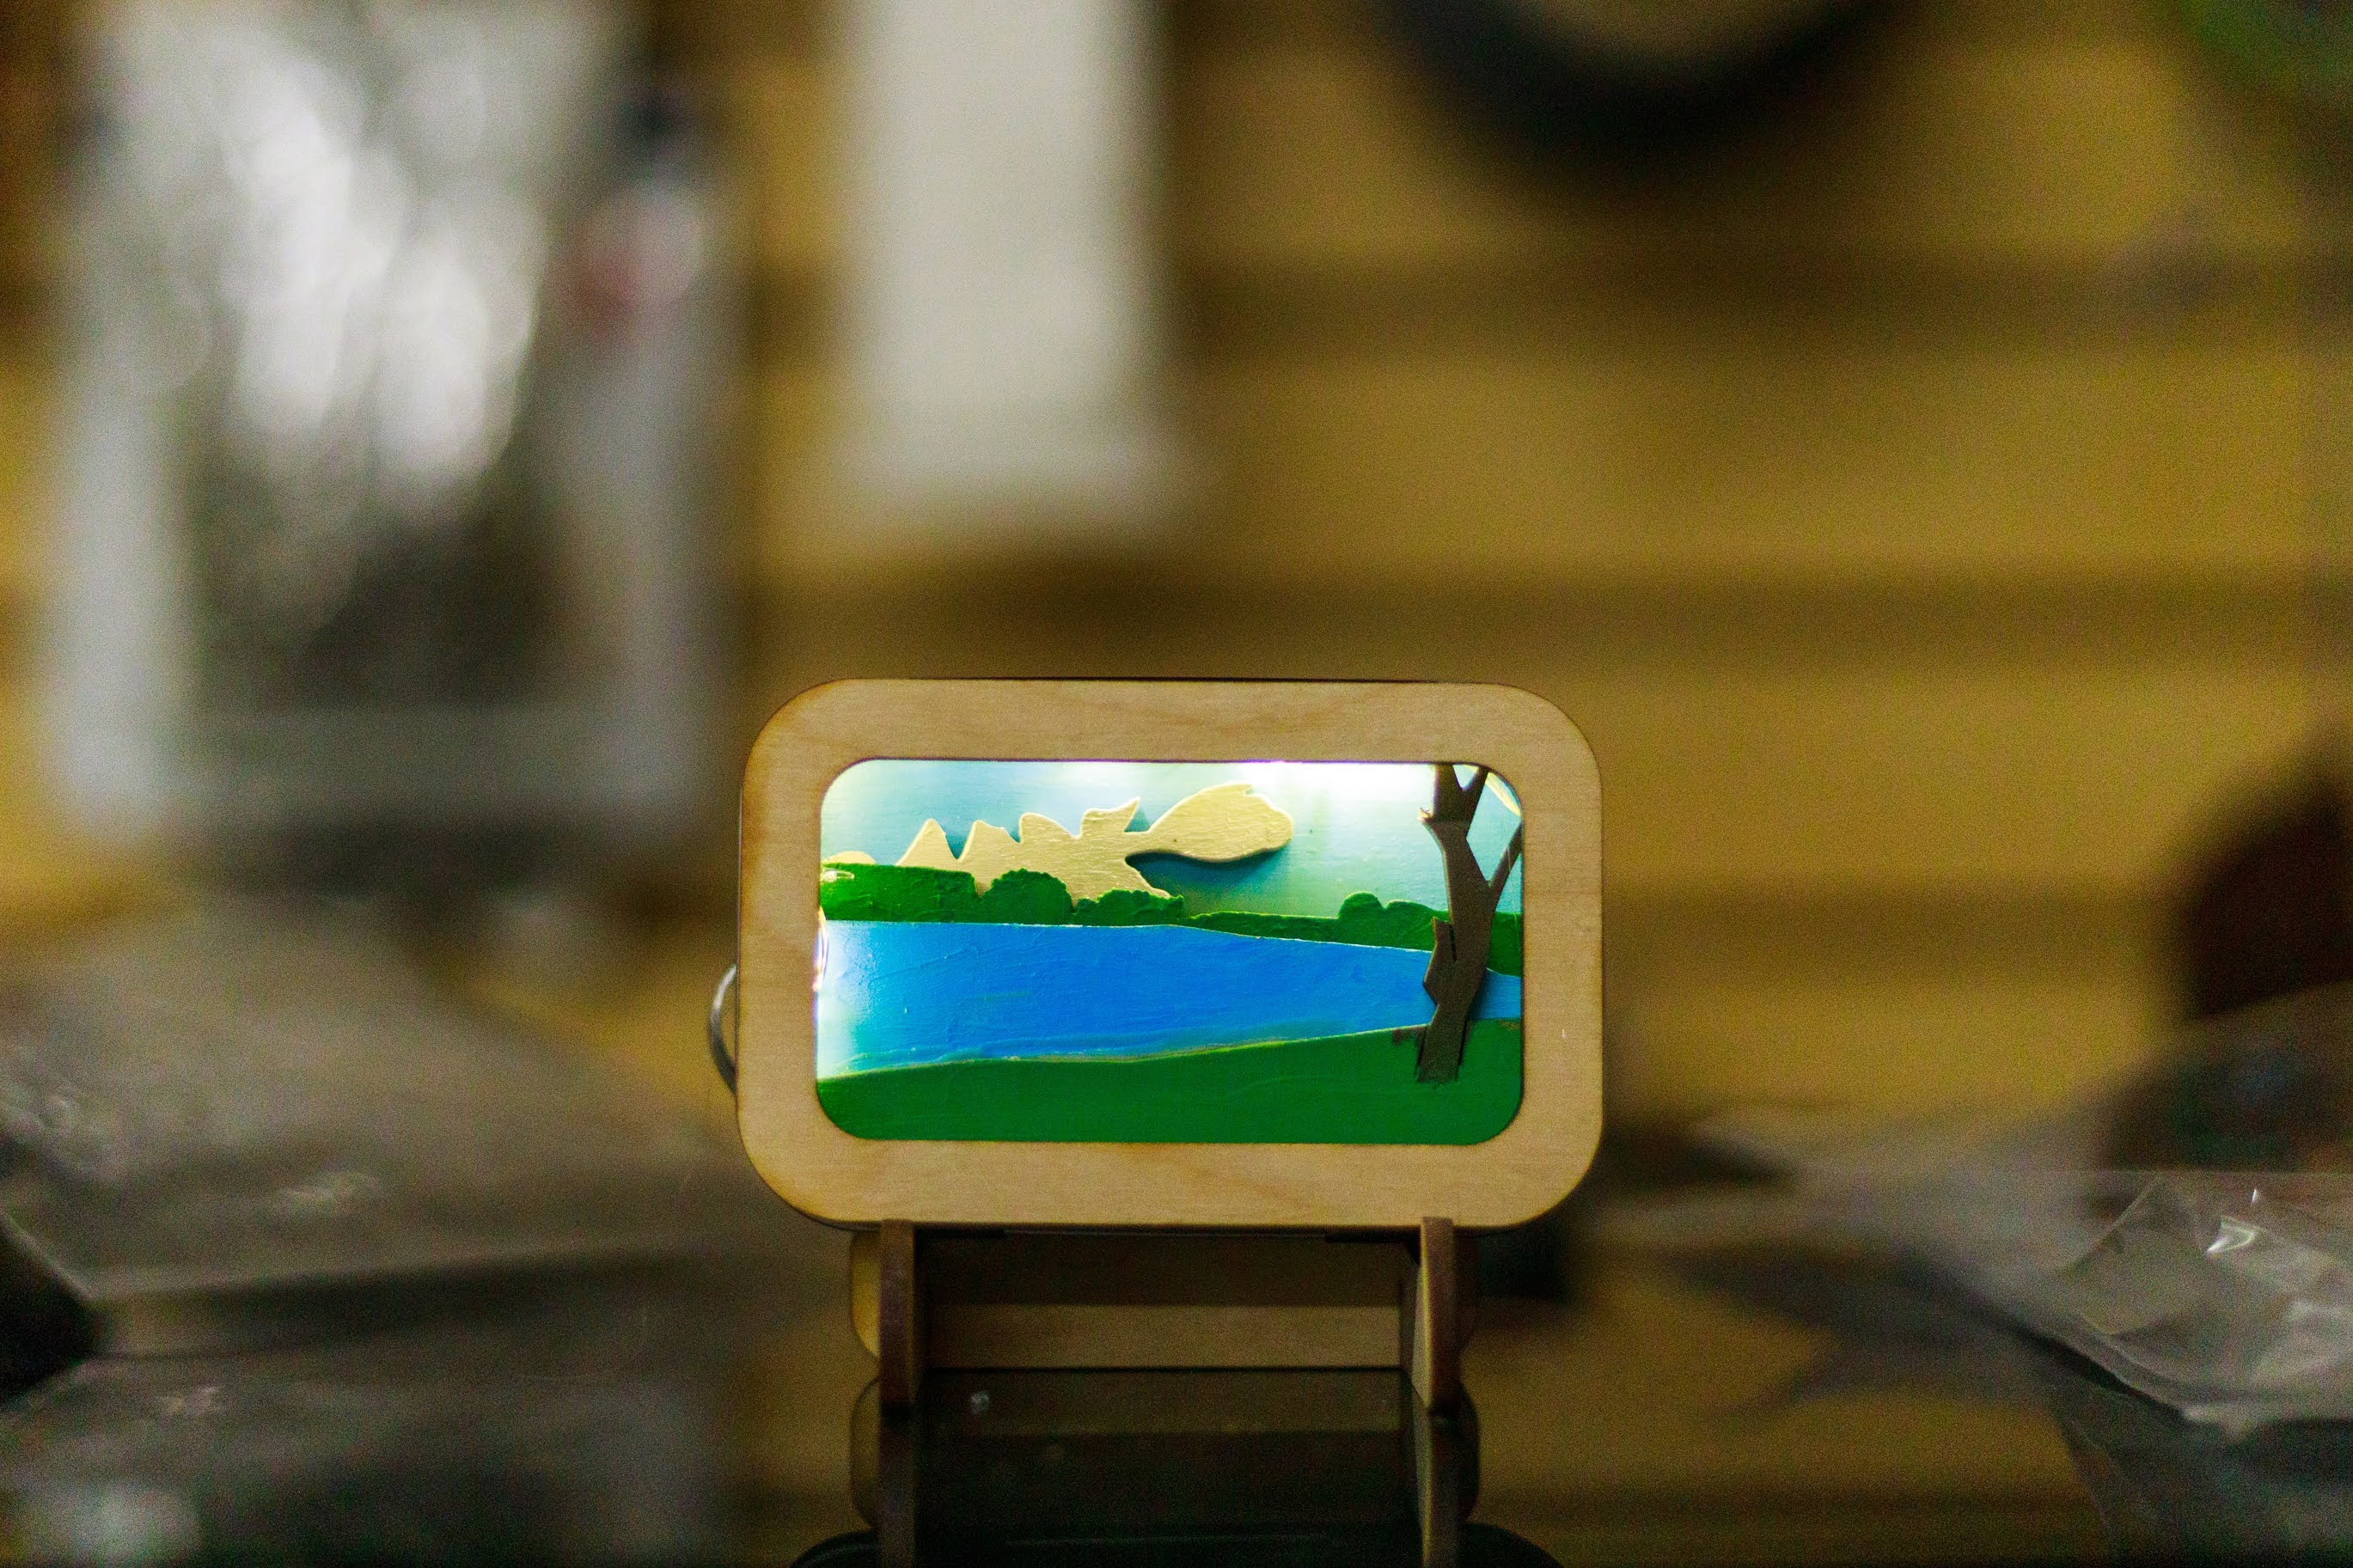
Here are some student mint box samples.


Leave a comment