(* This post has been updated since the original post date)
I first saw this concept in action at Moxi, the Wolf Museum of Exploration + Innovation, in Santa Barbara. Like a mini version of the Exploratorium, Moxi provides visitors of all ages with hands-on science experiments, arts and crafts, and workshops ranging from high-tech tools to no tech at all.
While I was exploring the museum during one of the slower times of the day, a kind docent approached and asked if I wanted a tour of the maker space. He had seen my MakerCon t-shirt and gathered that we must have some common interests.
He guided me to the space, and as I perused the equipment, I chanced upon what looked to be laser-cut molds for making coins. I asked what they were for, and his eyes lit up.
“This is pewter casting. I can show you how it works if you like,” he said as a way of invitation.
I couldn’t pass up this opportunity to learn about something new, so I obliged his enthusiasm.
Reaching into the cupboards, he removed a Hot Pot, plugged it in, and threw a few pewter scraps into the basin. Pewter is a metal alloy with a low melting point, making it ideal for casting into molds.
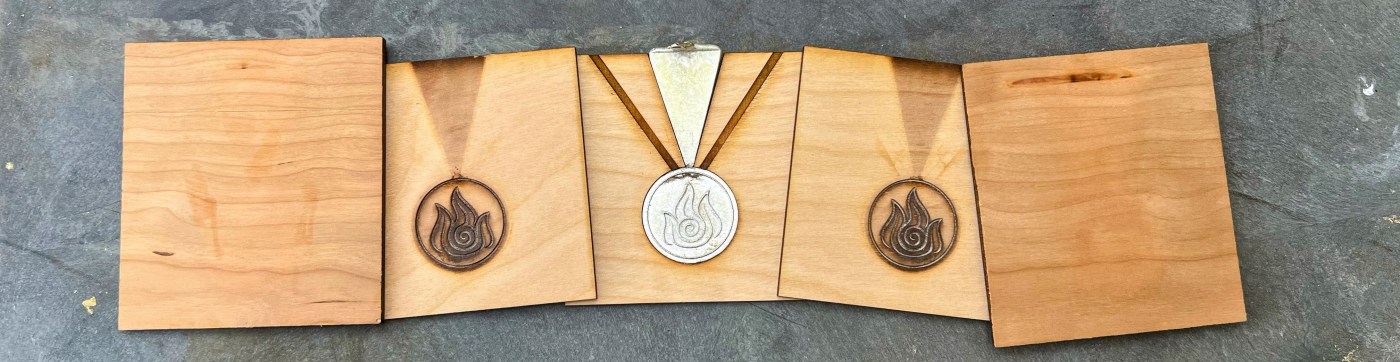
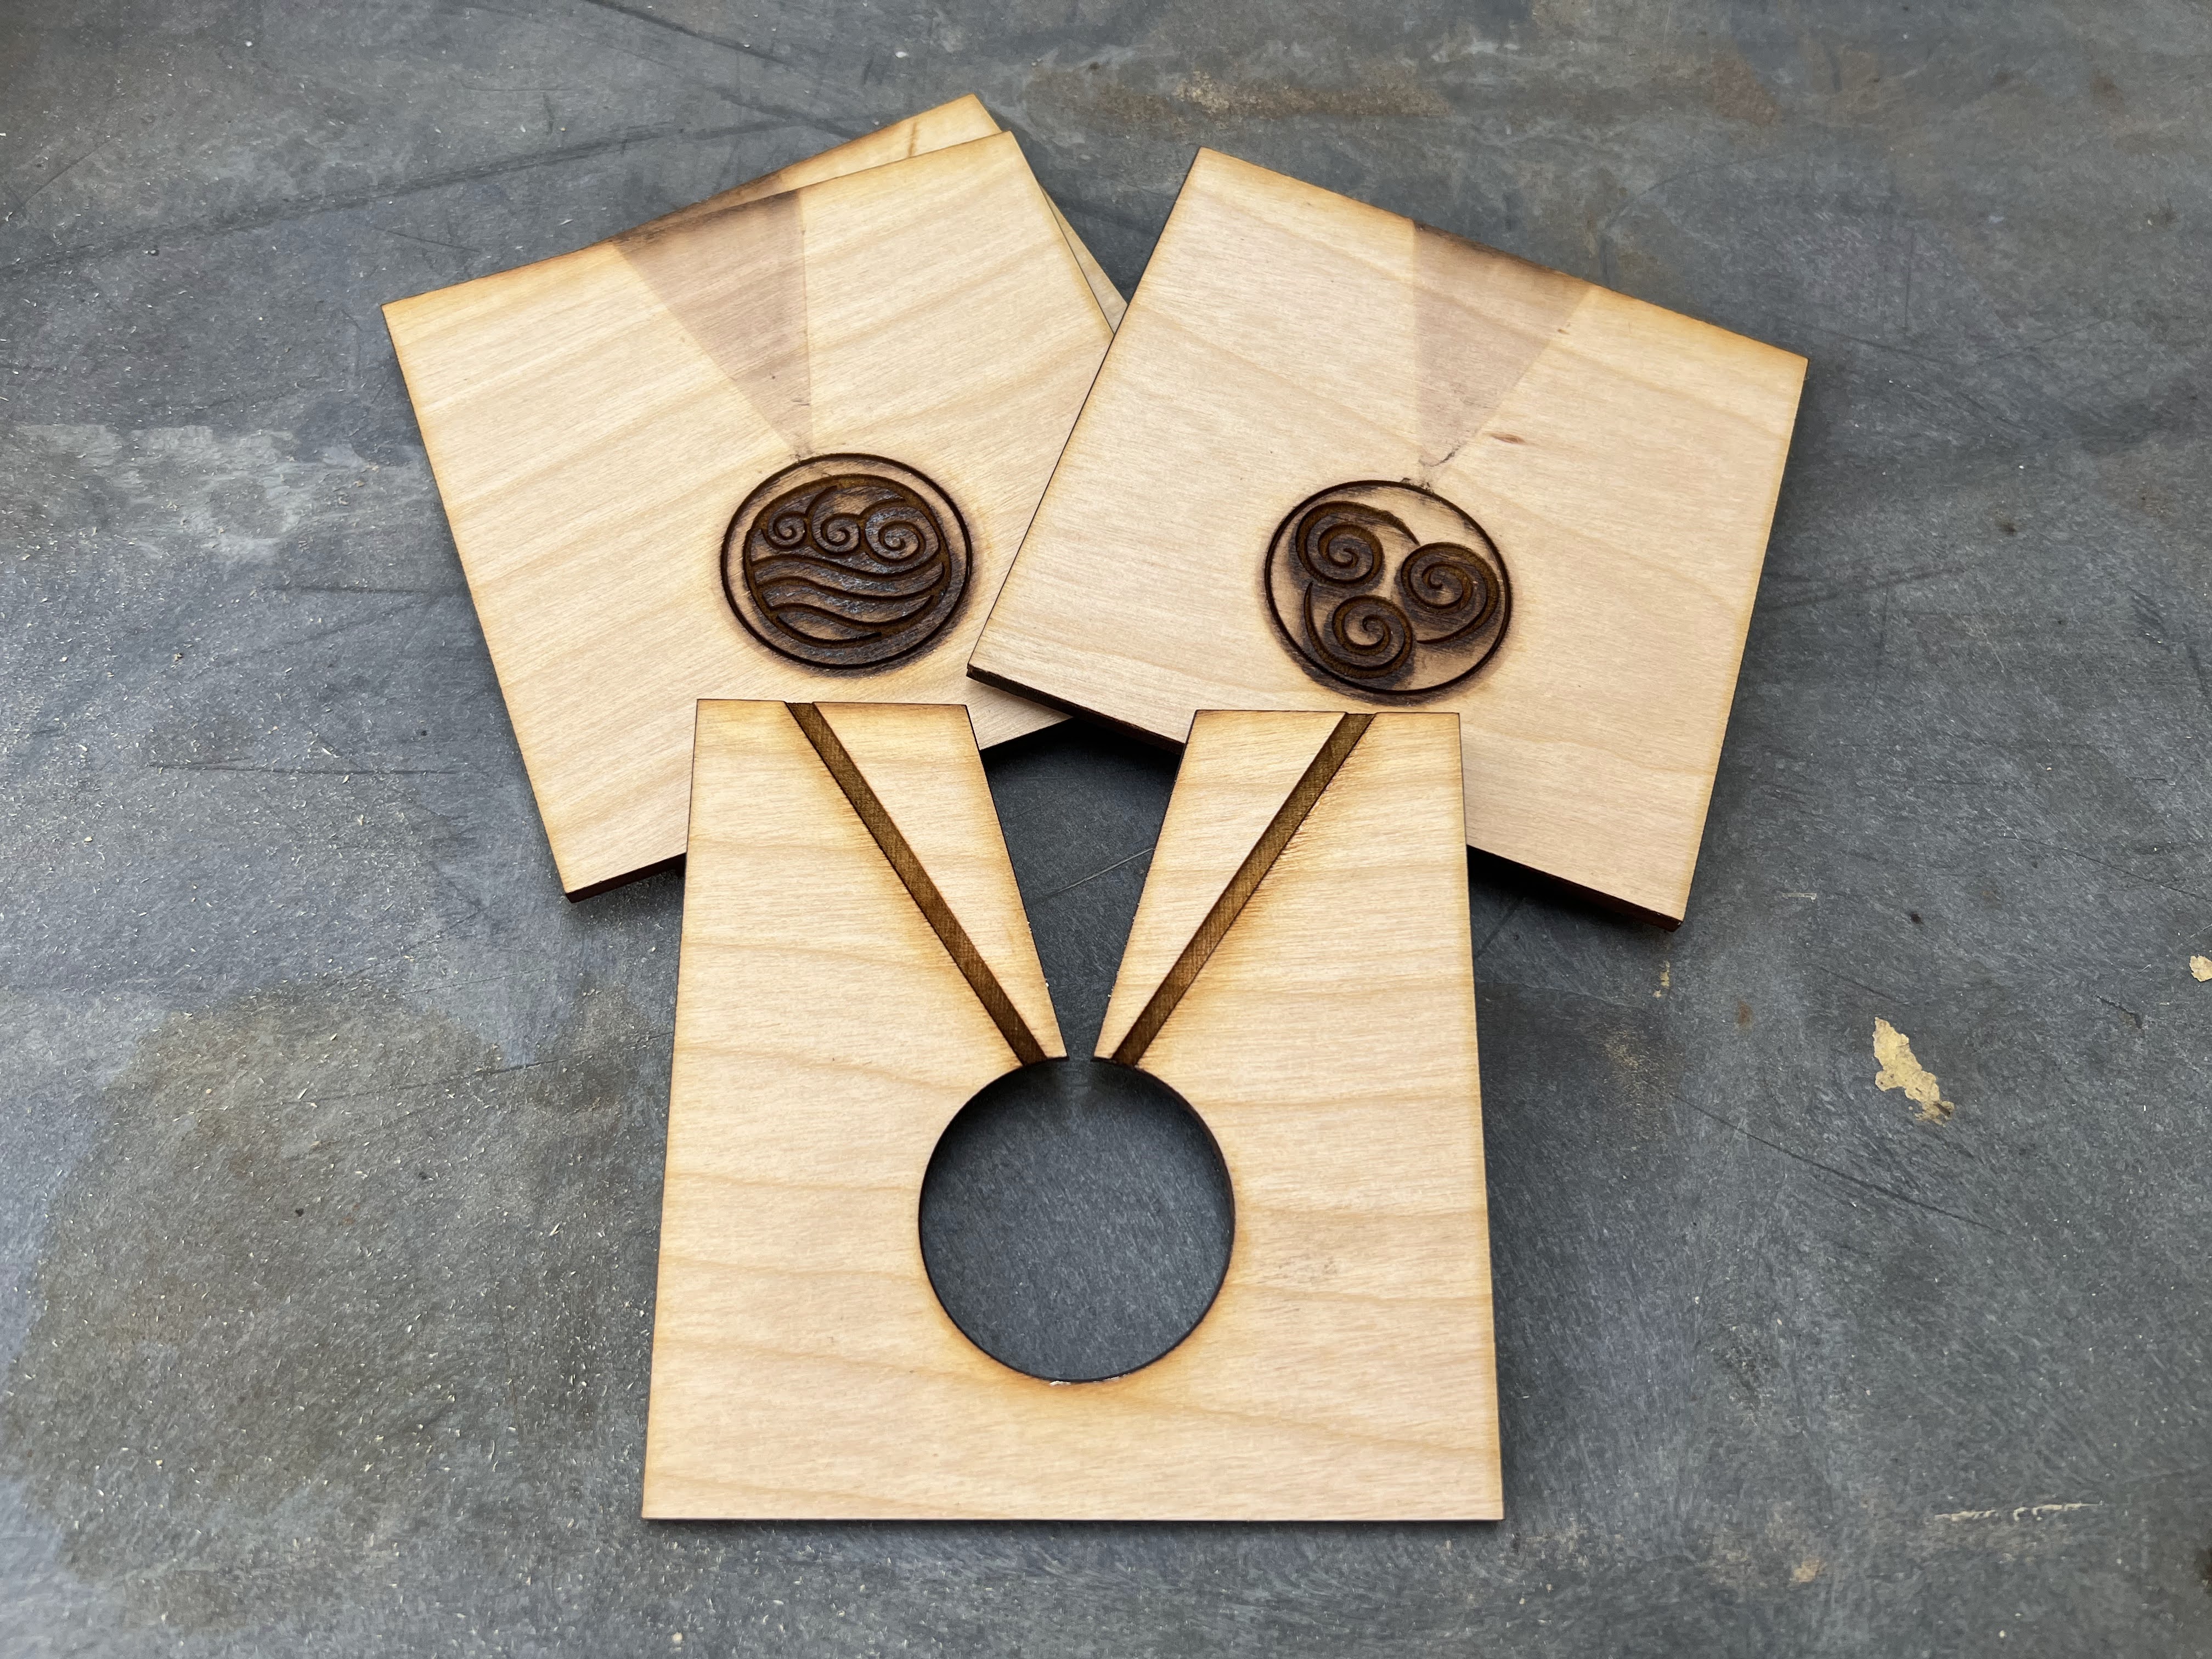
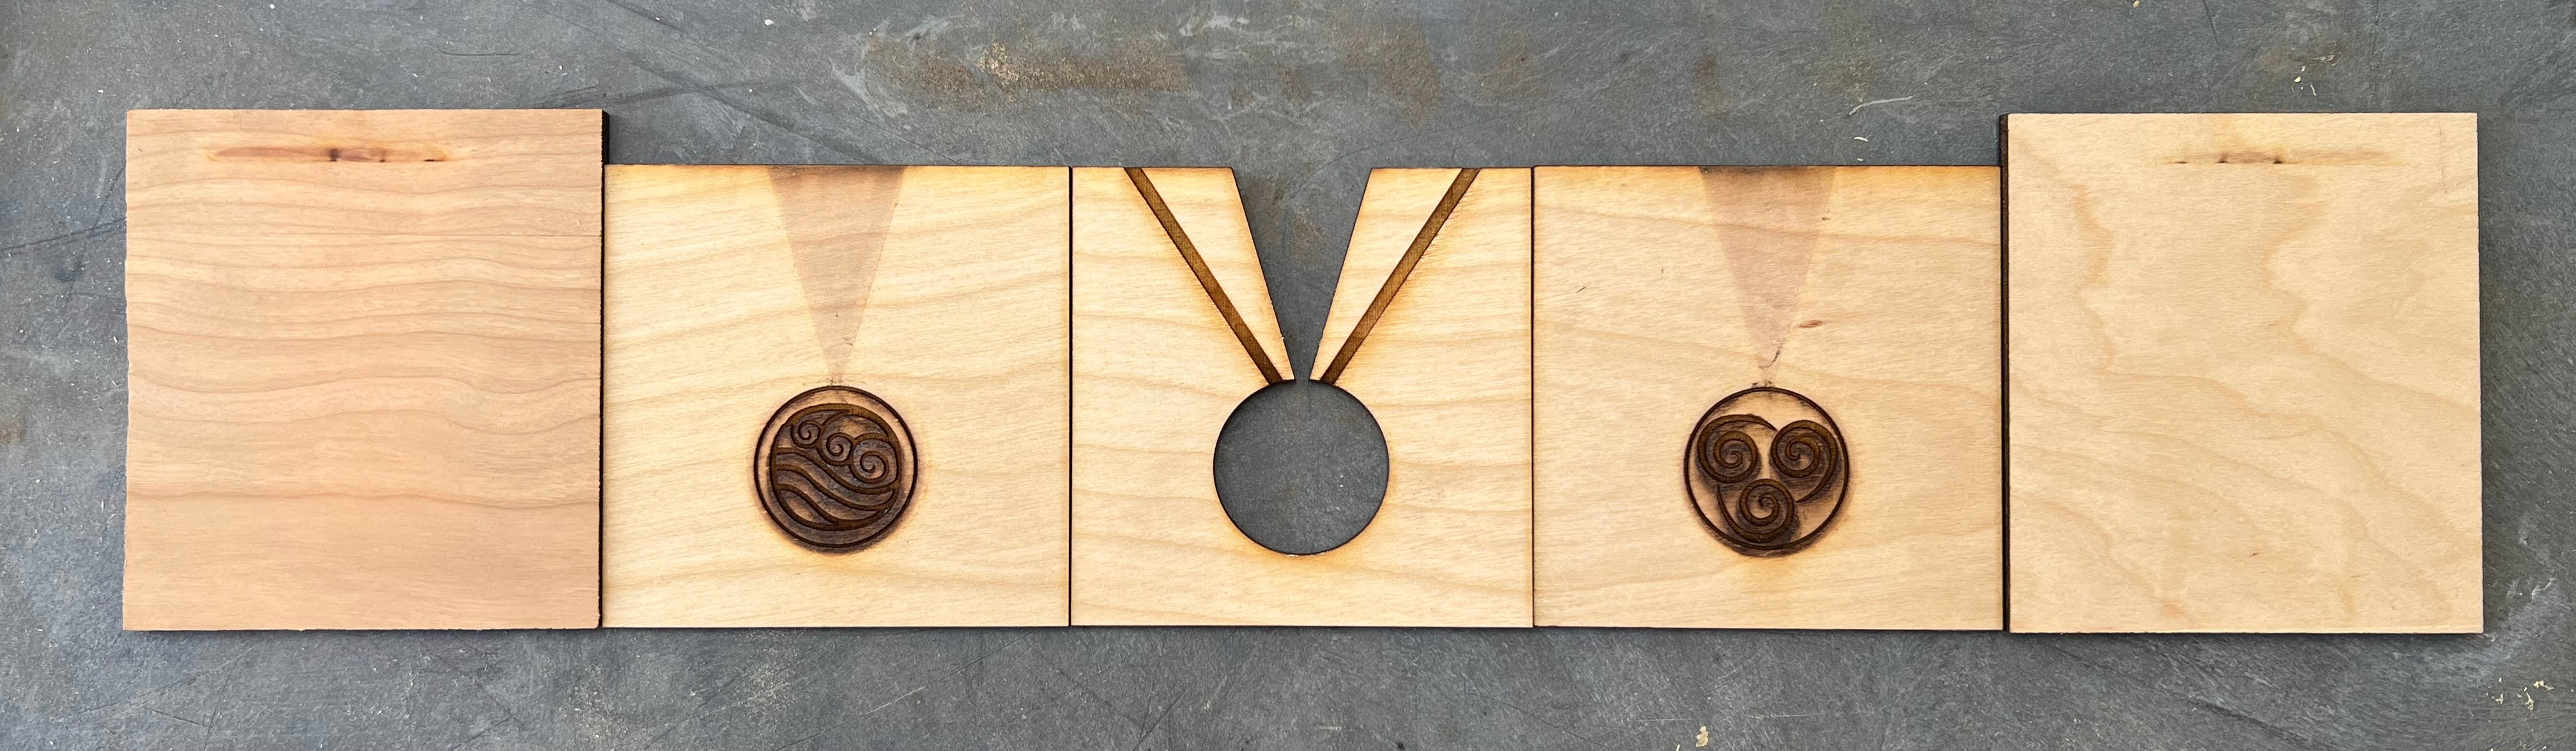
While we waited for the pewter to warm and eventually melt, he showed me how the mold worked. Using five layers of wood (I believe his were made from MDF if I remember correctly), the innermost layer holds the poured pewter. The layers on either side of this central layer contain the design of each side of the coin. Finally, the two outermost layers provide reinforcement and keep the pewter contained as it overflows from the top. Place them all together with clamps, and they are ready for pouring.
With the pewter reaching its melting point in less than ten minutes, my guide proceeded to pour the molten pewter into the mold. After cooling for another ten minutes or so, we peeled the layers to reveal a freshly minted coin.
That experience occurred about five years ago, but I remember it vividly. As a maker of things, I have several simultaneous projects in action while allowing myself the mental space to put other projects on the back burner. I research and think about how I might approach these latter projects when the time is right. Pewter was on my back burner.
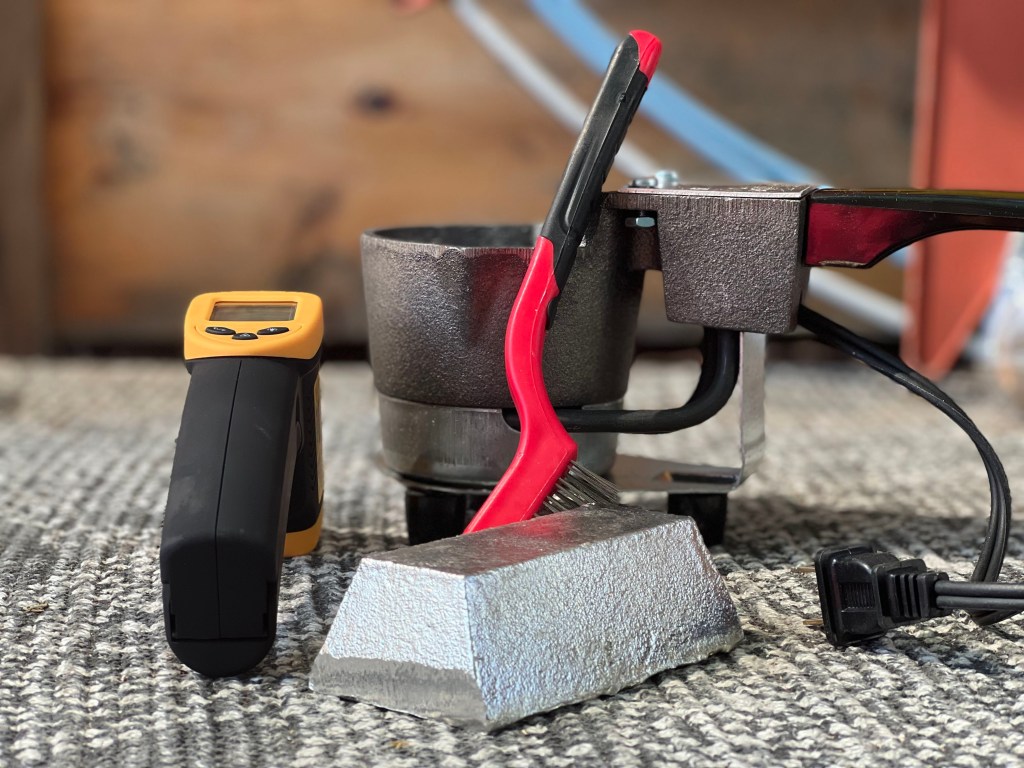
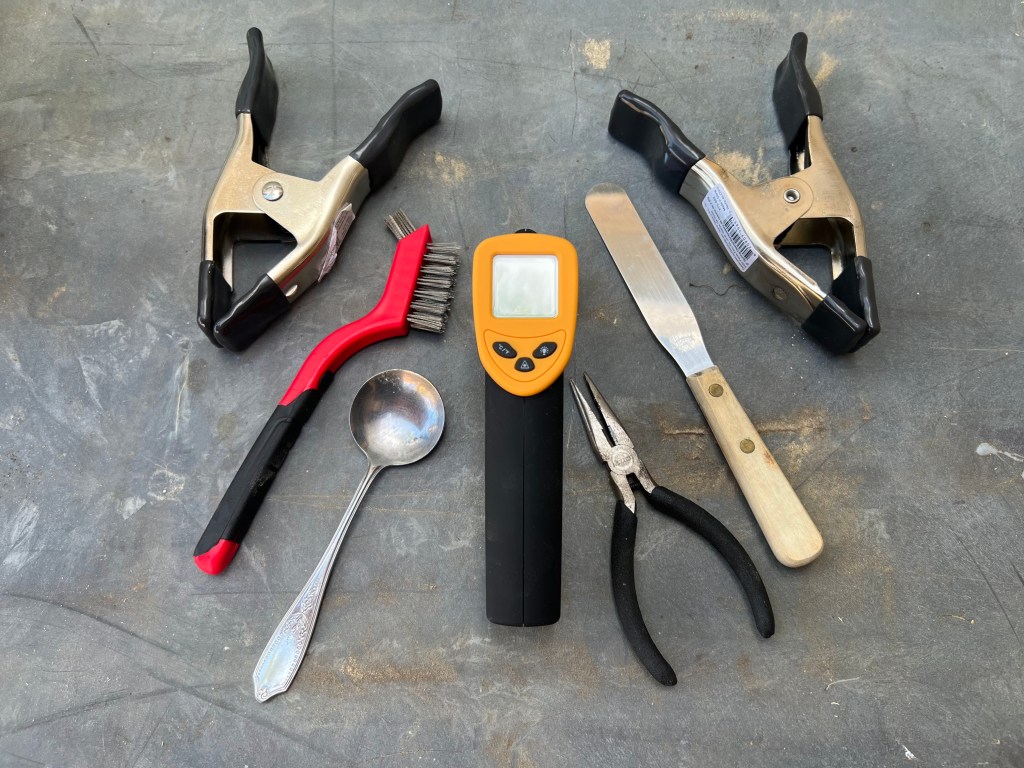
This month, I decided to dive in. I purchased a Hot Pot II from a fishing equipment store and an IR thermometer and stainless steel brushes from Amazon. I also bought a two-pound pewter ingot. I gathered a few other existing accessories from my maker space. Below is a complete list.
Materials List:
- Hot Pot II
- Pewter ingot
- IR thermometer
- Steel brushes (to clean any residue from the newly minted coin)
- Clamps
- Spoon
- Pliers
- Metal spatula (I used one that I had for removing 3D prints off the plate)
- Baby powder (release agent)
- Small paintbrush (to spread out baby powder)
- Dremel or similar sanding tool
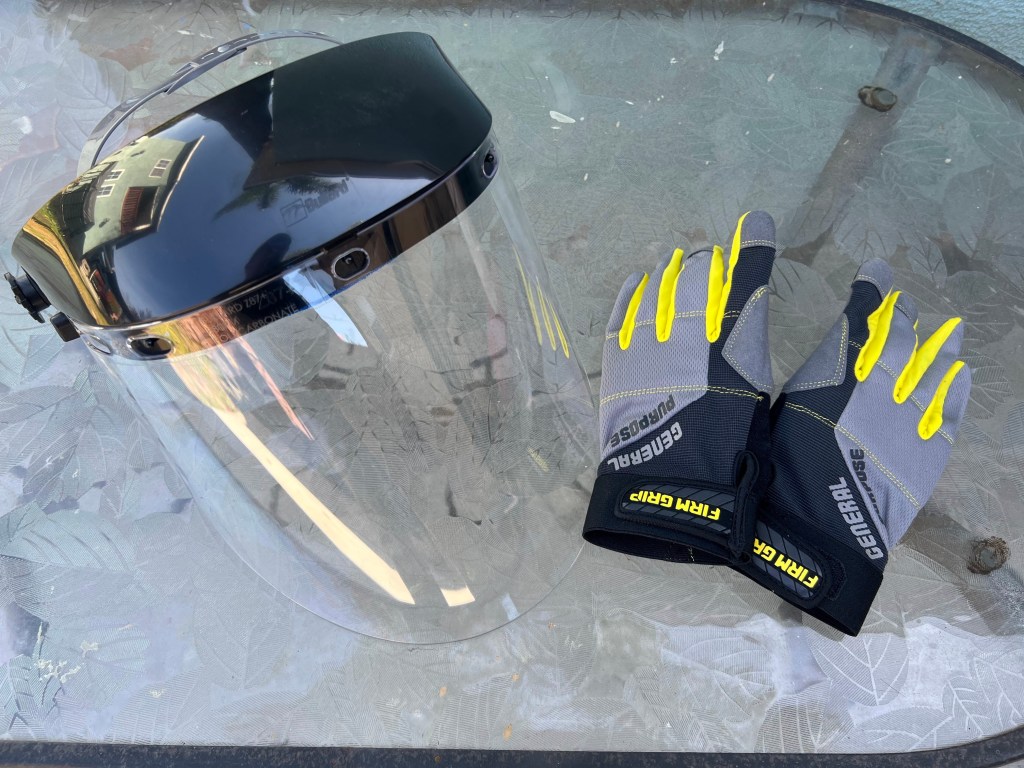
- Workman’s gloves
- Face shield
I designed the coins from previous artwork I had done for laser-cut acrylic earrings. Borrowing from the animated series, Avatar: The Last Airbender, I created Earth, Fire, Water, and Air symbols. This artwork seemed promising as a symbol for coinage, and I was eager to take a test run.
Below is an example of the revised artwork in Adobe Illustrator created for the coin mold.
The Process
After designing and laser-cutting the five layers:
- Prepare to assemble them in order.
- Sprinkle a bit of baby powder on the areas where the coin design is imprinted and on the pour channel.
- Use the soft paintbrush to spread the baby powder around in a thin even layer.
- Apply clamps to keep the layers in place and prop the entire mold upright.
Plug in the Hot Pot and place the pewter ingot into the basin. It should take less than ten minutes for the pewter to liquify. Test the temperature using the IR thermometer. The pewter is likely around 350° Fahrenheit.
With gloves on your hands and a face shield in place, use a spoon to remove any surface impurities from the top of the liquified pewter. Now, gently pick up the hot pot from its base and slowly pour the molten liquid into the pour channel at the top of the mold, as seen below. Stop when you see the pewter at the surface.
Allow the poured pewter to cool to about 75 degrees, using the IR thermometer to measure the temperature on one of the outermost support layers.
Once cooled, use the metal spatula to separate the layers. Remove the excess pewter from the coin with pliers. There will be pewter in the pour channel and possibly in the air vents. If necessary, apply a sanding bit on a Dremel or other tool to sand down any sharp edges from the coin. Use the steel brush (or steel wool) to remove blemishes from the coin’s surface.
What I enjoy about pewter casting
There is something inherently gratifying about transforming raw materials into a new object you have designed. Whether this comes in the form of 3D printing, laser cutting, or building with power tools, the creative feeling is the same. Melting metal, a usually inflexible substance, feels almost like magic, alchemistic. The iterative process, which generally generates waste, is unique here. You can remelt the pewter, so there is practically no material loss. The laser-cut templates are reusable as long as they are intact.
What to watch out for
Take precautions such as heavy gloves and a face shield when working with pewter. You can never be too safe. It may also benefit you to have an old cutting board on hand as a platform on which to place the mold and pour the pewter. Regardless of what you use, perform this process on a surface you don’t mind damaging.
My early results left divots at the top of my coins, even with air vents in the mold to prevent pockets of air from accumulating. The baby powder seems to have helped, along with pouring slowly, but I am unsure of the exact cause and effect.
Extensions
This activity might integrate well with a social studies unit on ancient civilizations and currency. Rather than coins, you might design an amulet while researching religions or cultures. Maybe you need custom weights for that next math or science project. Move beyond laser-cut templates to more three-dimensional objects using high-temperature silicone.
This is the beginning of my journey, and there’s a long road ahead. I am looking forward to the unexpected twists and turns, and the occasional bumps in the road.
Recognition
Thank you to @noiseprofessor on twitter for the helpful blog post on your pewter casting experiences. It served as a helpful springboard for my work.
Resources
Pewter Ingot (lead-free)
Laser-cut file for the Air Nation coin
Update:
I have discovered a few best practices in the last month:
- Baby powder is essential as a release agent but also to keep bubbles from forming.
- MDF is thus far the material with the cleanest results.
- I have modified my template so that I can reduce the amount of material per cut. Using a slot-like outer layer that I reuse, I can simply place a thinner centerpiece per each art work. Here is the template with directions.

What an accessible technique! I’m wondering if “baby powder” is talc-? Aren’t new formulations made with corn starch? If so, will this work, or does it burn? tku
LikeLike
So I do believe it’s talc. In any case, in my experience, there’s been no burning of the powder during the pour.
LikeLike