I initially wrote about the mint box miniature landscapes project in February of 2019. In that post, I provided instructions on how to create your own project using an empty mint box, layers of laser cut designs, and a simple LED circuit. I shared a few examples of the project that had been created up that point. Timing seems right to post a follow up to share what I have learned since then.
Making Connections
From that post, the response has been wonderful, with educators across the country reaching out about using this project in the classroom. Oh, the power of social media! These educators discussed possibilities for integrating this project into topics that students are studying in history, or referencing characters and events through literary works that are being read. Some might have students focus on a subject about which they are passionate. The connections are truly only limited by one’s imagination.
New and Alternative Methods
In addition to curriculum integration, we discussed alternative methods when a school doesn’t have access to, for example, a laser cutter. Students can draw onto cardboard or chipboard and hand cut with scissors. A step up from that might be to use a Cricut or Silhouette Cameo with thin paper materials. If soldering a circuit is out of range for some learners, fairy lights are an inexpensive substitute, bypassing the wiring and circuit work to focus on the art.
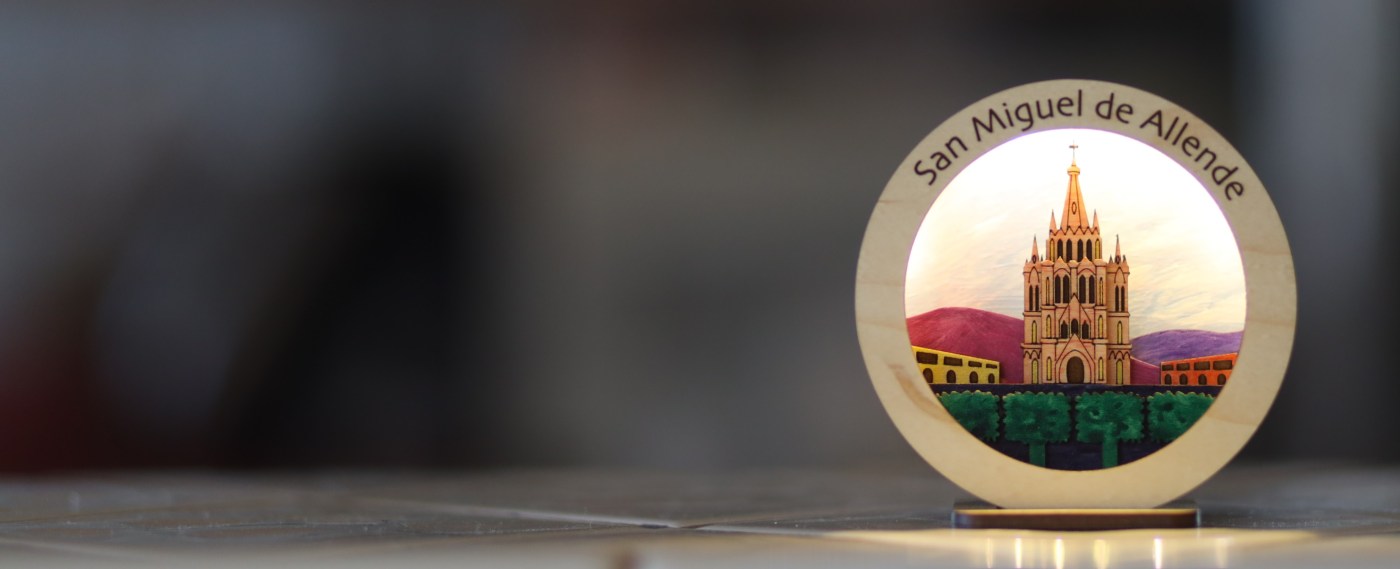
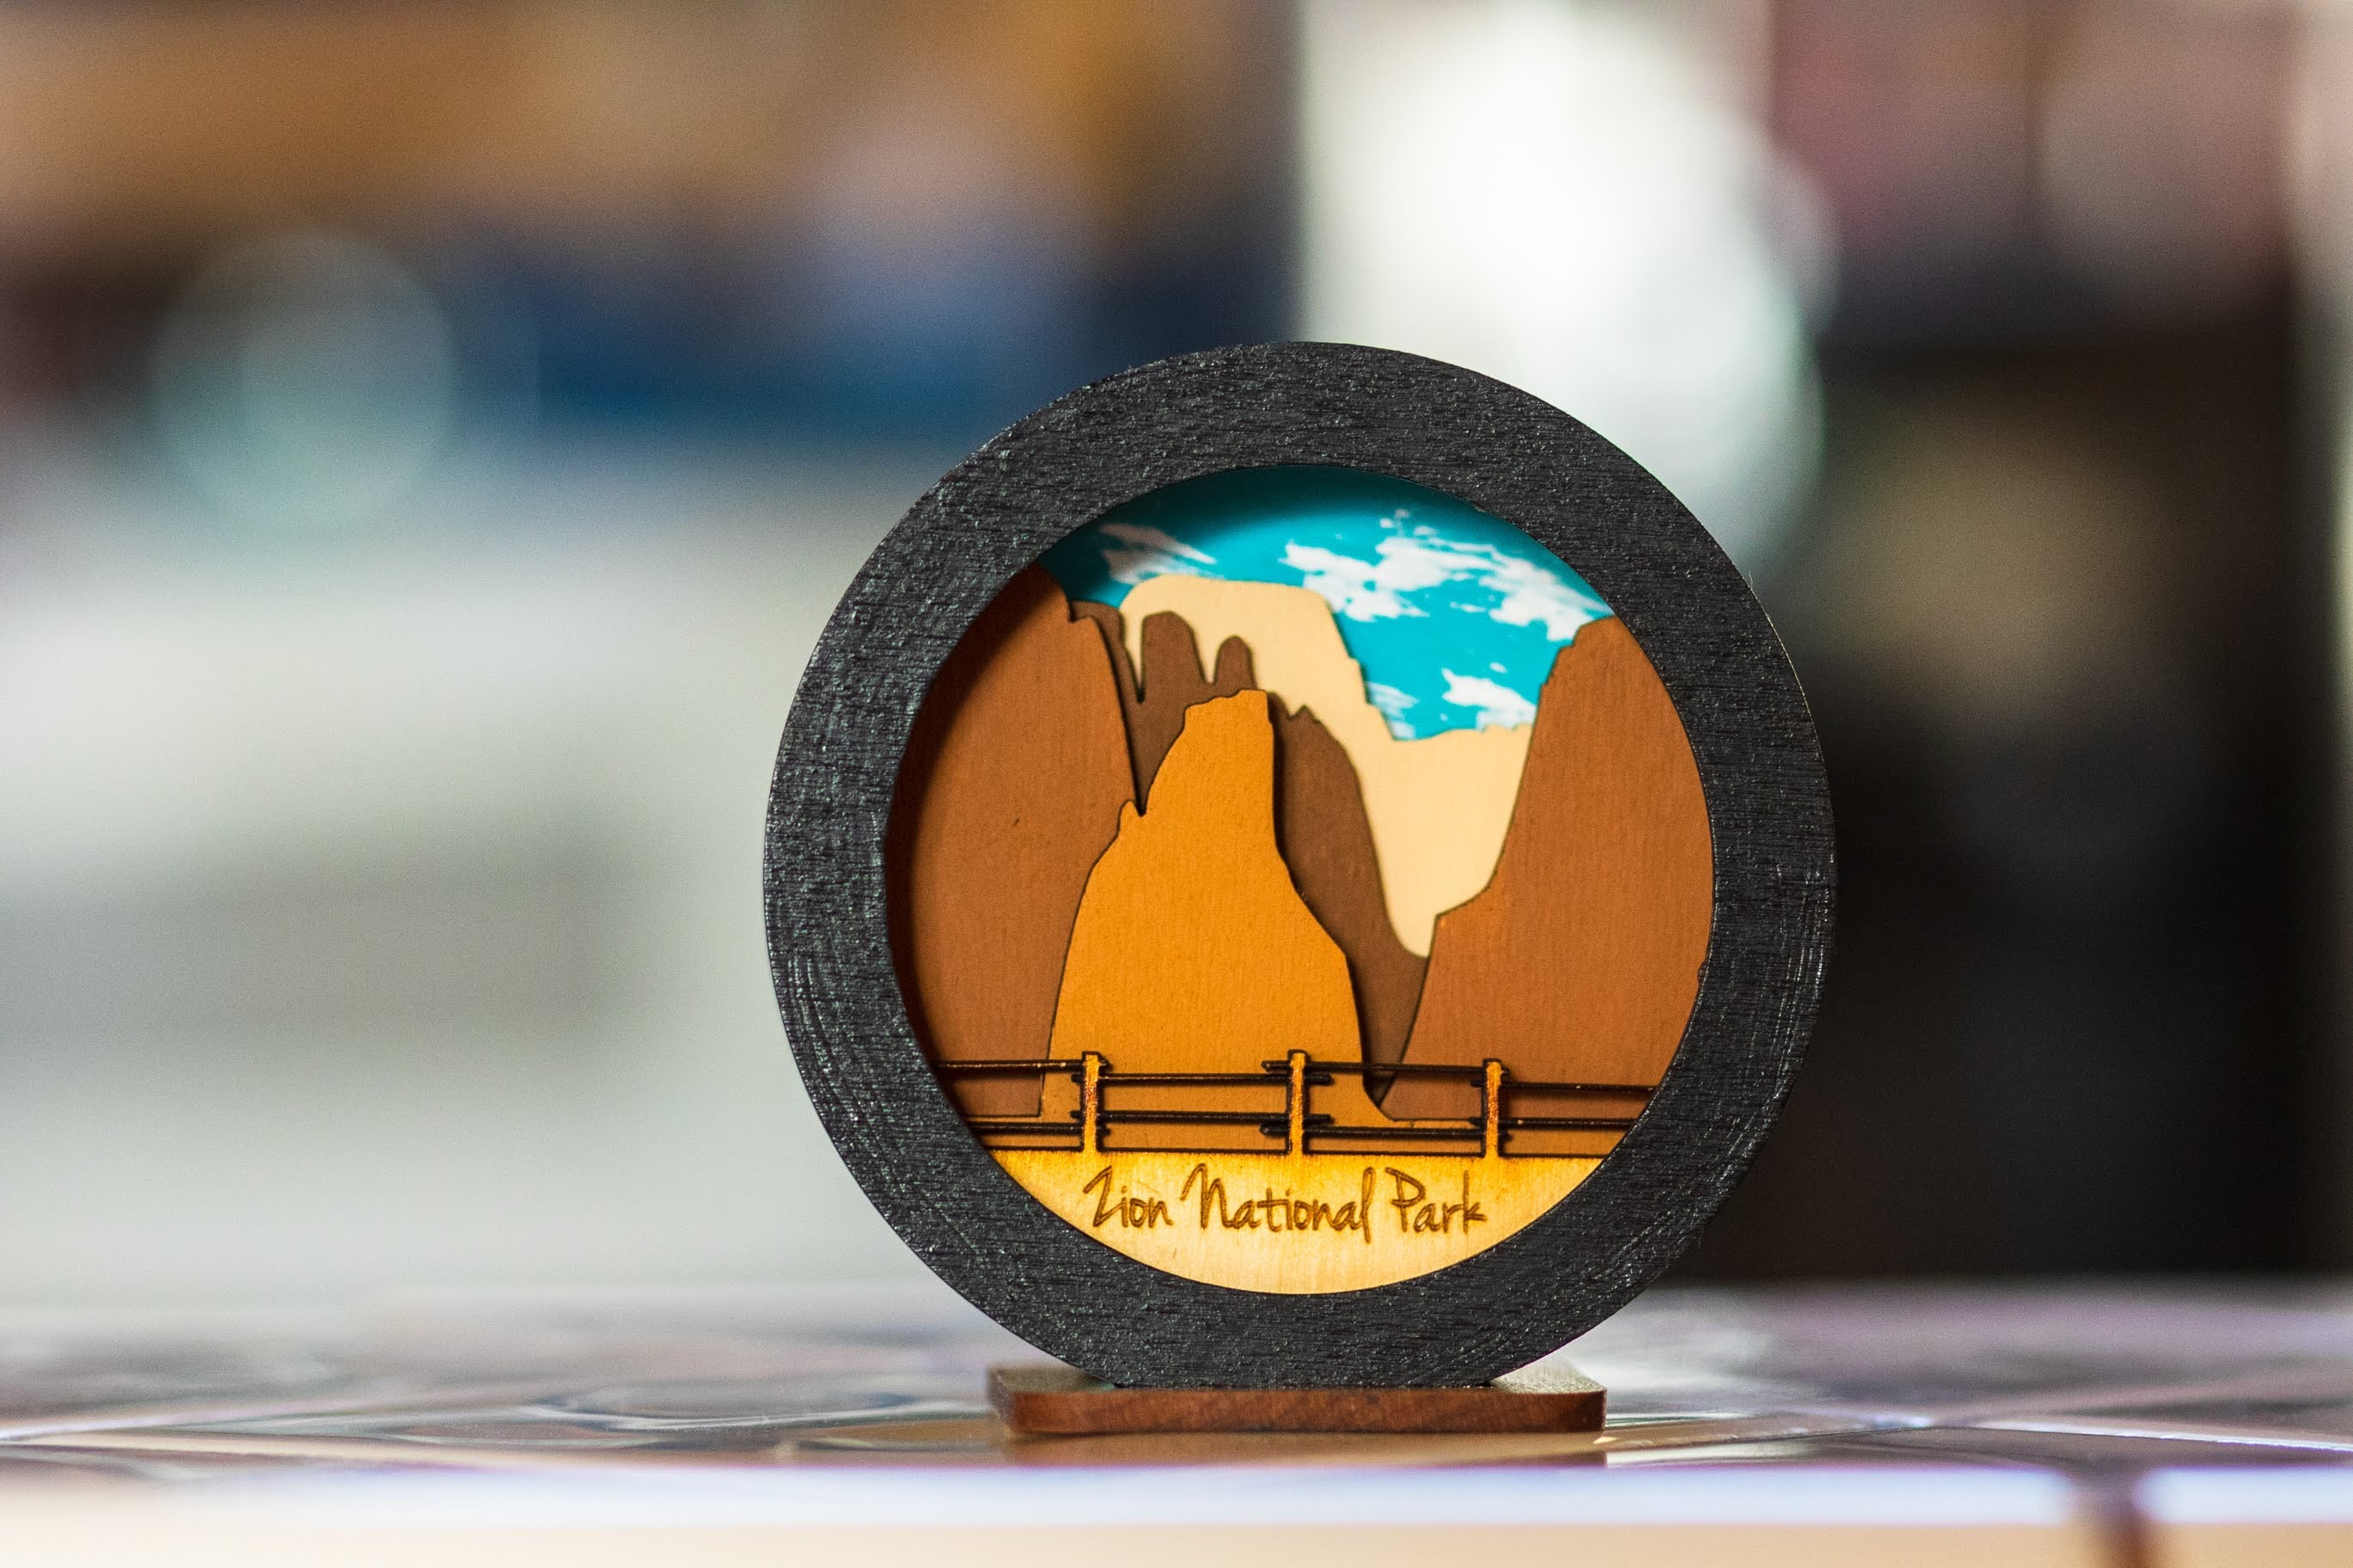
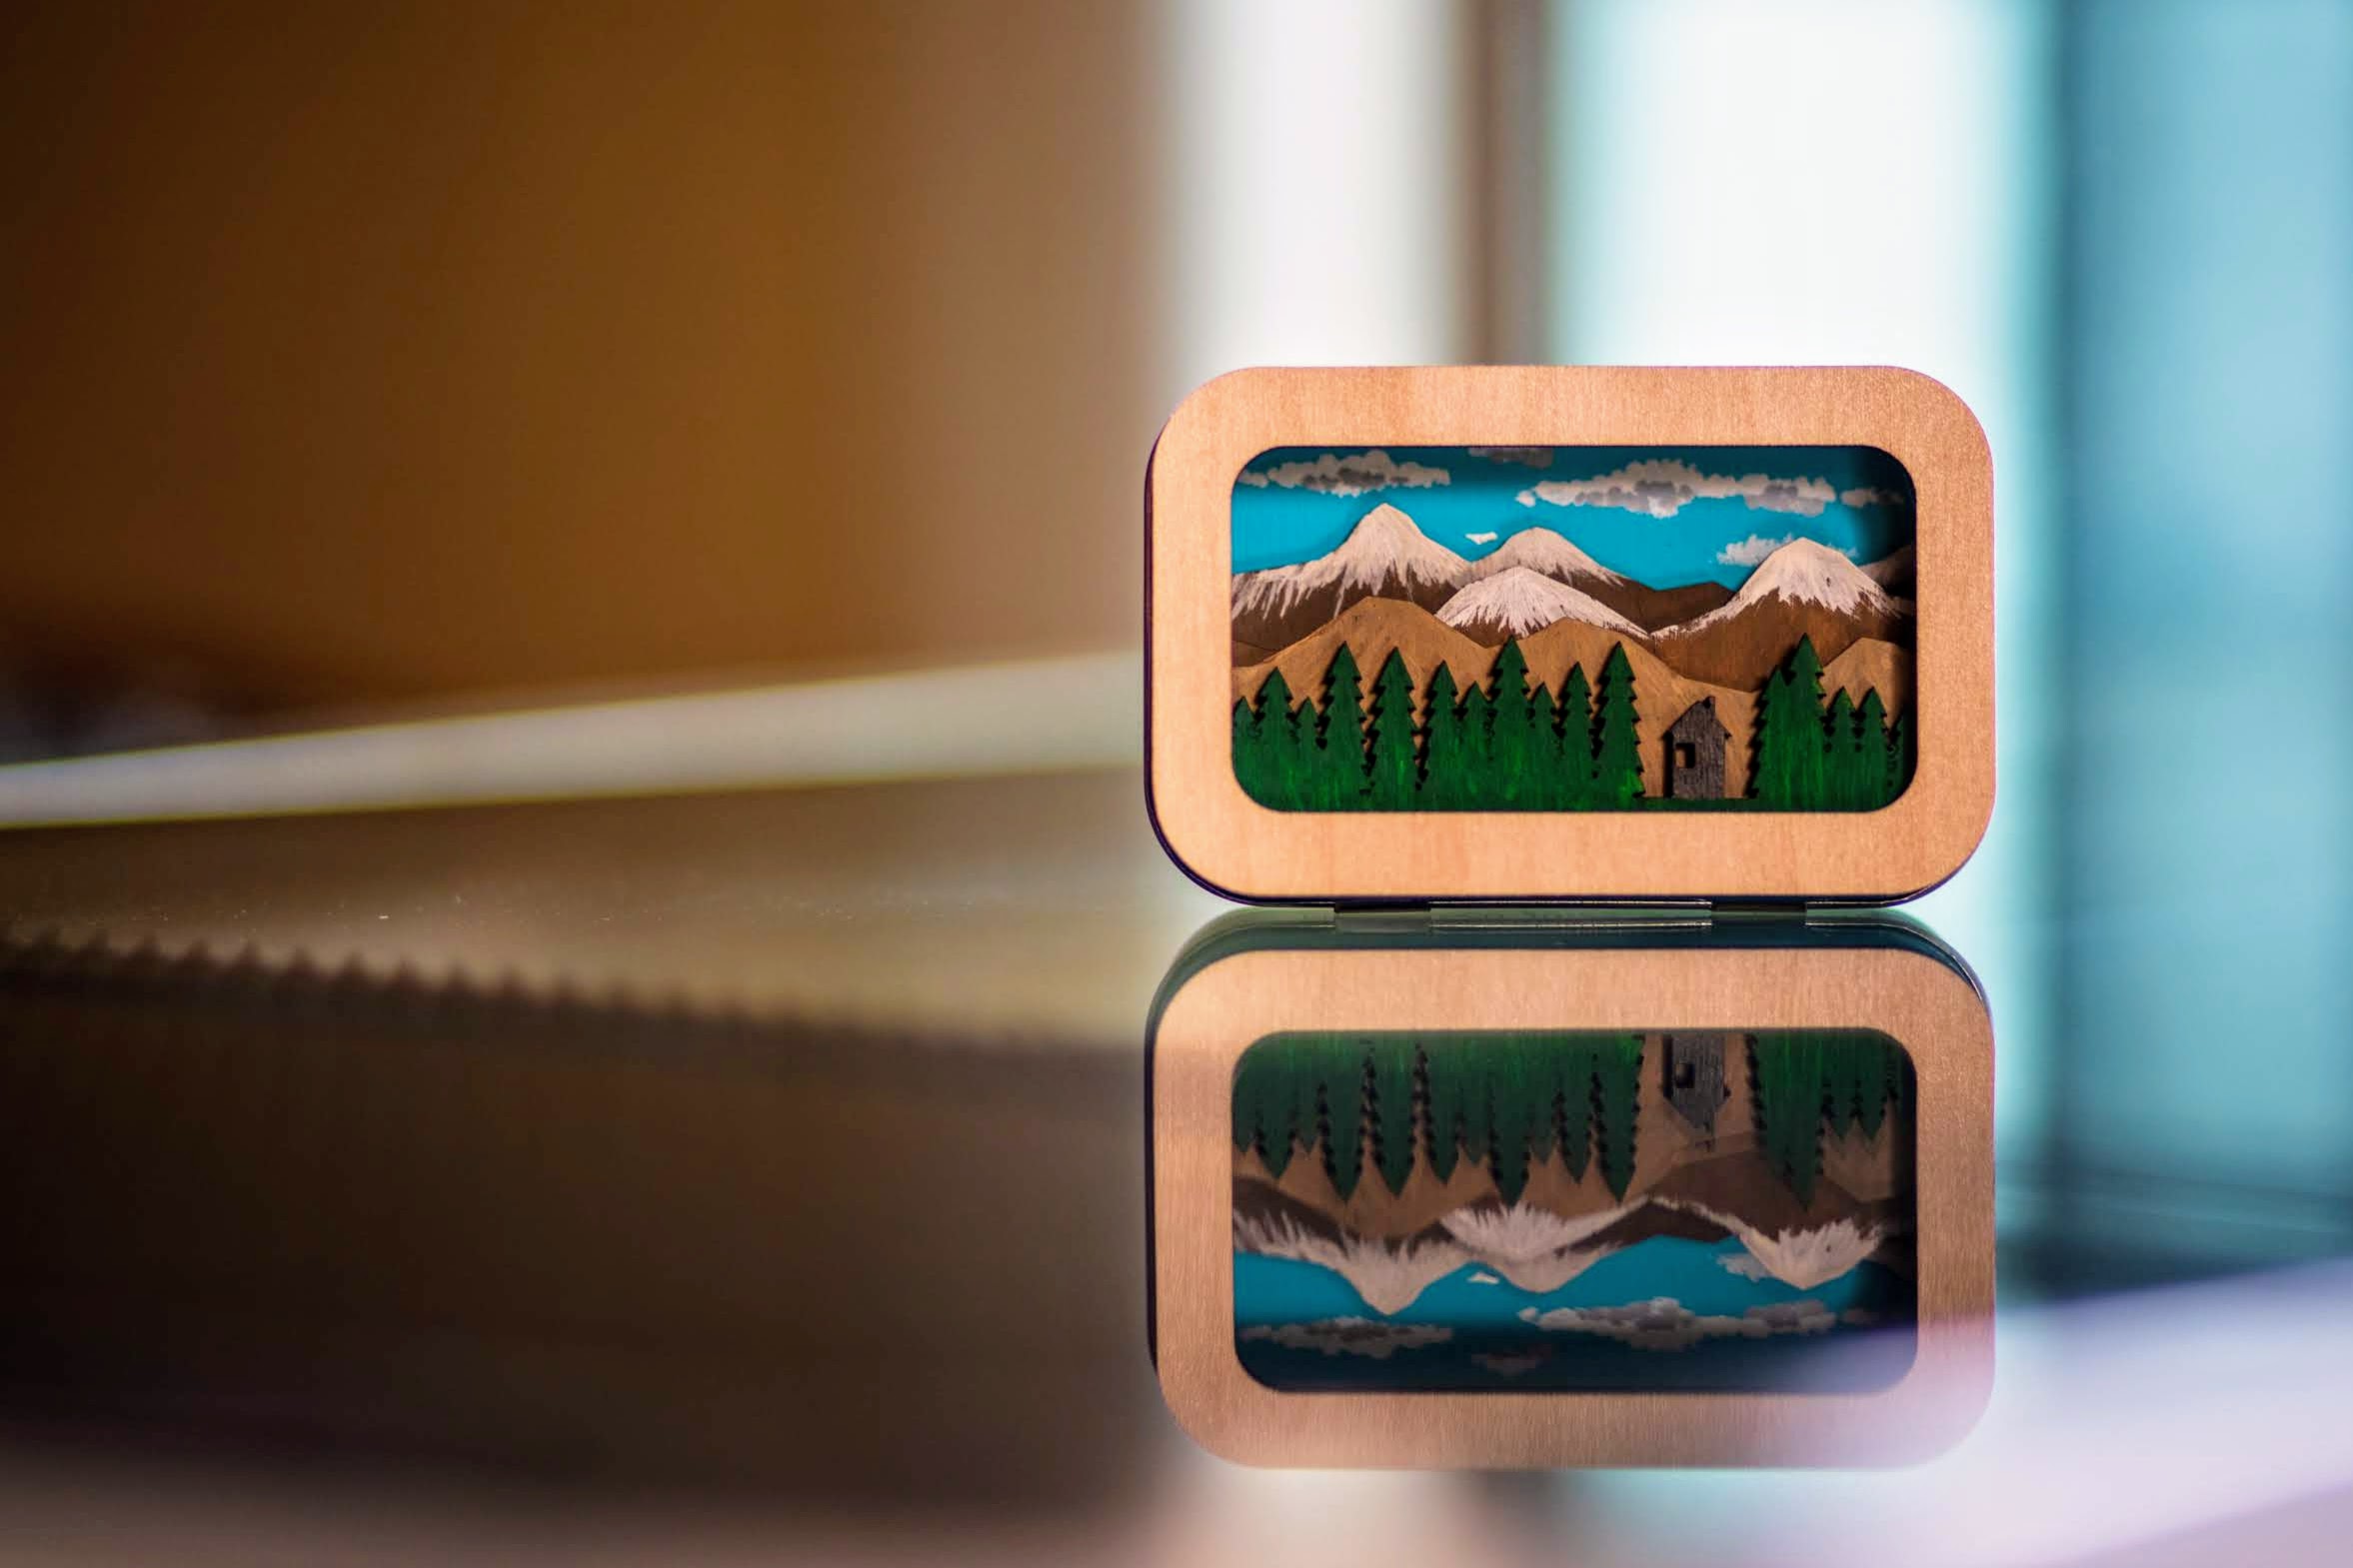
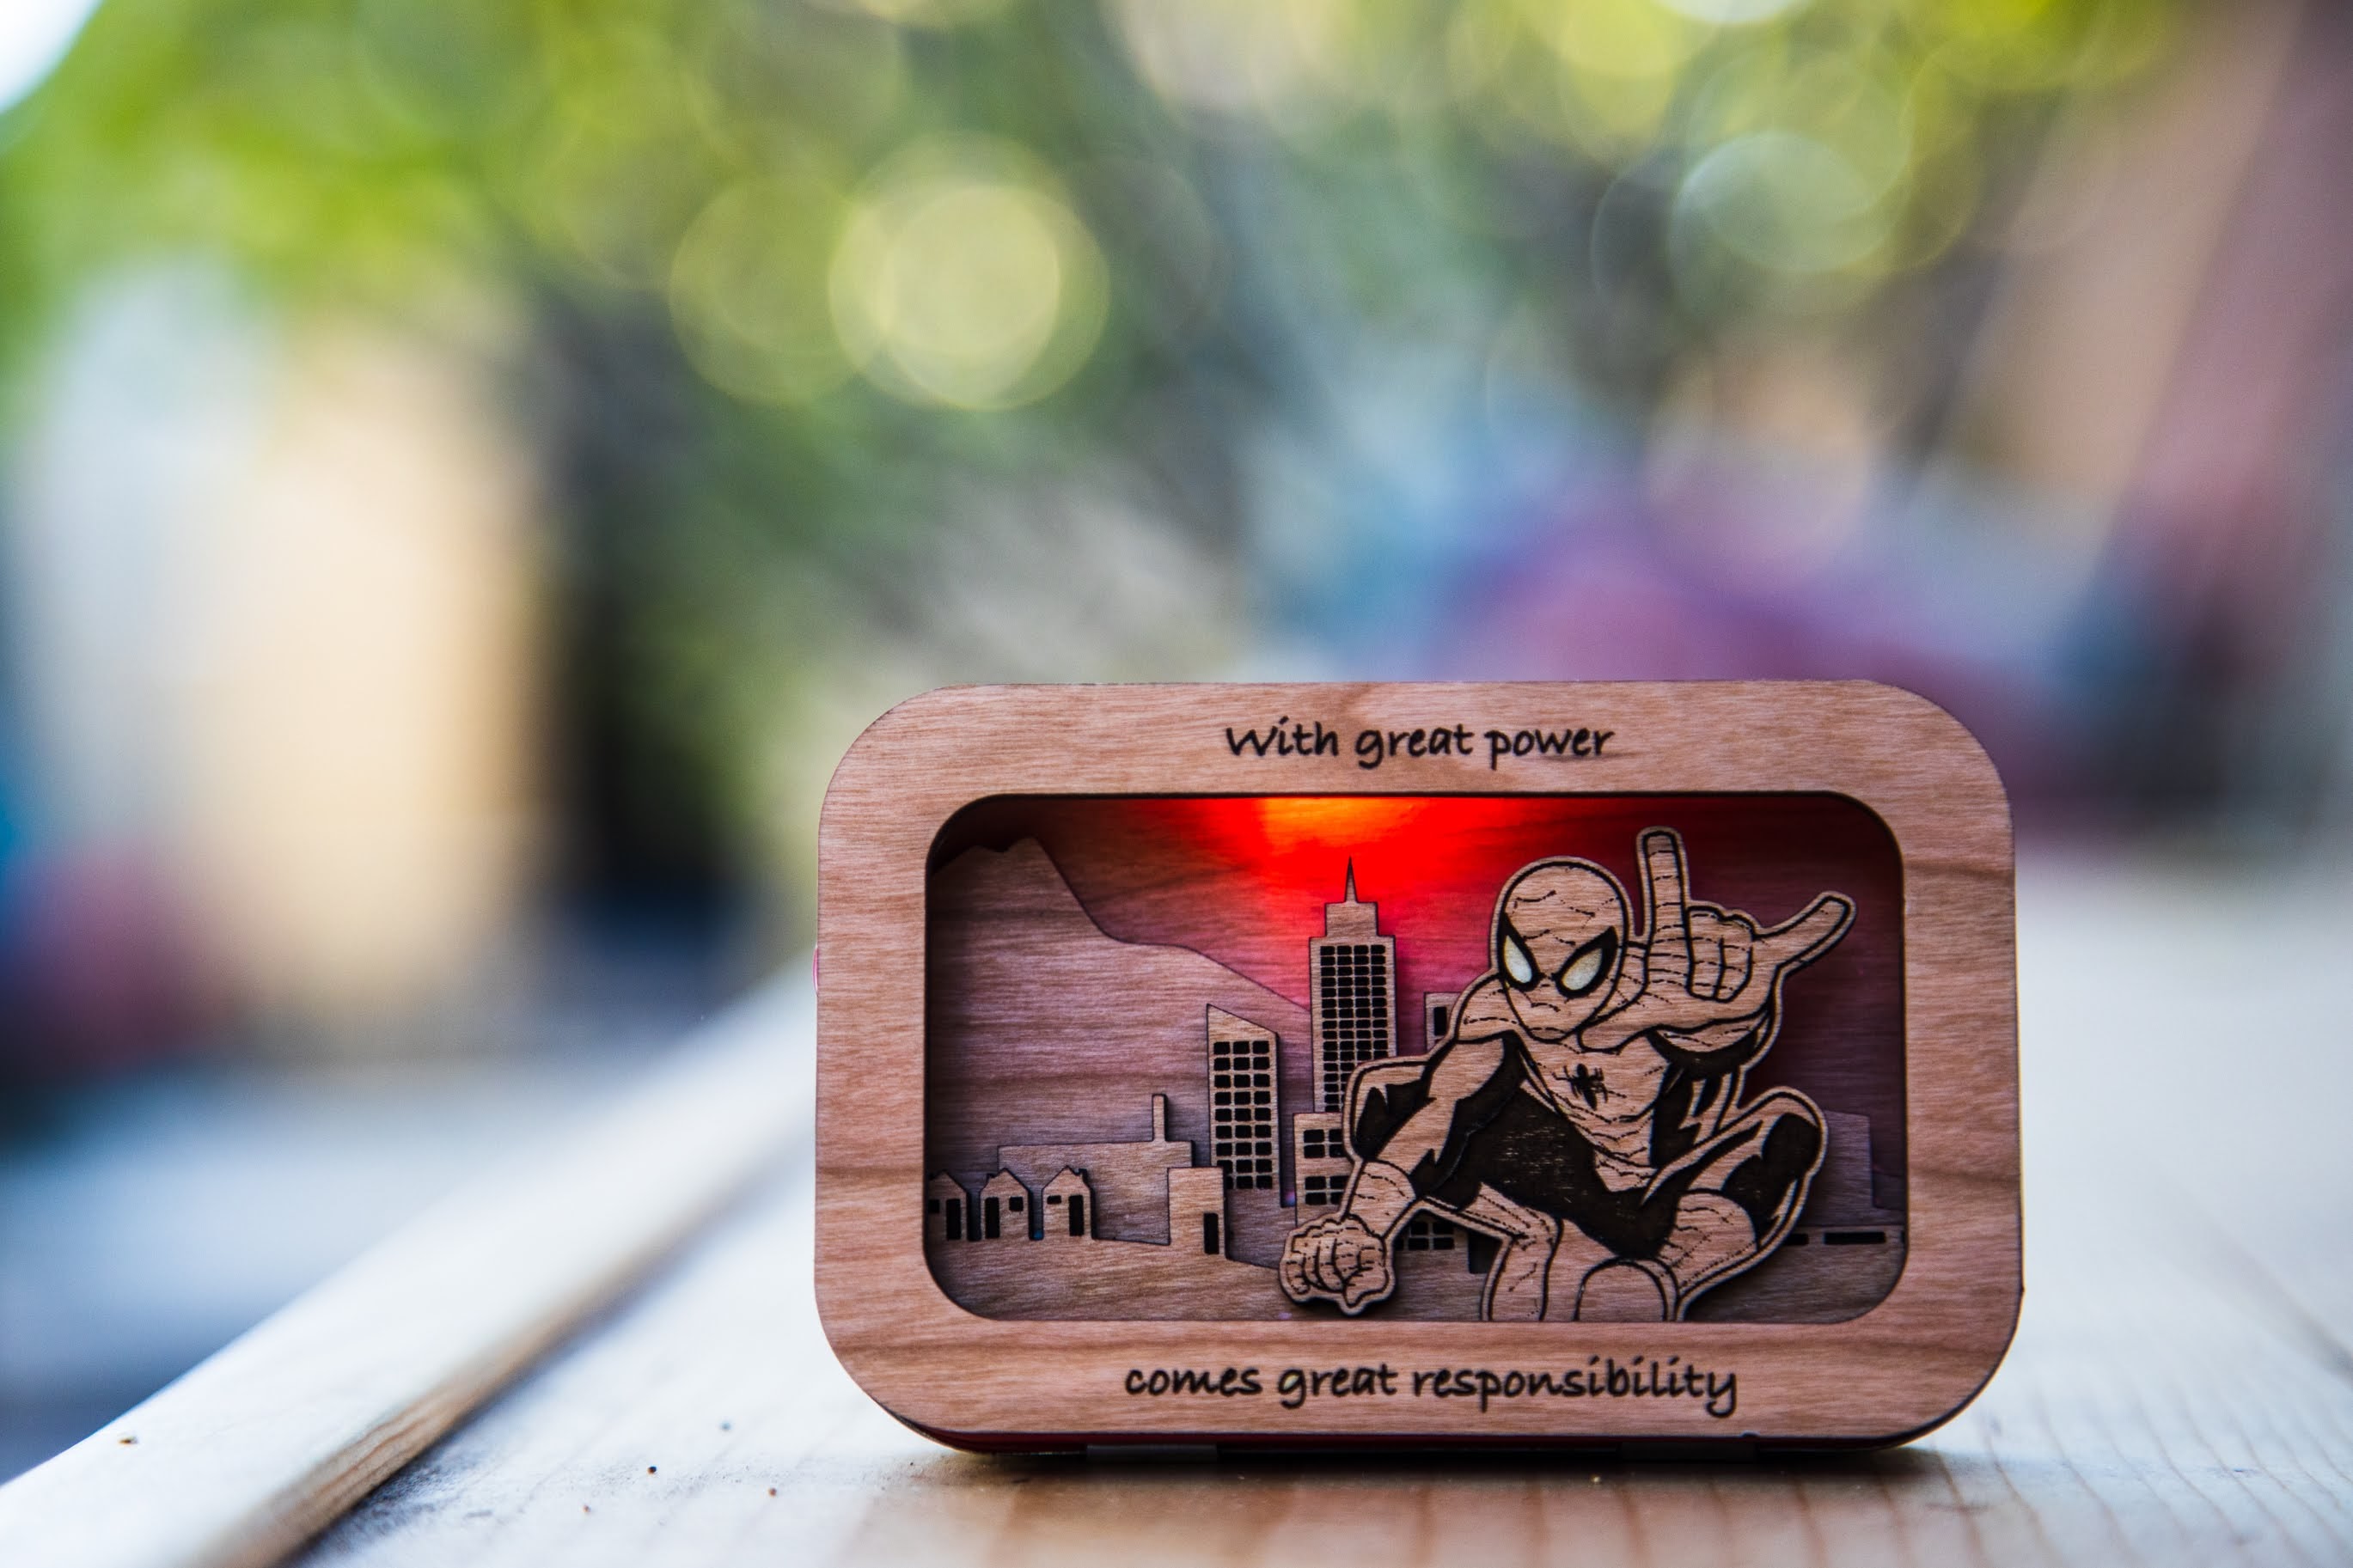
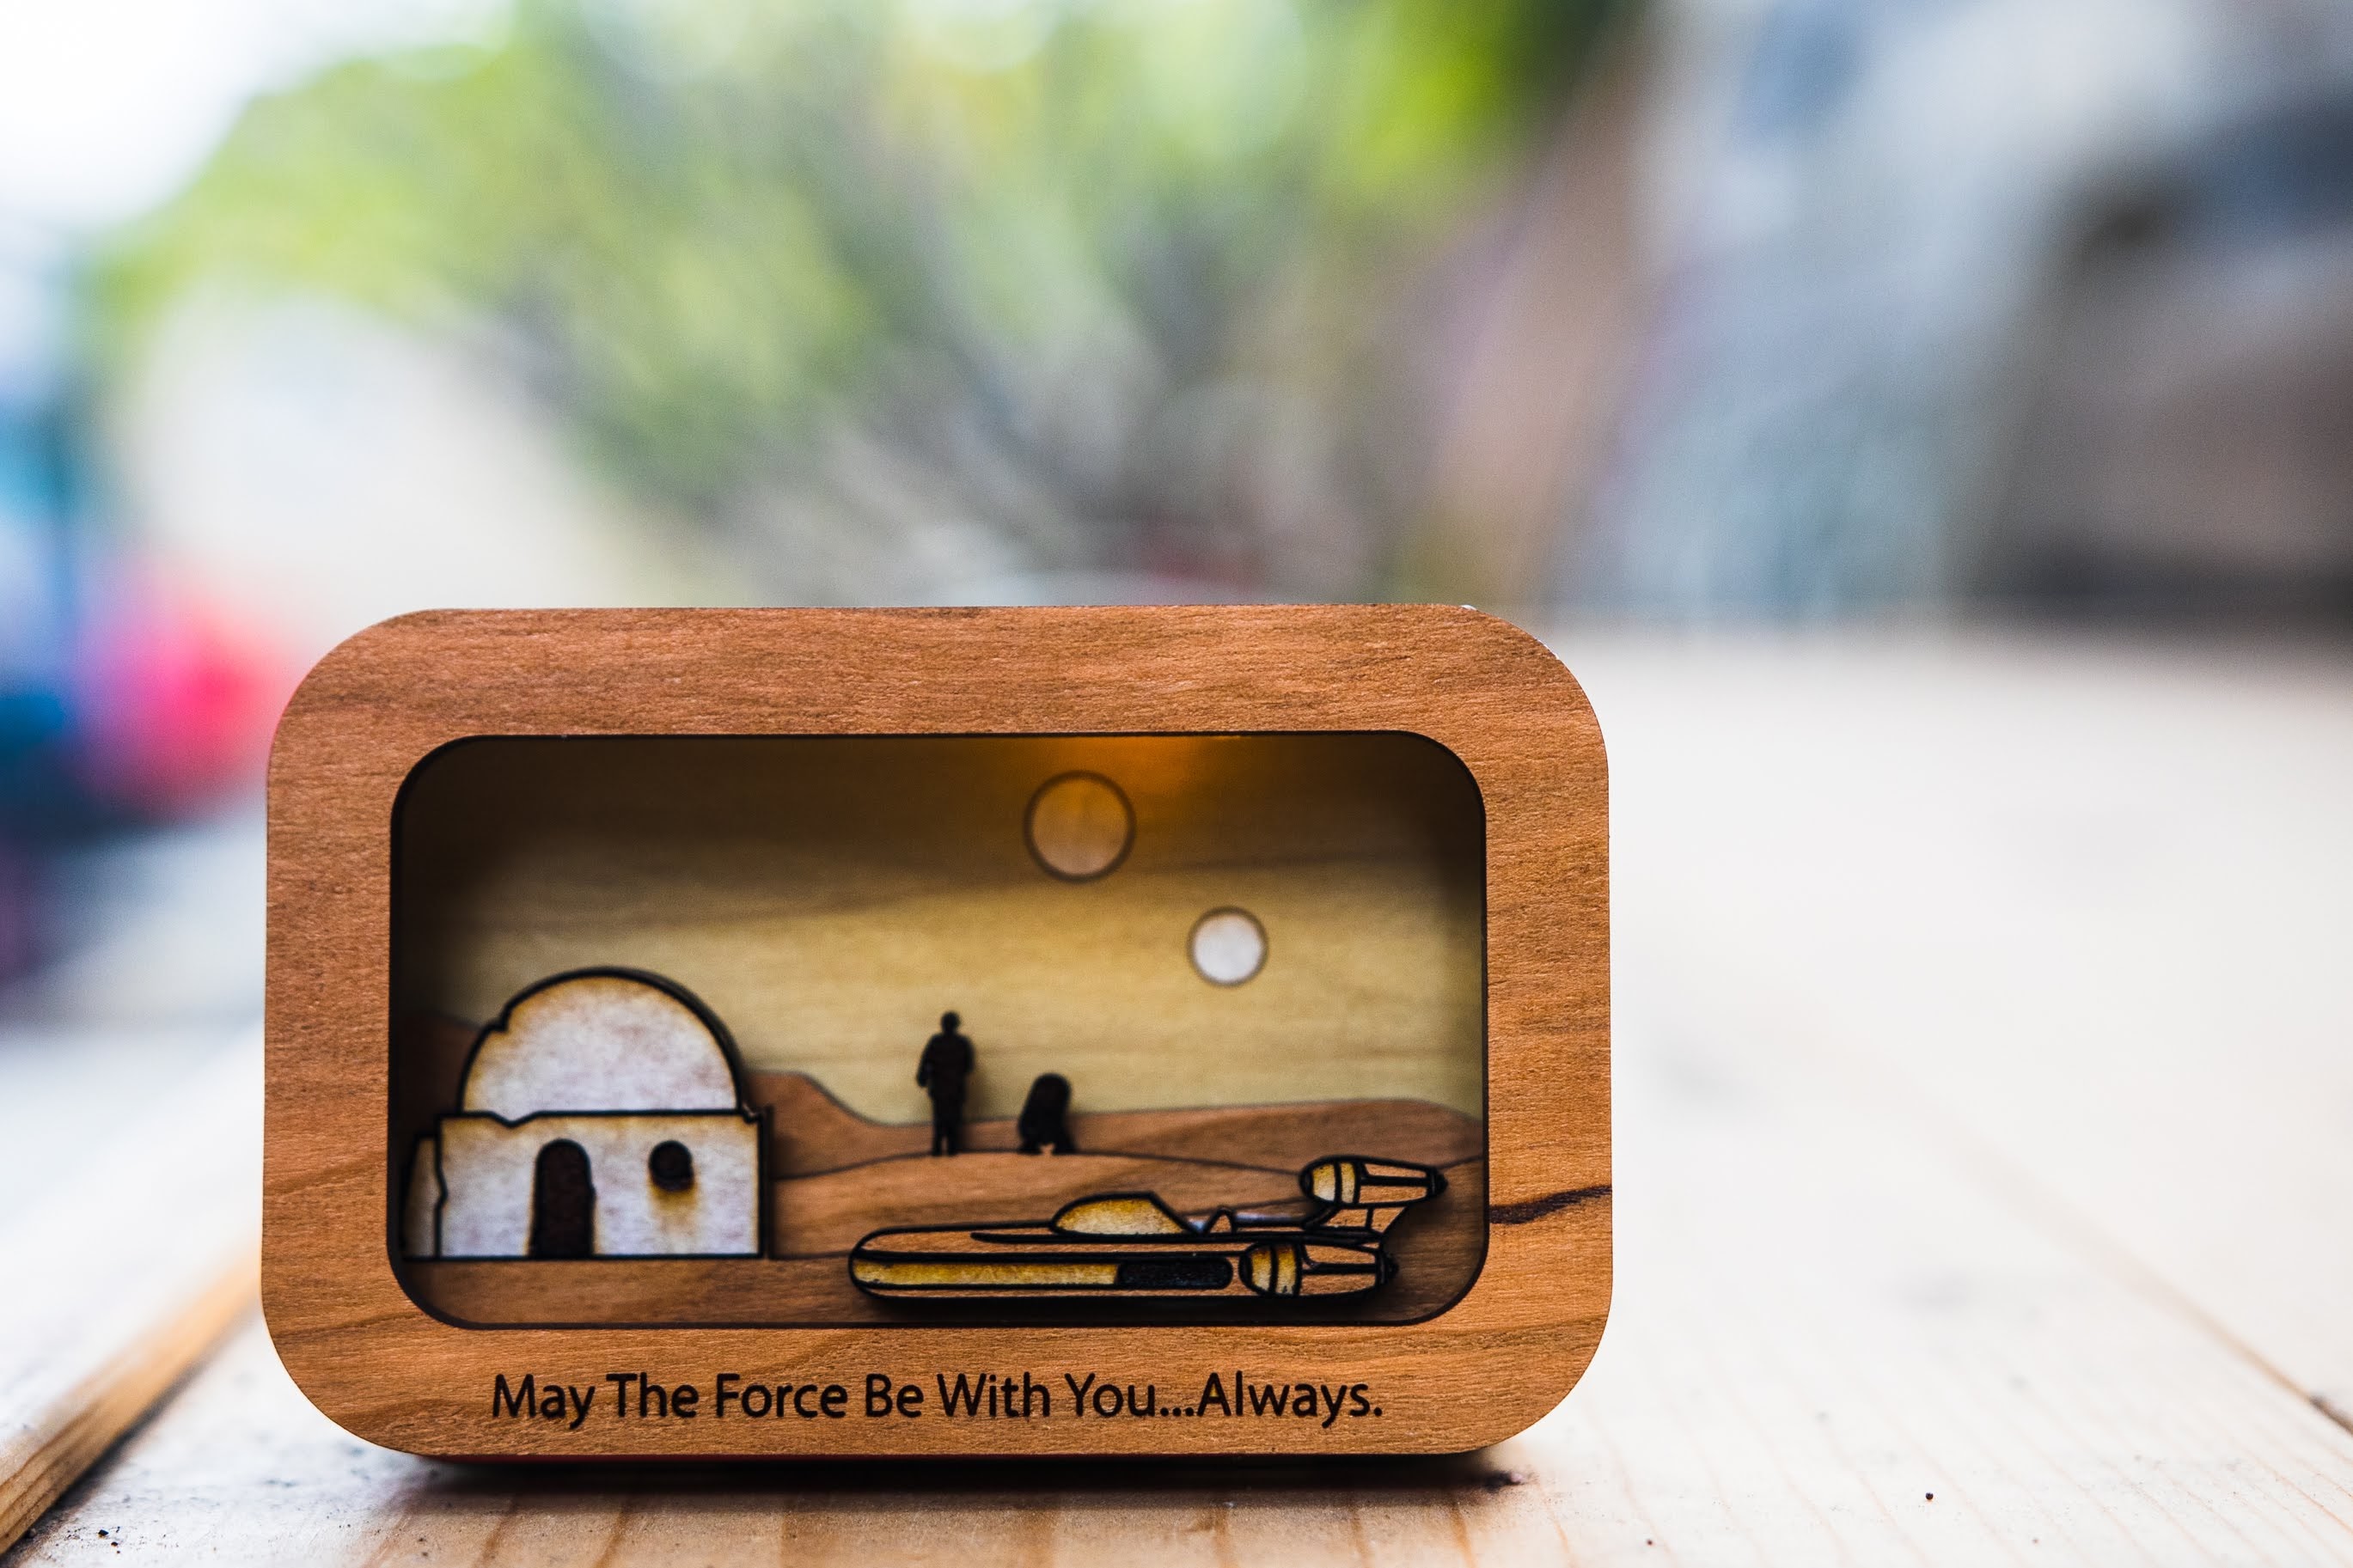
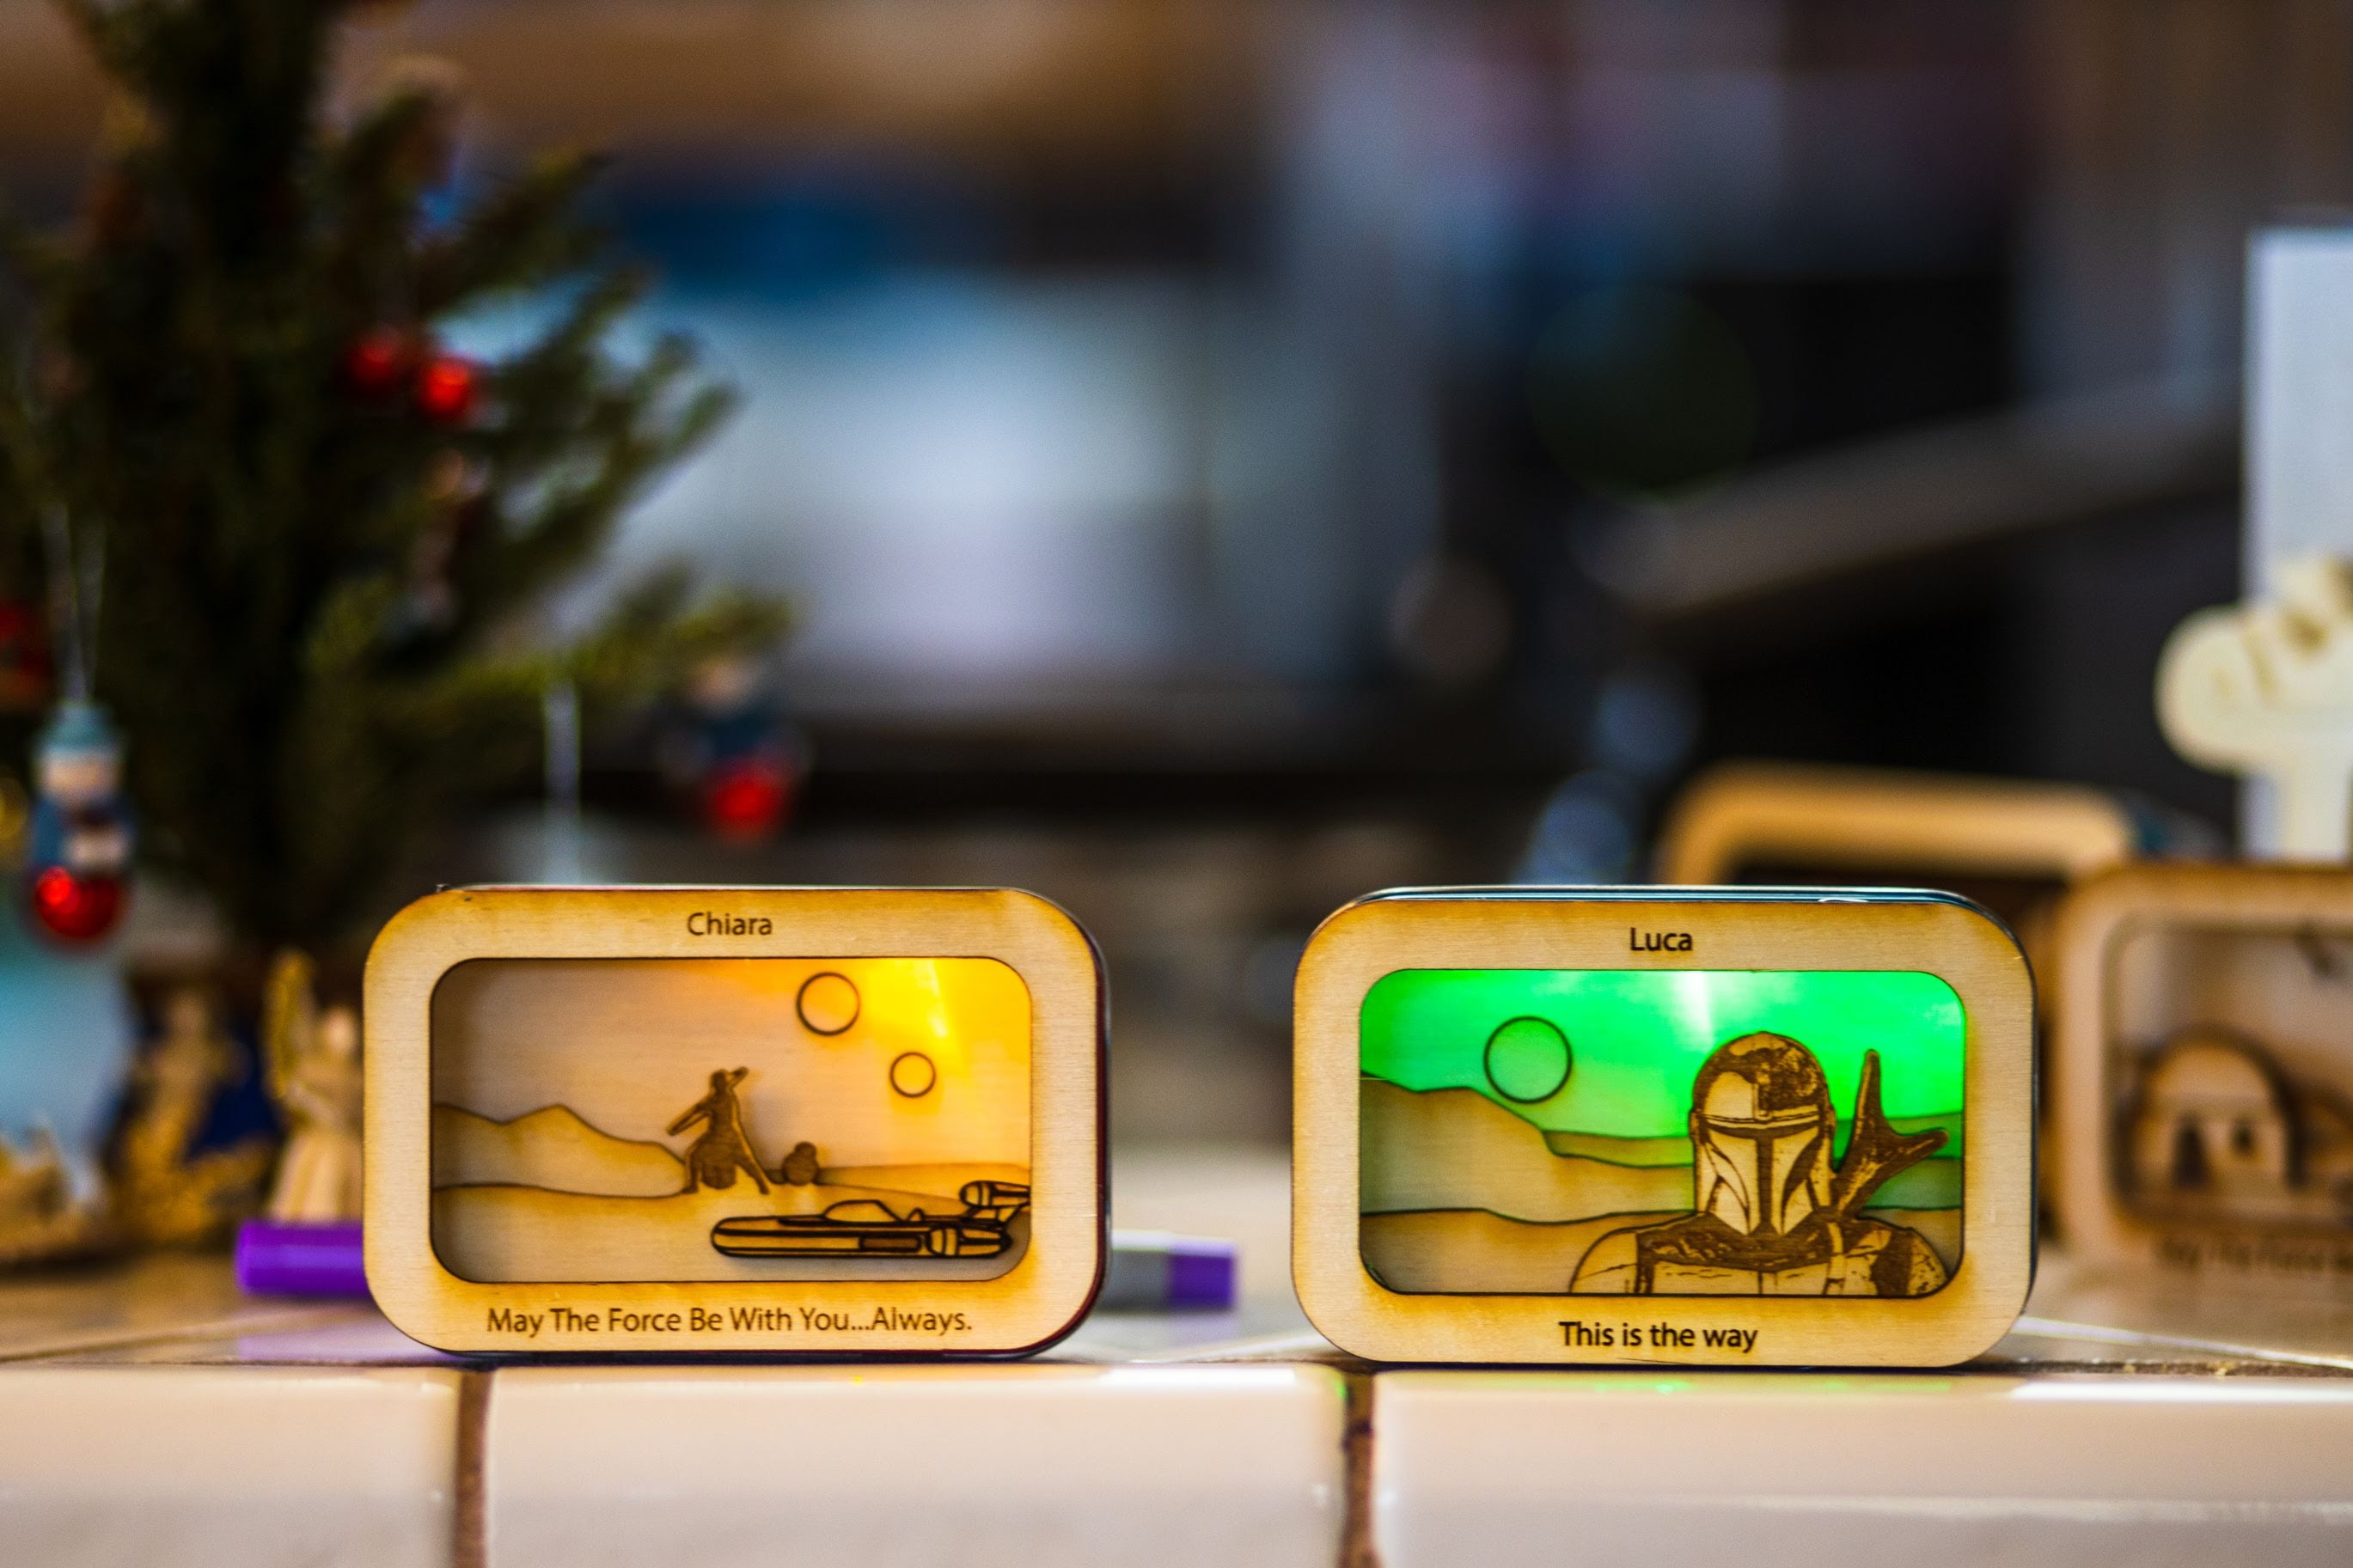
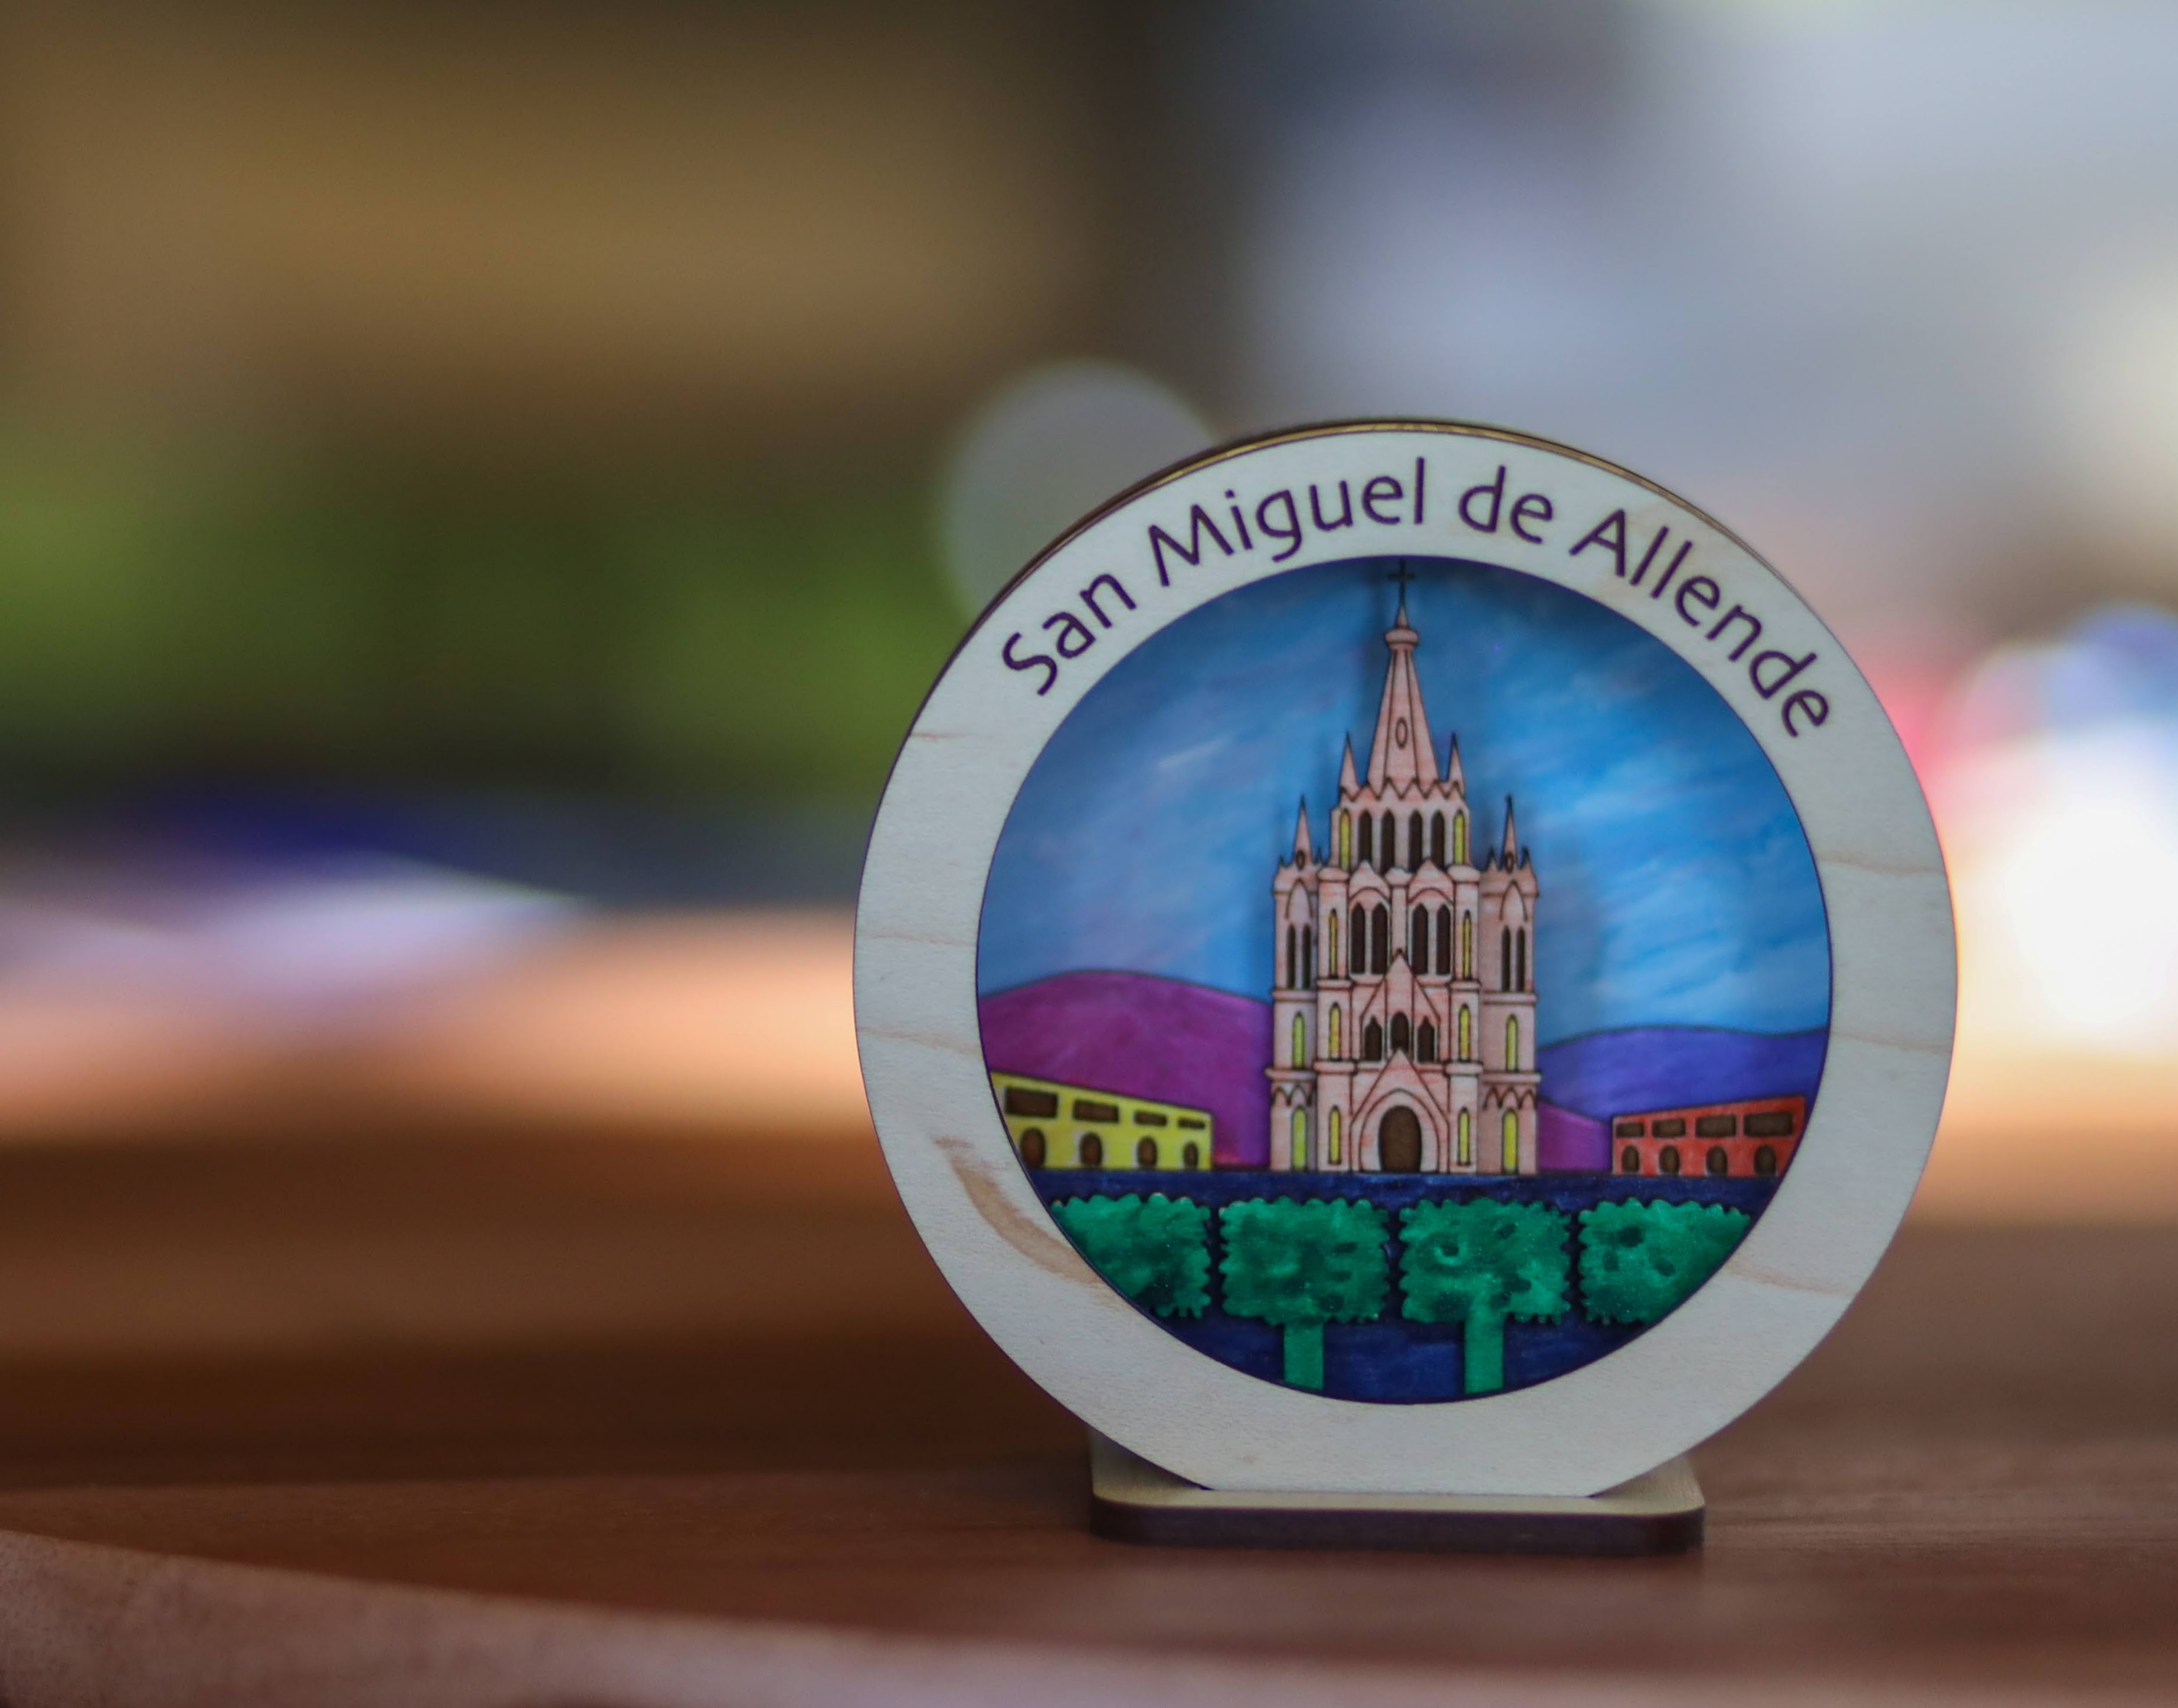
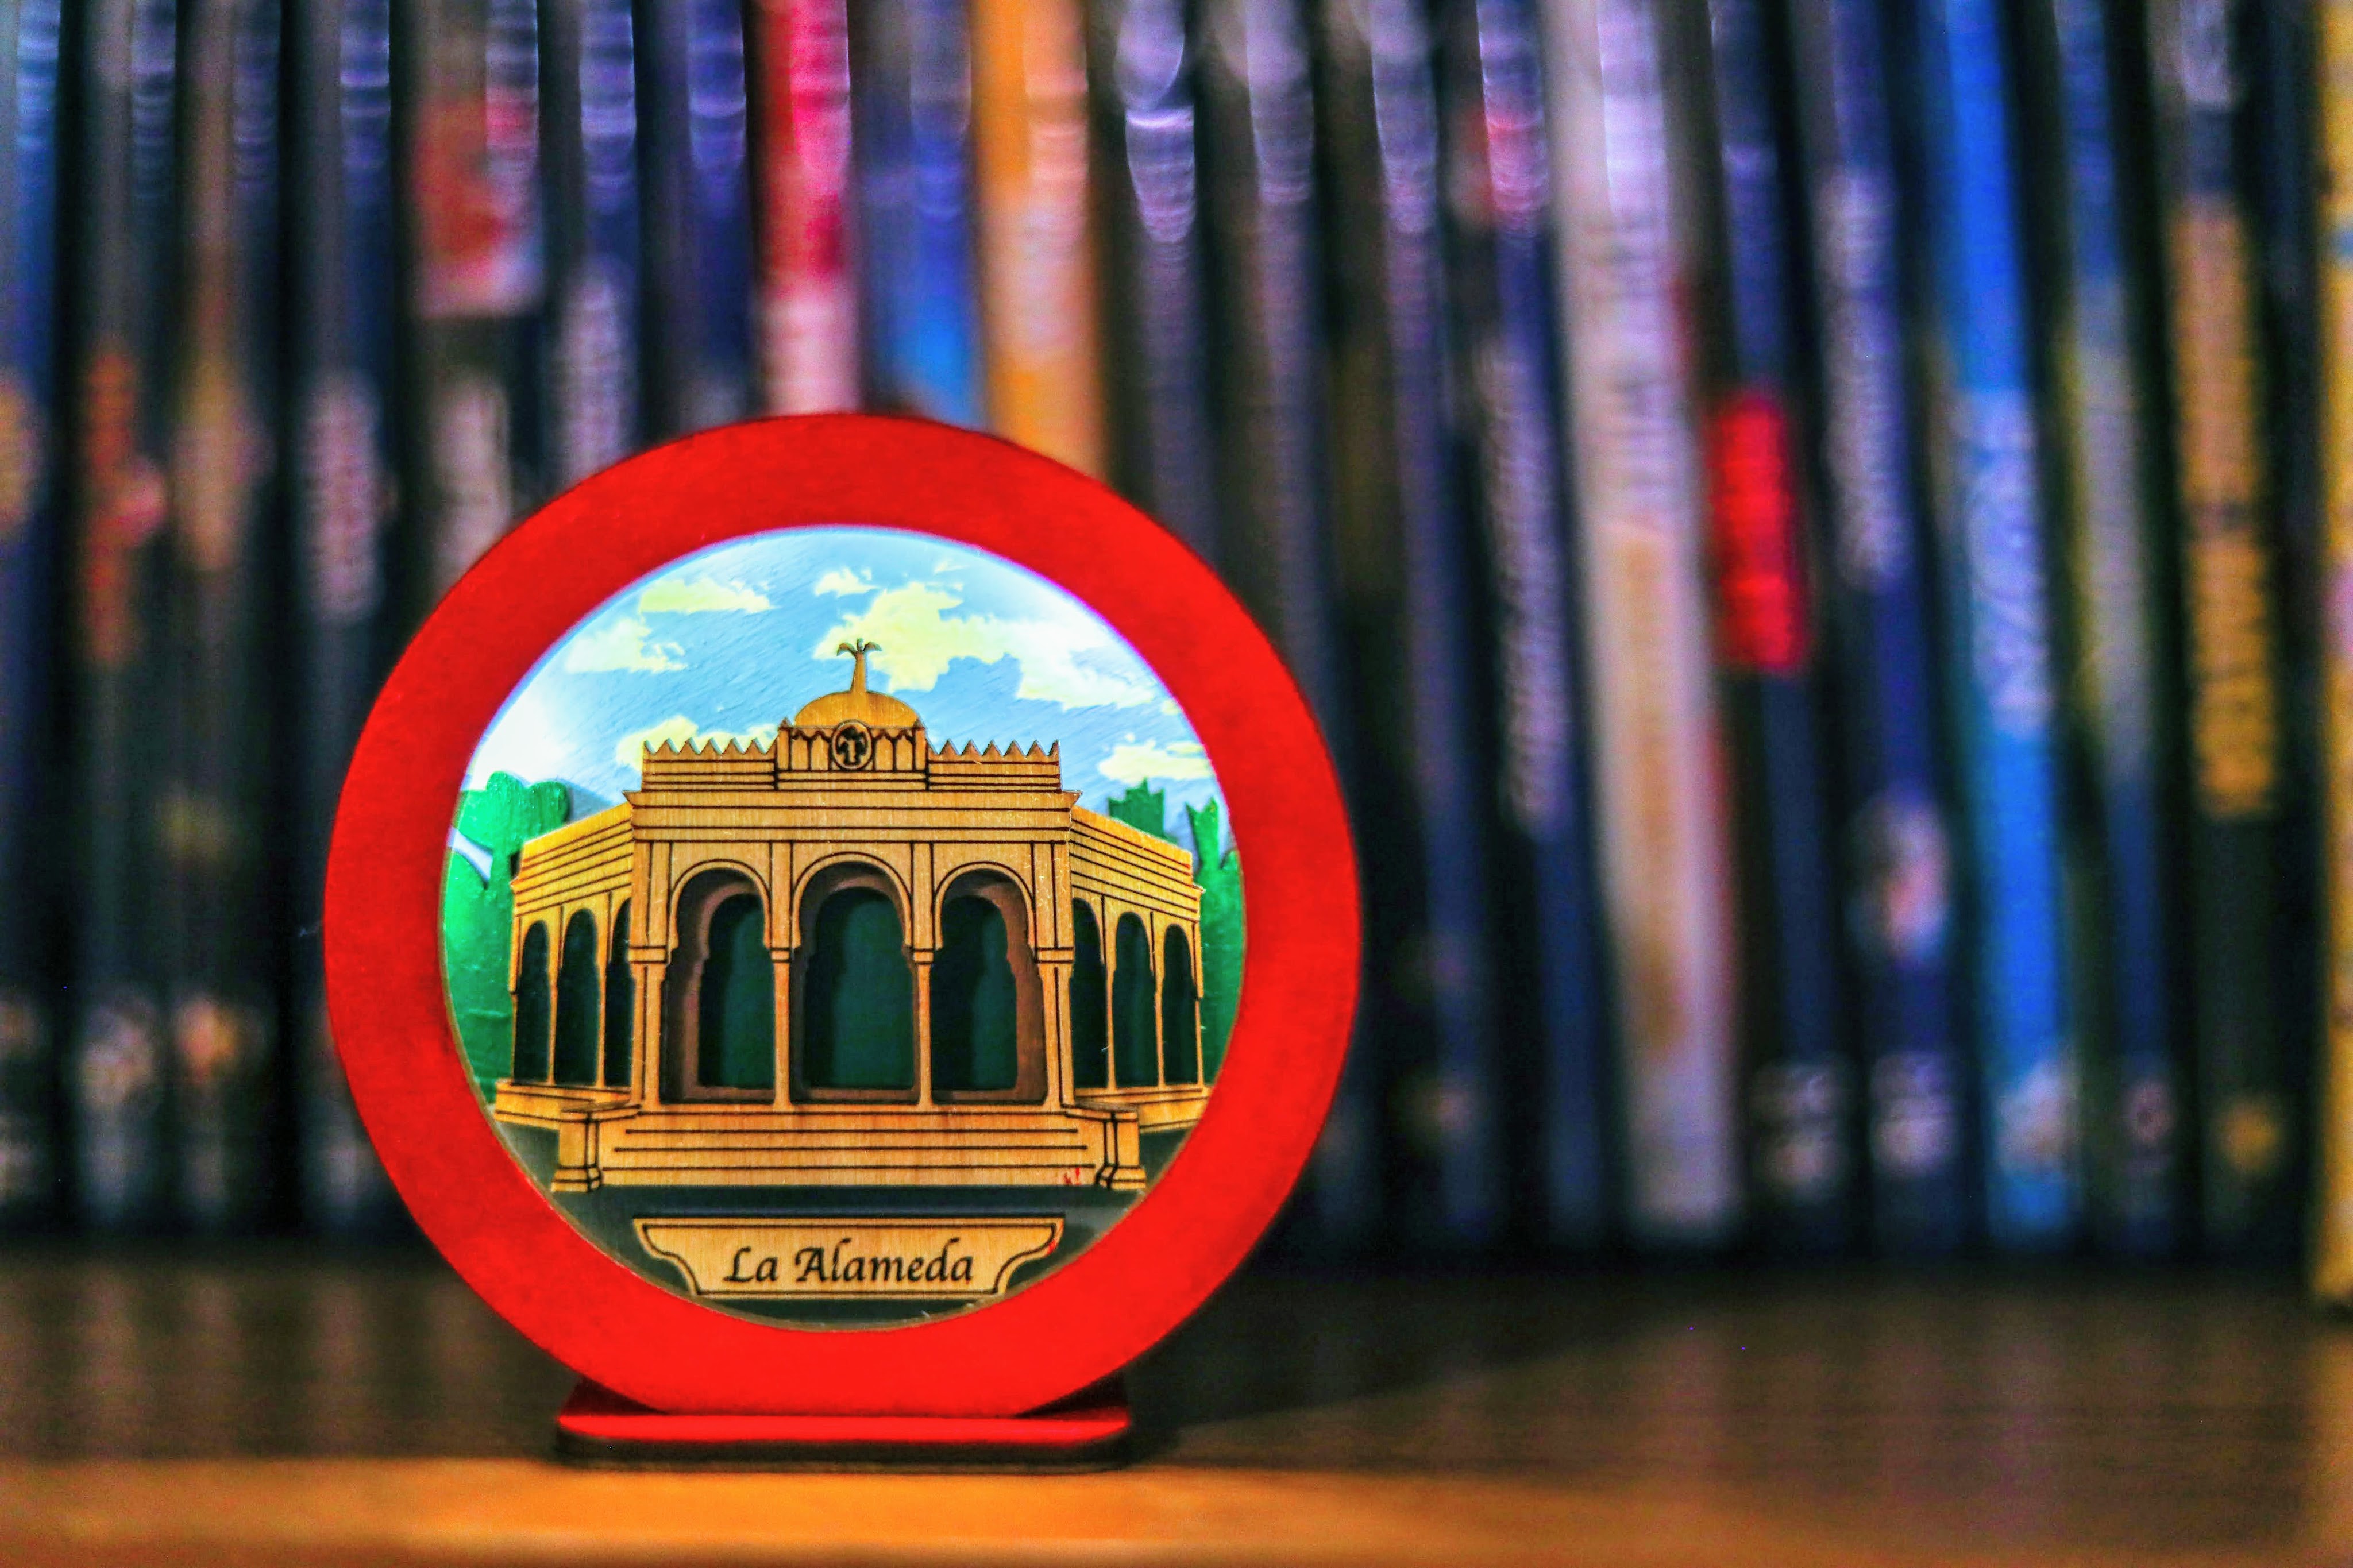
In the past year, I have created mint boxes for special occasions and special people, with themes ranging from real locations to cultural references, to super heroes. I have also experimented with painting in acrylic and using permanent markers to enhance the visual layers.
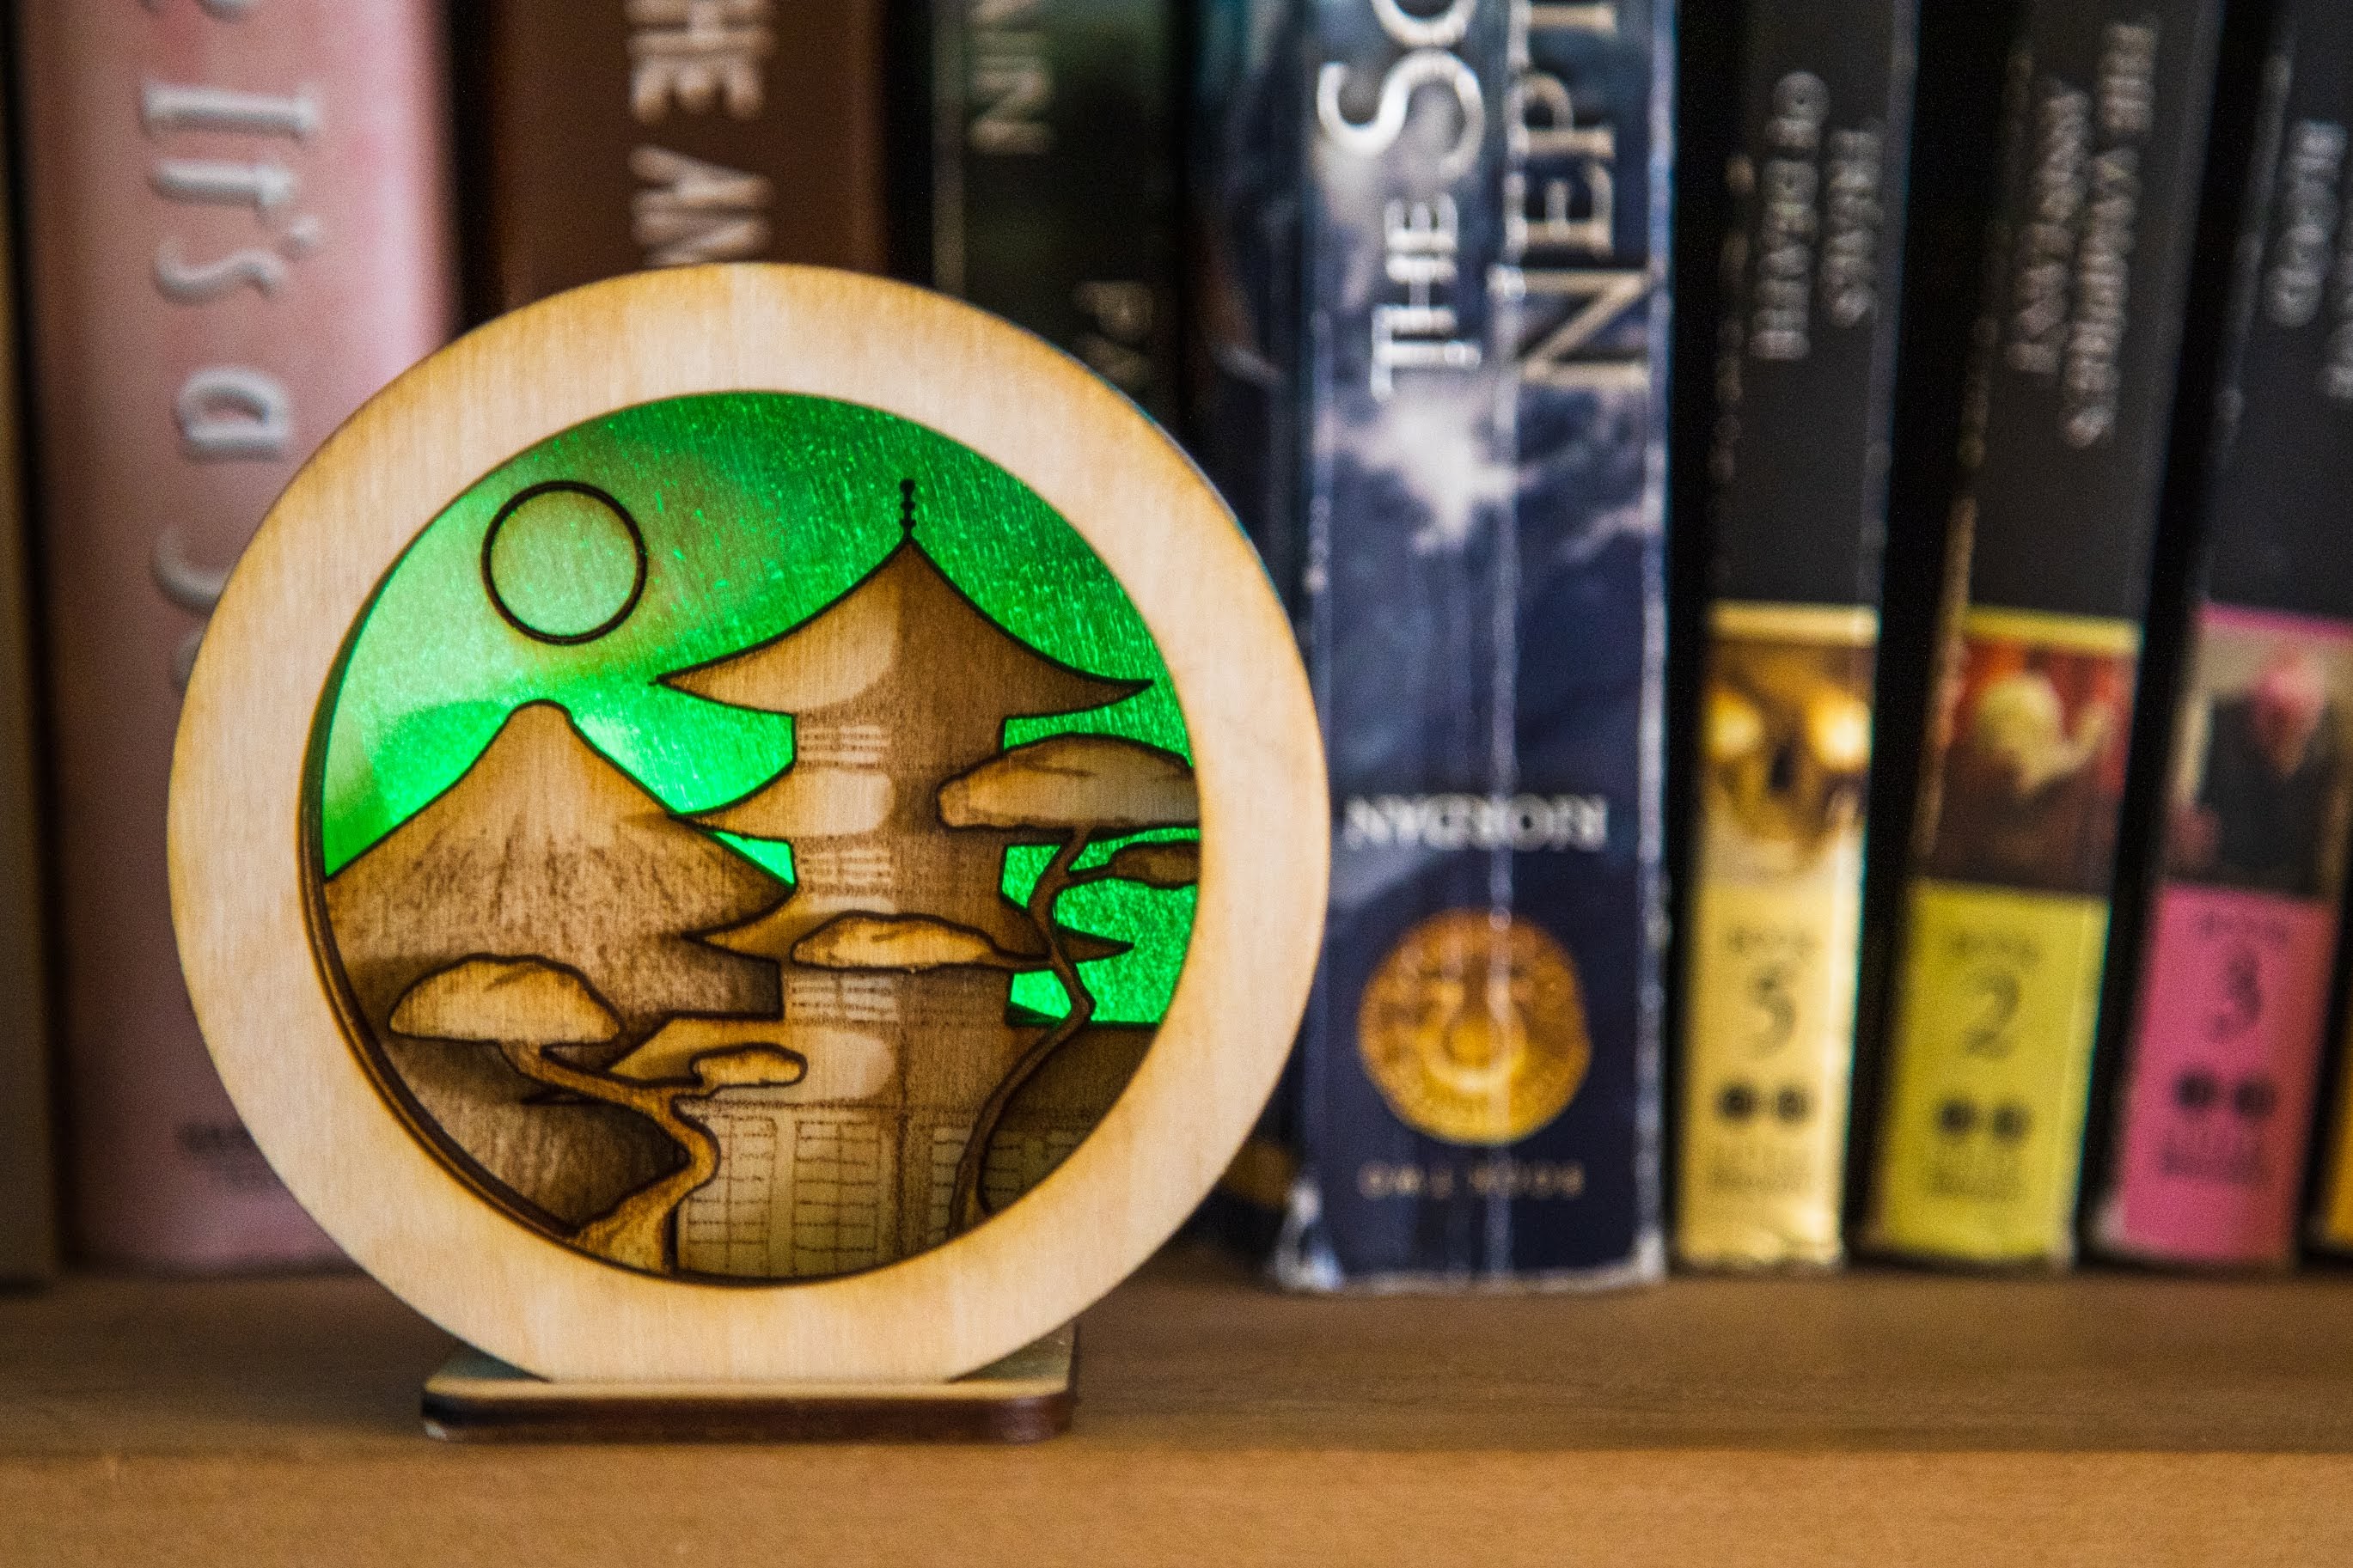
I have also tested out using hand drawings instead of digital work. These hand drawings are then placed into Illustrator as a new layer to be engraved. The Japanese temple below (in green light) is an example of this approach.
Below are a few pics of the latest projects:


Those Fairy Lights
As I mentioned above, an alternative to soldering a circuit with LED and battery pack is to opt for inexpensive fairy lights in a string. The ones I purchased had 20 LEDs in a 7ft. string, and I snipped them at 10 LEDs. This amount provides enough light while not impacting the small space available in the mint box. (I still use the remaining 10 LEDs for future projects by soldering on a new battery pack.)
In addition to eliminating the need to solder, these fairy lights have the added benefit of providing much more light than the single LED. A downside is that they are only available in white or warm white, unless you opt for the RGB version, which is more expensive. I may look into testing some colored filters in future projects.
A Coding Connection
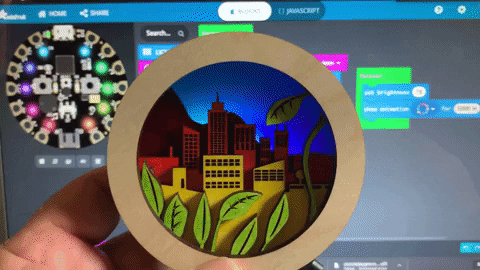
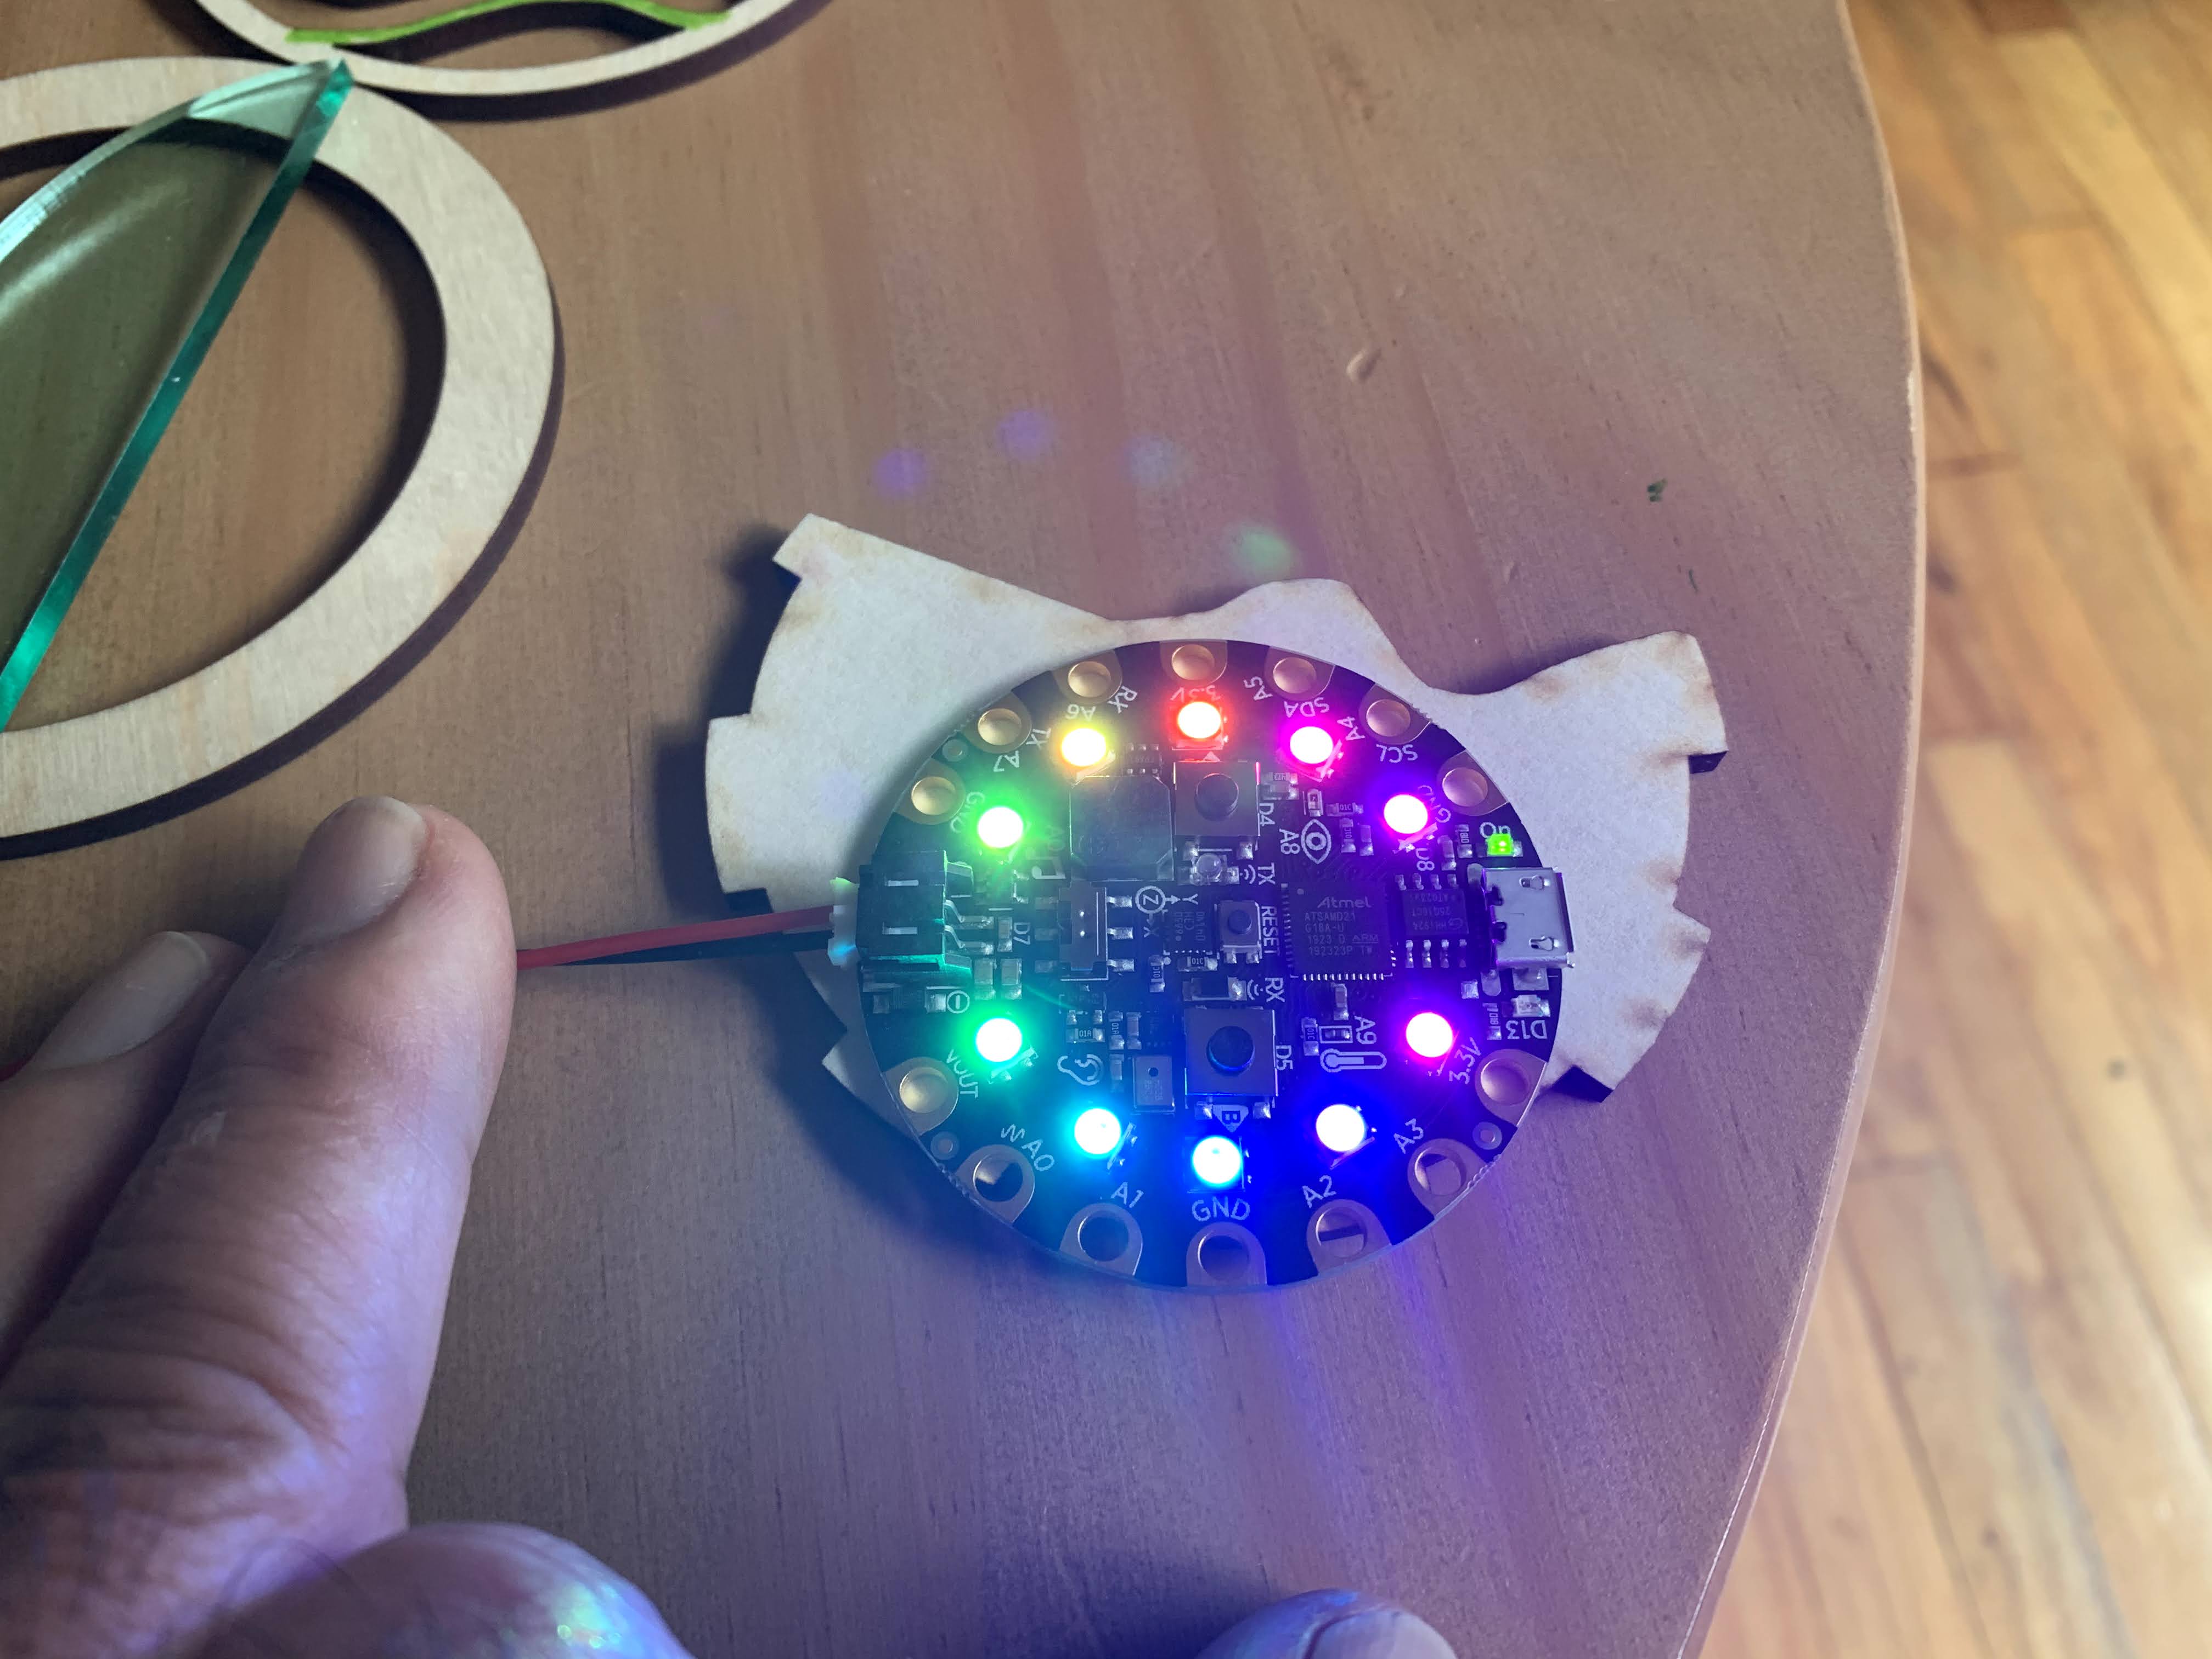
Recently, I explored the use of a Circuit Playground Express (CPX) inside a mint box. Embedding a microcontroller like the CPX allows for much more interactivity, including 10 individually addressable LEDs, two programmable buttons, and built in sensors for light, sound, motion, and more. The CPX can be programmed in a block-based environment like MakeCode, or with text-based languages like Javascript and Python.
Project objectives using CPX with a mint box might include programming a day/night sequence, or having the box react to light/sound conditions in the environment. With the expandable nature of CPX, projects could connect to external resources like servo motors and LED light strips. The possibilities seem endless.
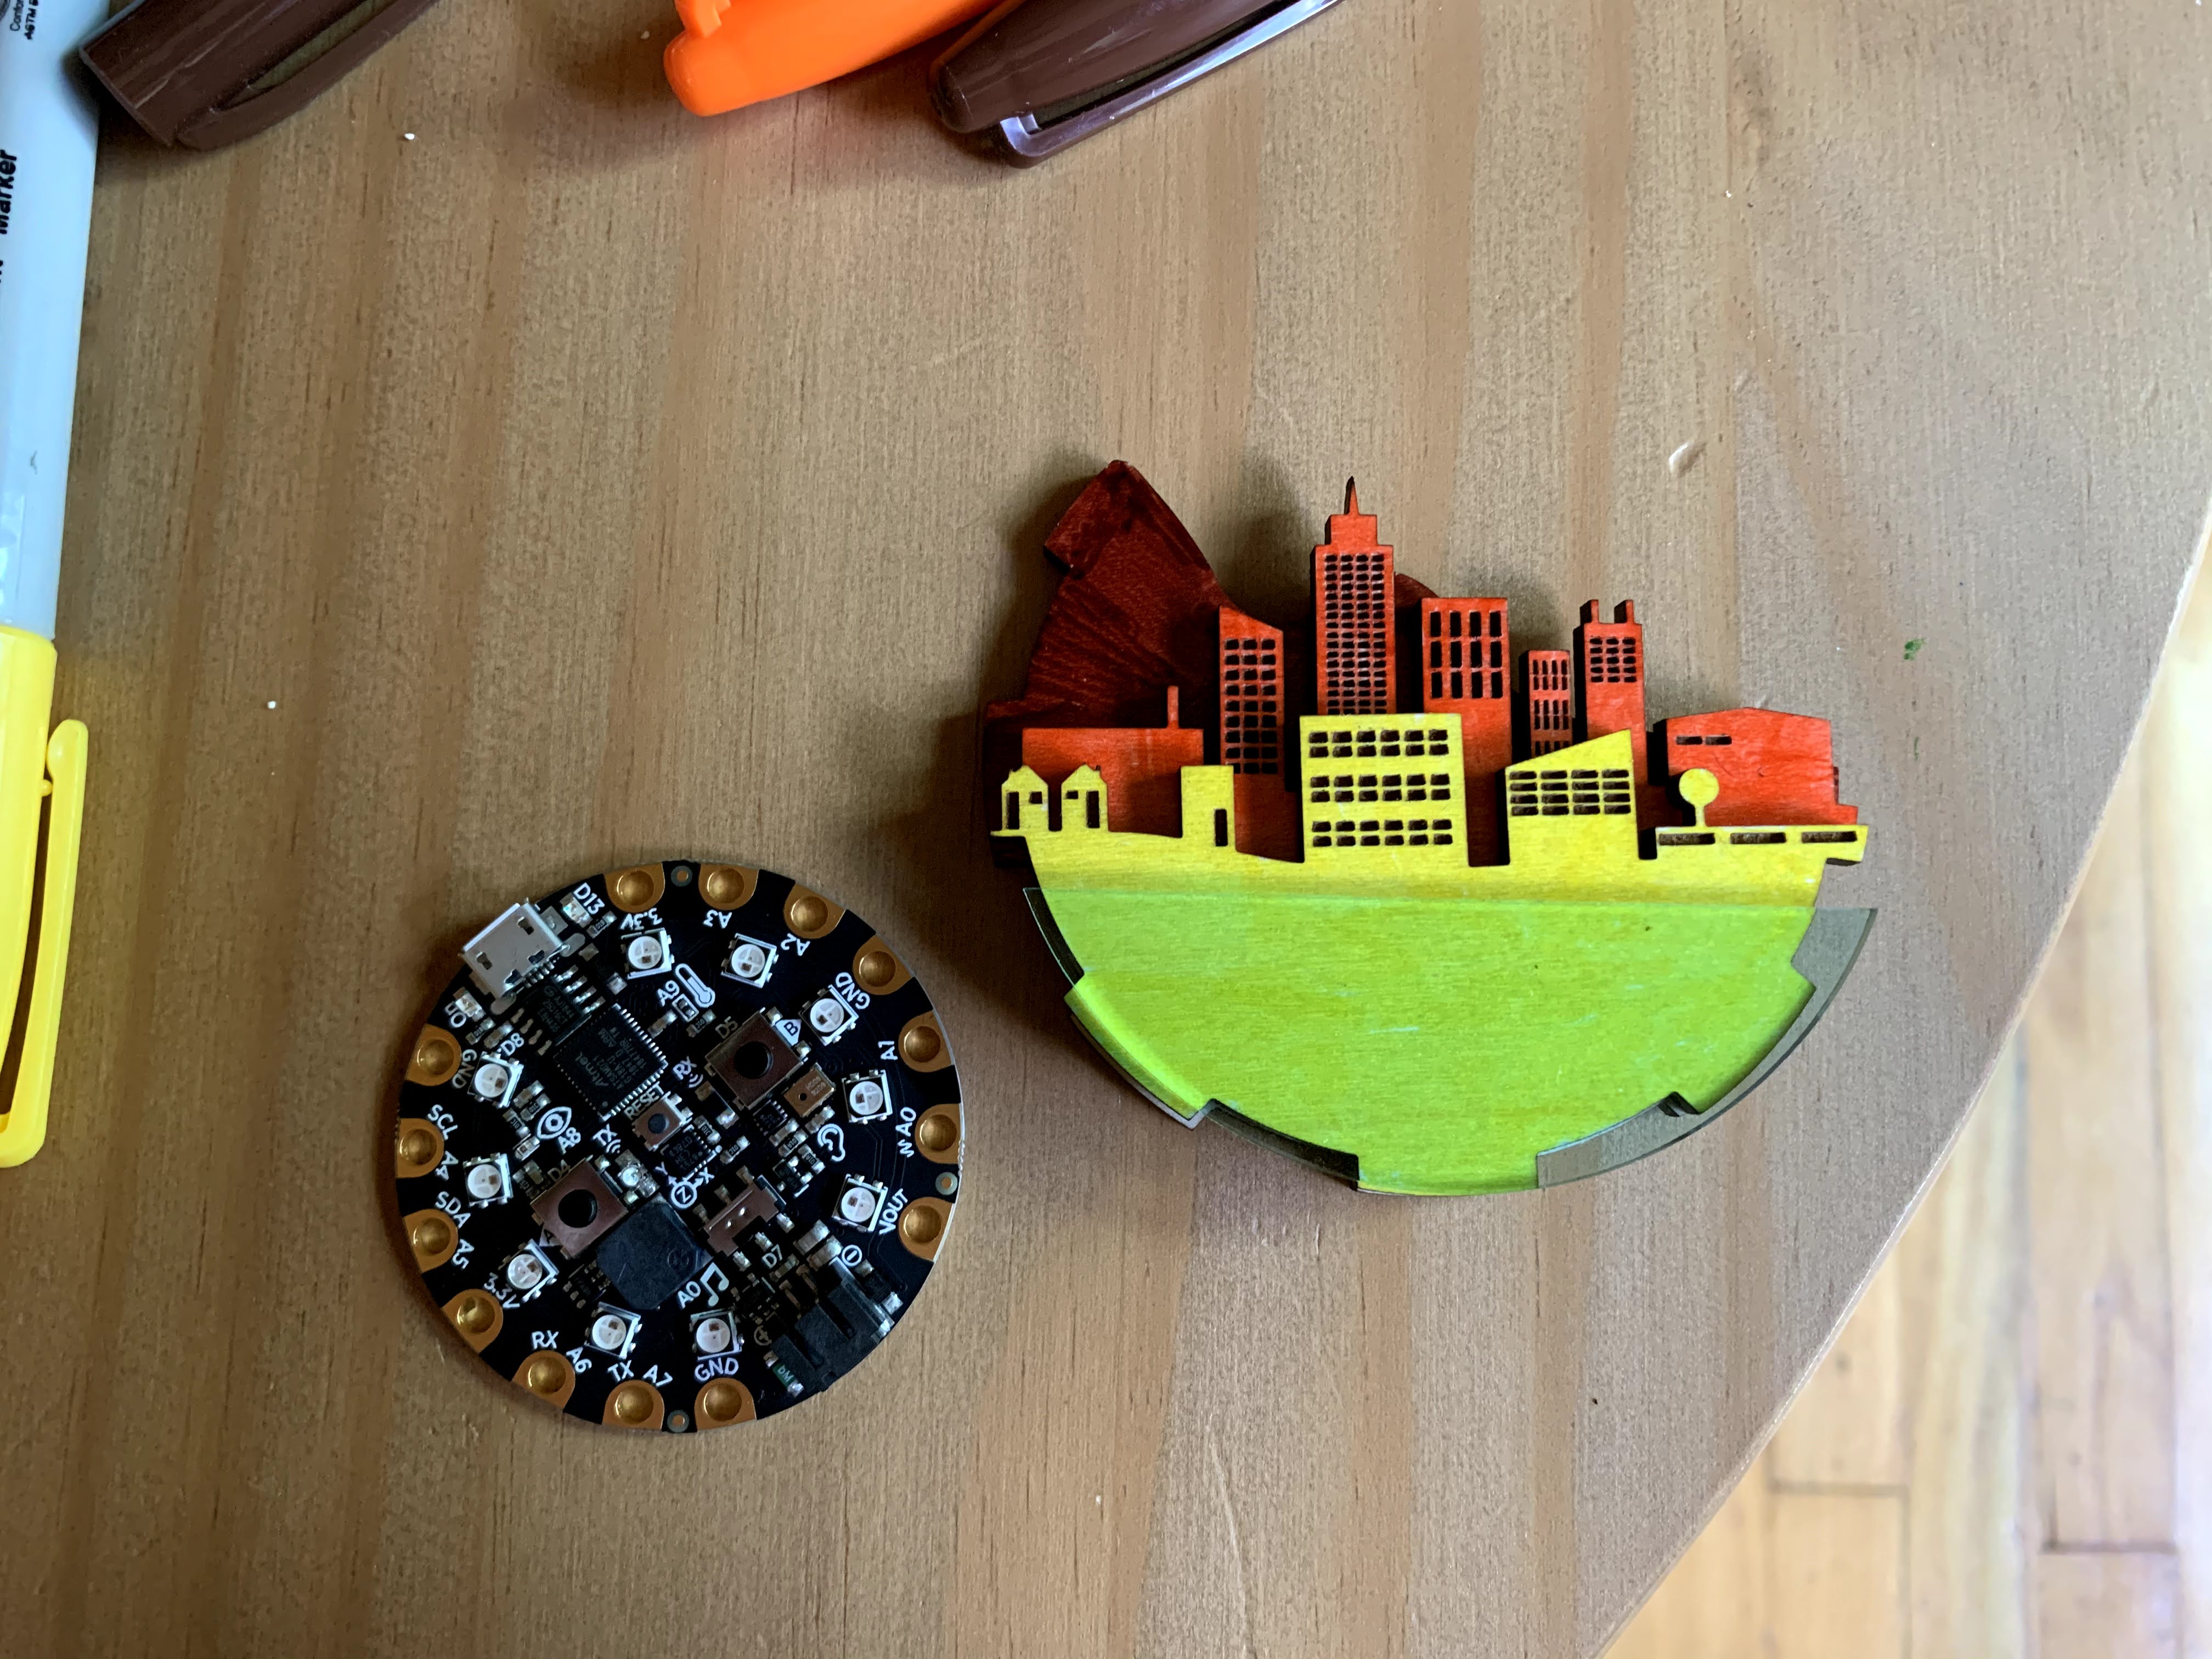
Below you can see the CPX displaying a rainbow array of colors behind a cityscape. MakeCode and the CPX simulator are in the background.
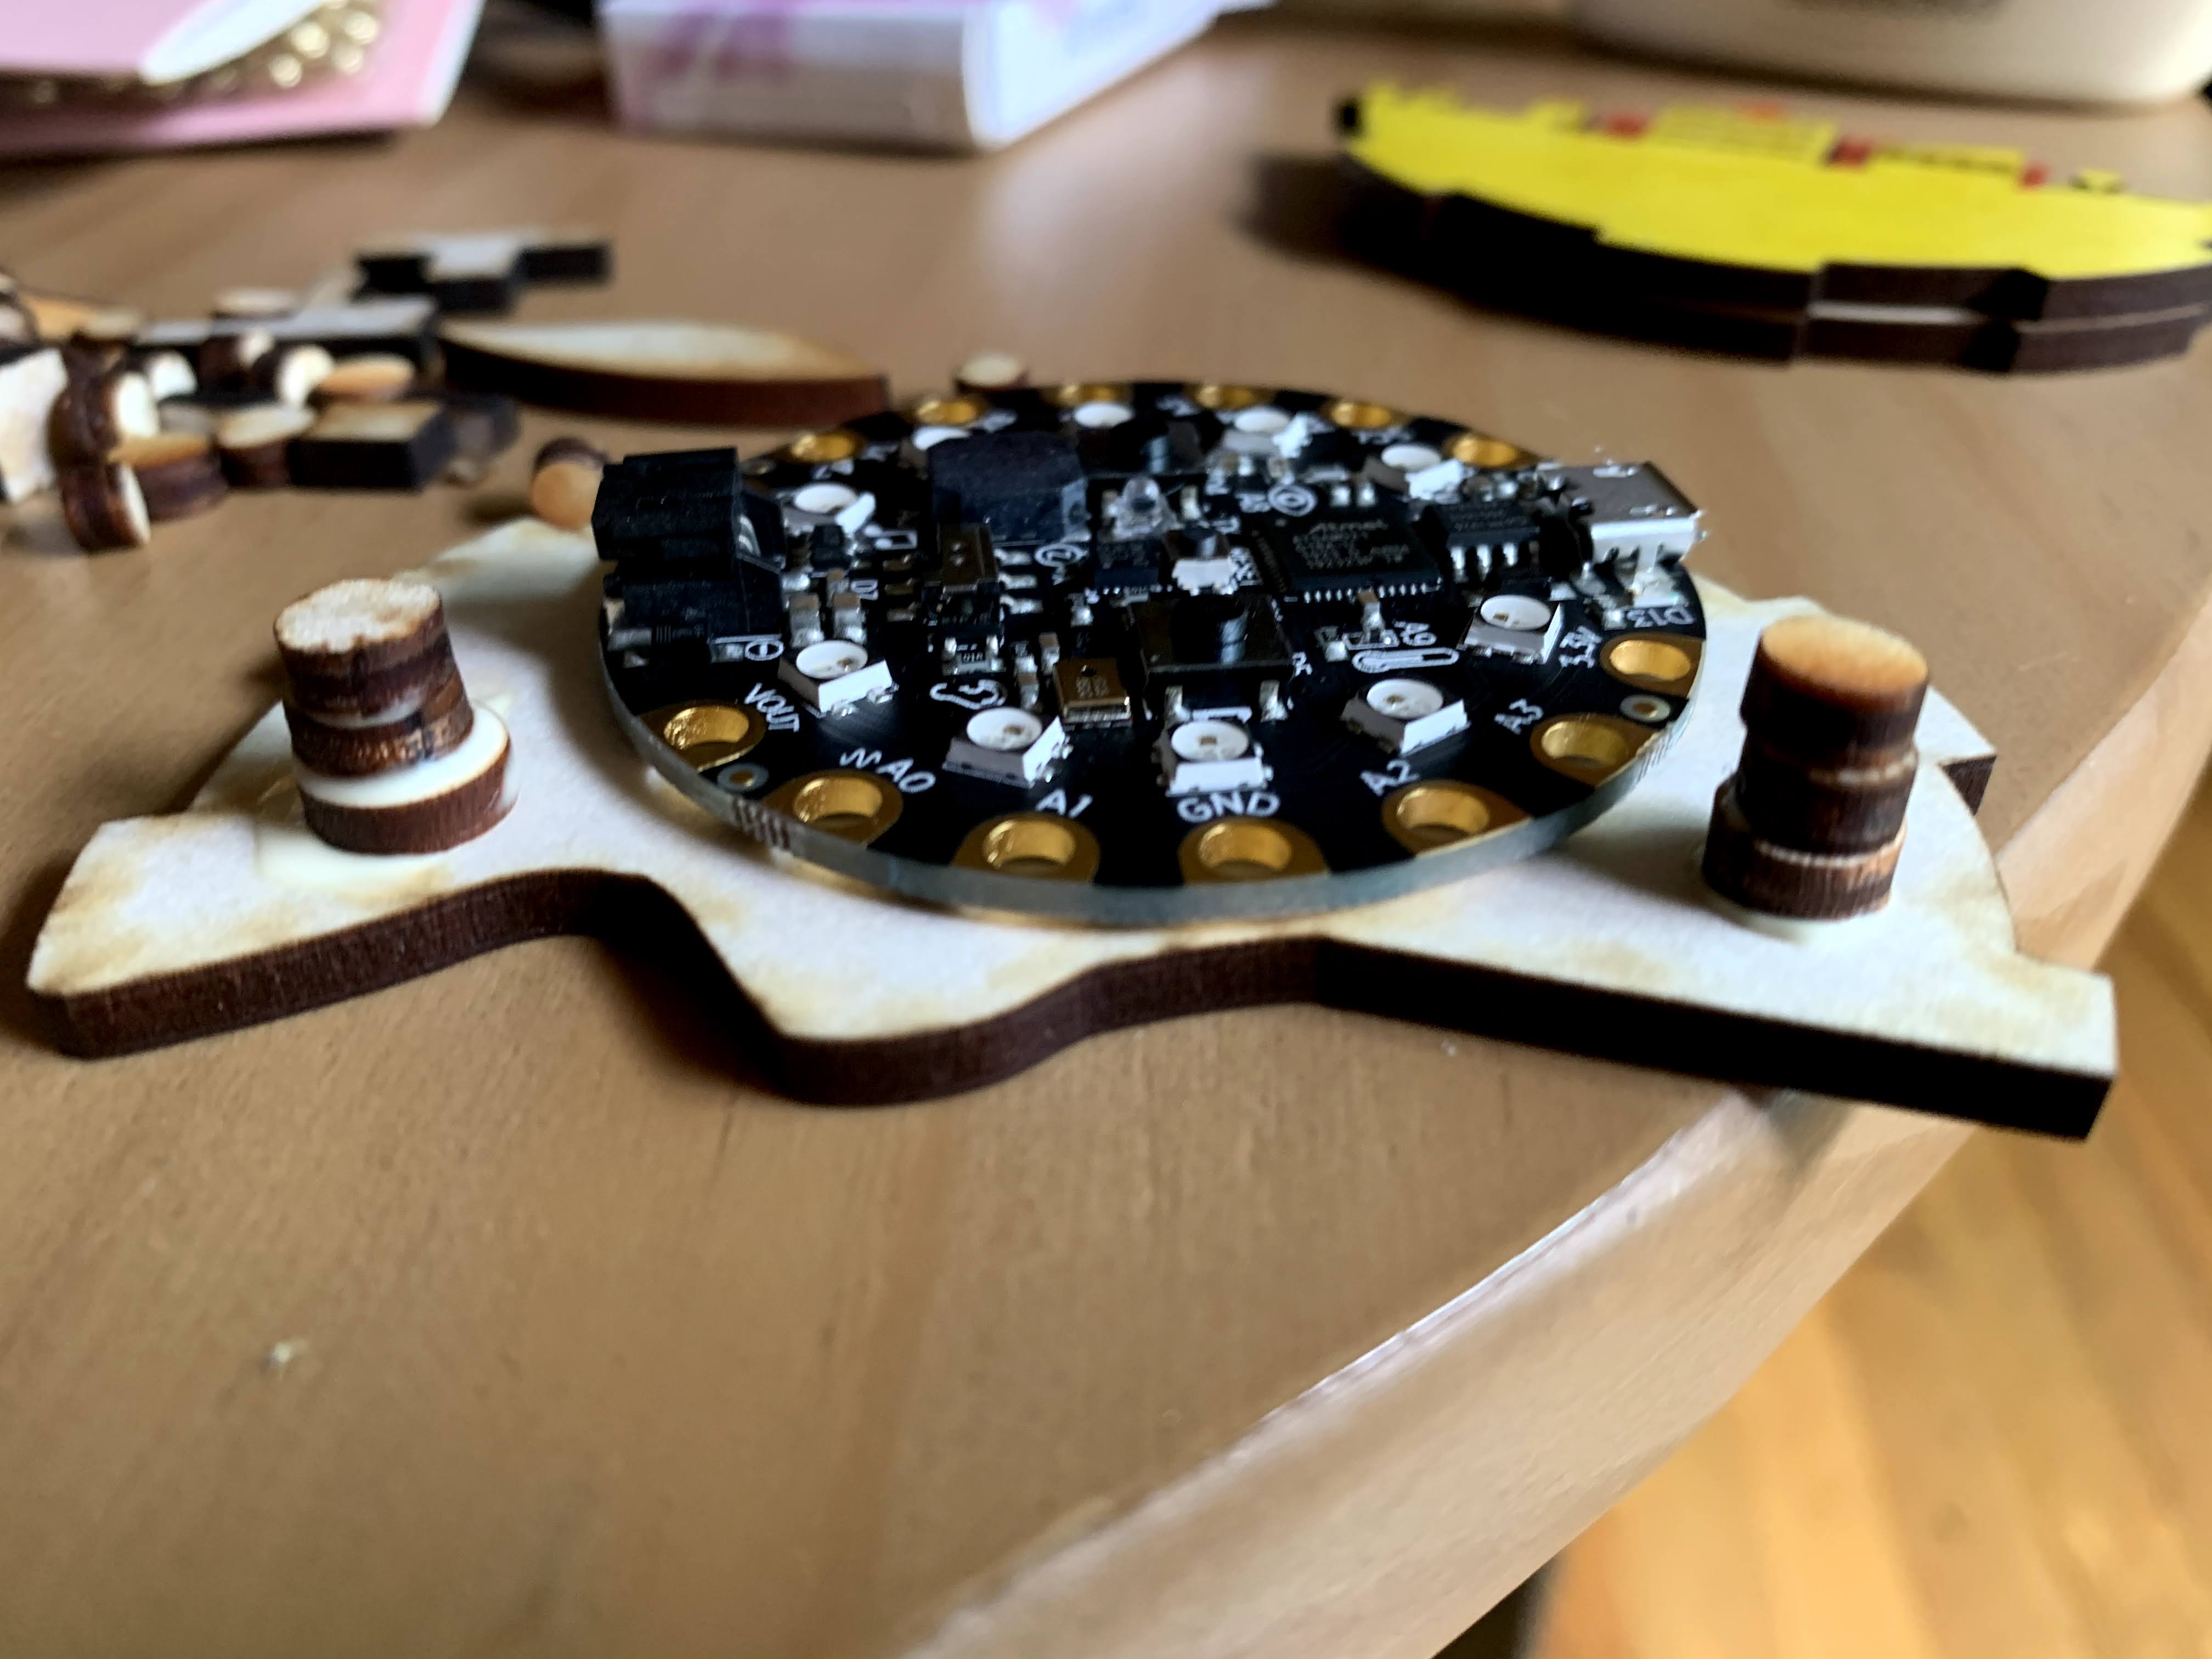
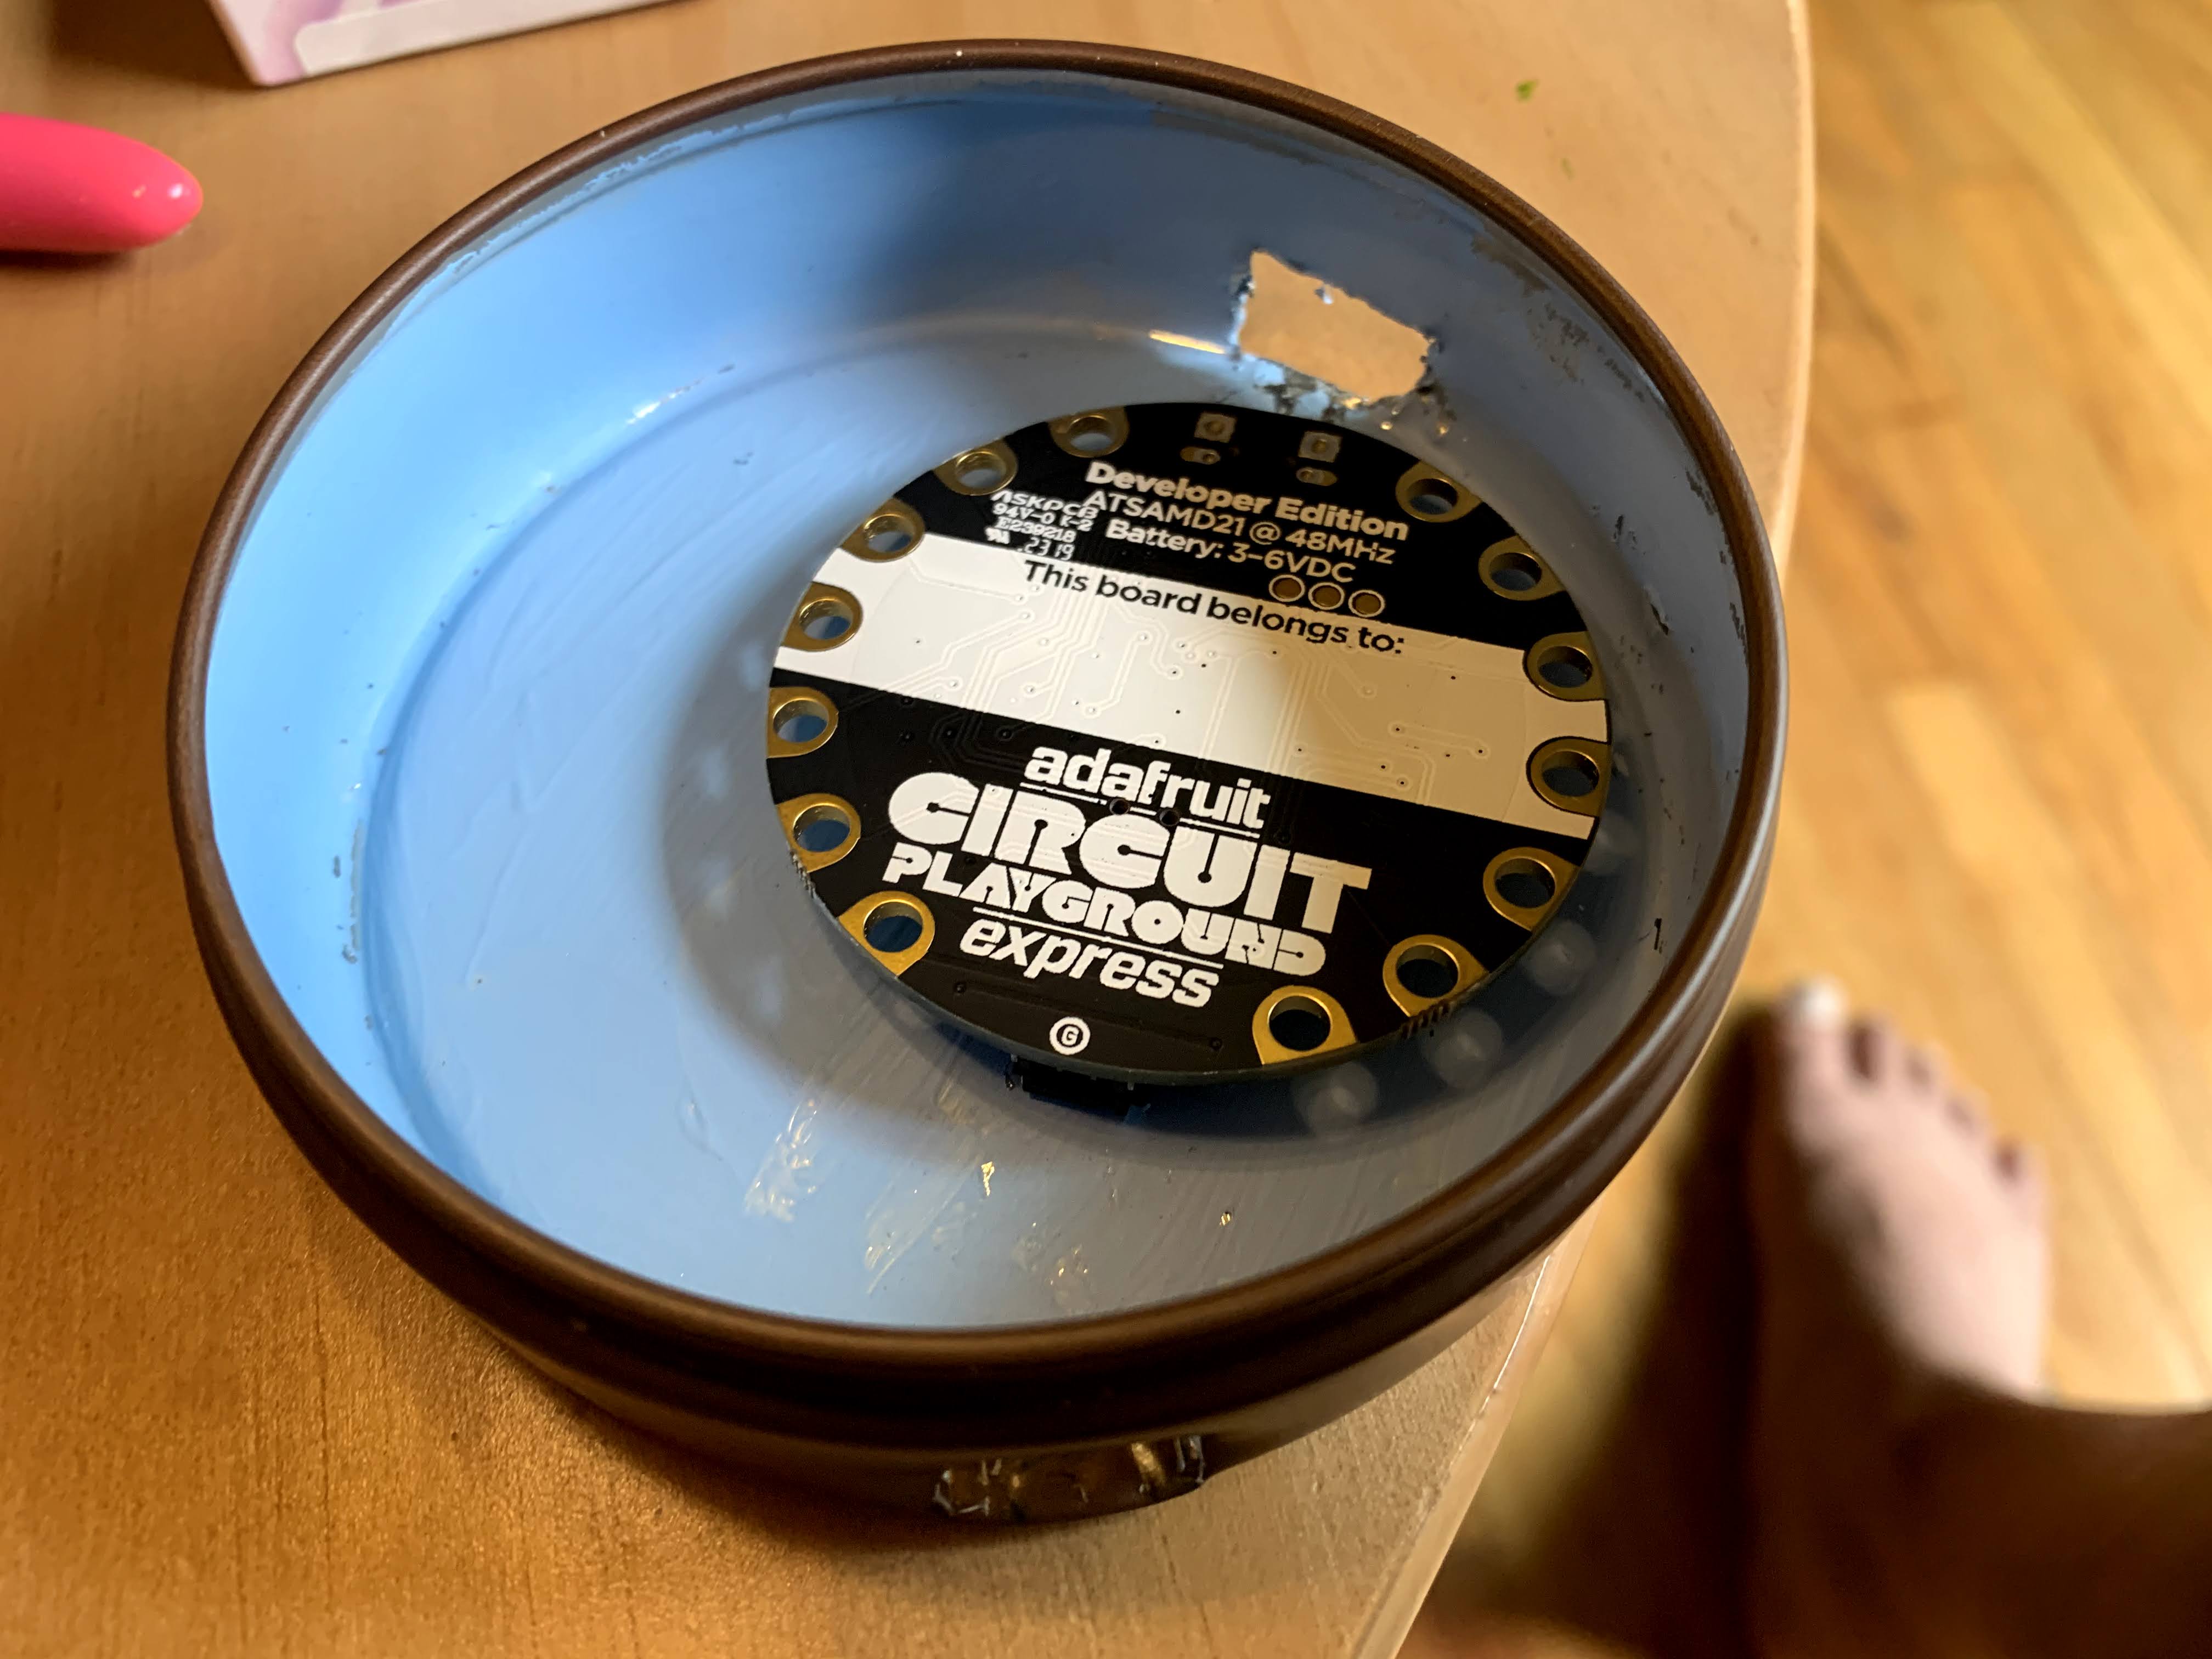
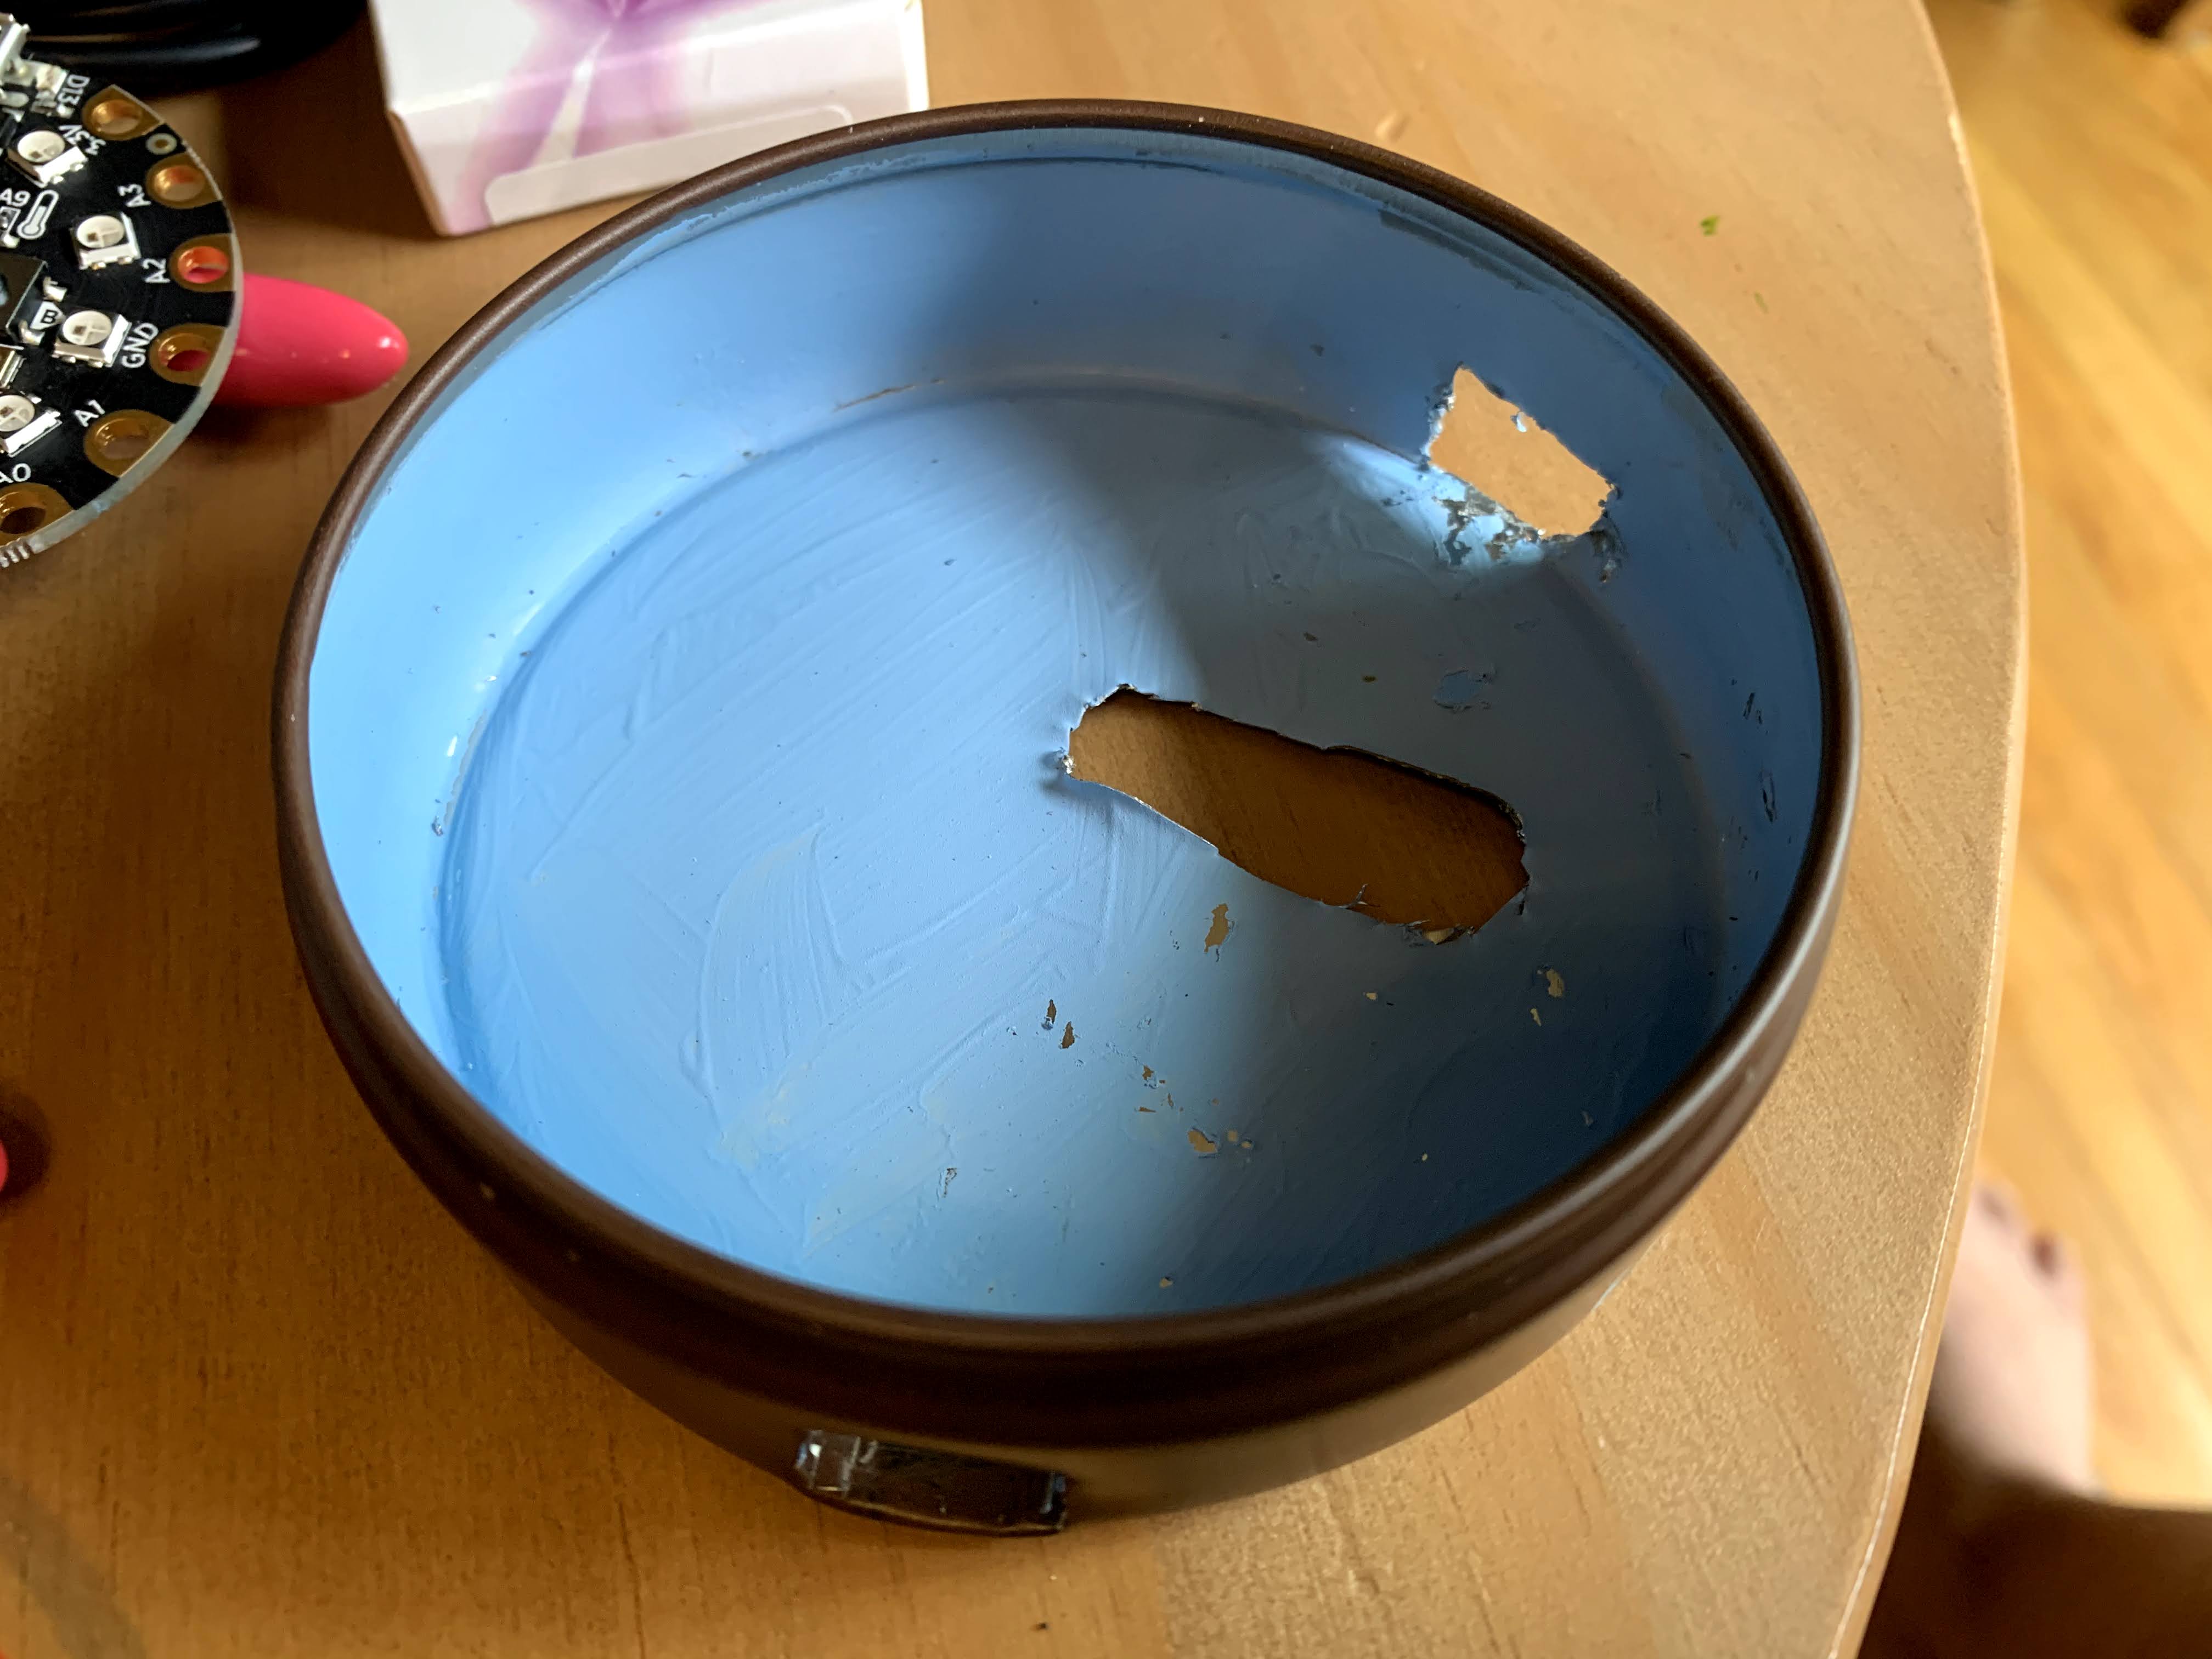
Installation of the CPX required me to redesign the cutouts for the mint box, providing outlets for USB, battery pack, and access to A and B buttons.
In the photos below you can see the CPX mounted with LEDS facing the back of the box. Placing the CPX this way also allows access to the A and B buttons through holes on the back. I added extra “padding” to the artwork in order to keep the CPX afloat and not pressed against the box, thereby bringing more light and reflection into the scene.

Learning More about CPX
I haven’t covered the specifics of Circuit Playground programming here, so I highly recommend Rob Morrill’s free Introductory Course on MakeCode and CPX at Adafruit to learn more. The Circuit Playground Express is a versatile tool for learning how to code and seeing that code come to life in the real world.
Sharing
Please continue to share your work with mint box miniatures. It has been wonderful to see others take on these types of projects with students, or simply as a personal project. I will continue to grow and learn from my own explorations and from the experience of others.
