For the past few weeks, I have been working with the 6th grade on micro:bit in preparation for their Legends of the Trash Creatures project. This year, given our health protocols related to COVID, students are not doing group work, which is traditionally an essential part of our LTC project. In years past, part of my role in the project was to work with the coding and robotics side, and we used Hummingbird Robotics boards to control lights, sound, motion, and environmental sensing. The individual nature of this year’s LTC encouraged a move to the micro:bit with the hopes of creating a similar experience.
One enjoyable aspect of micro:bit (among many!) is the ability to connect external components. Students first learned about micro:bit during remote schooling, so they were limited to the simulator, which is a remarkable feature in its own right. However, once we got back to the classroom, their world opened up to not only the physical micro:bit, but the feature-rich connections that can be made with LEDs, buttons, tiny speakers, and neoxpixel LED strips.
While there is much written about LEDs, buttons, and speakers, in this post, I intend to focus on the preparation required to get the neopixel strips ready for use with students.
Choosing the Neopixel Strip
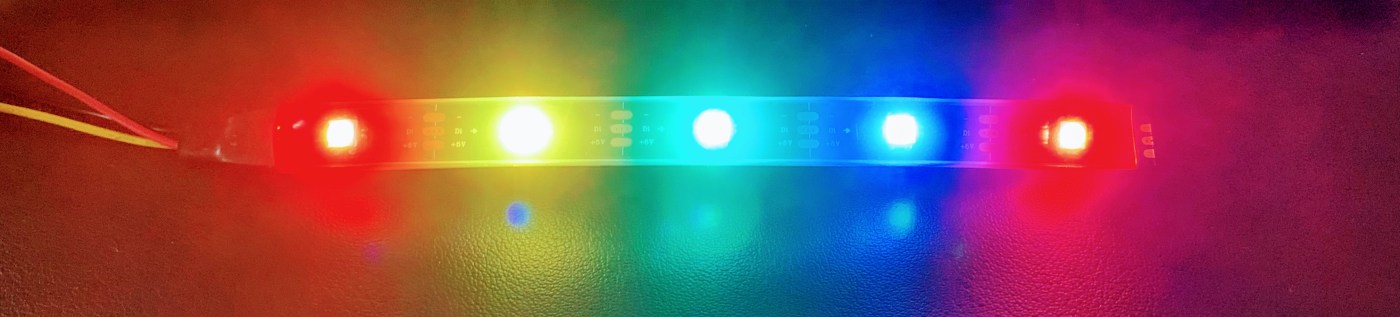
To work with the low voltage requirements of either the USB cable connection or the provided 3V battery pack, I used the WS2812B style of neopixel strip, which is spec’d to run at 5V and works fine on the micro:bit (3.3V). Most neopixel strips run on 12V and require a wall plug or 12V portable power.
You might also try neopixel rings, which can also run at 5V as long as they are the WS2812B type.
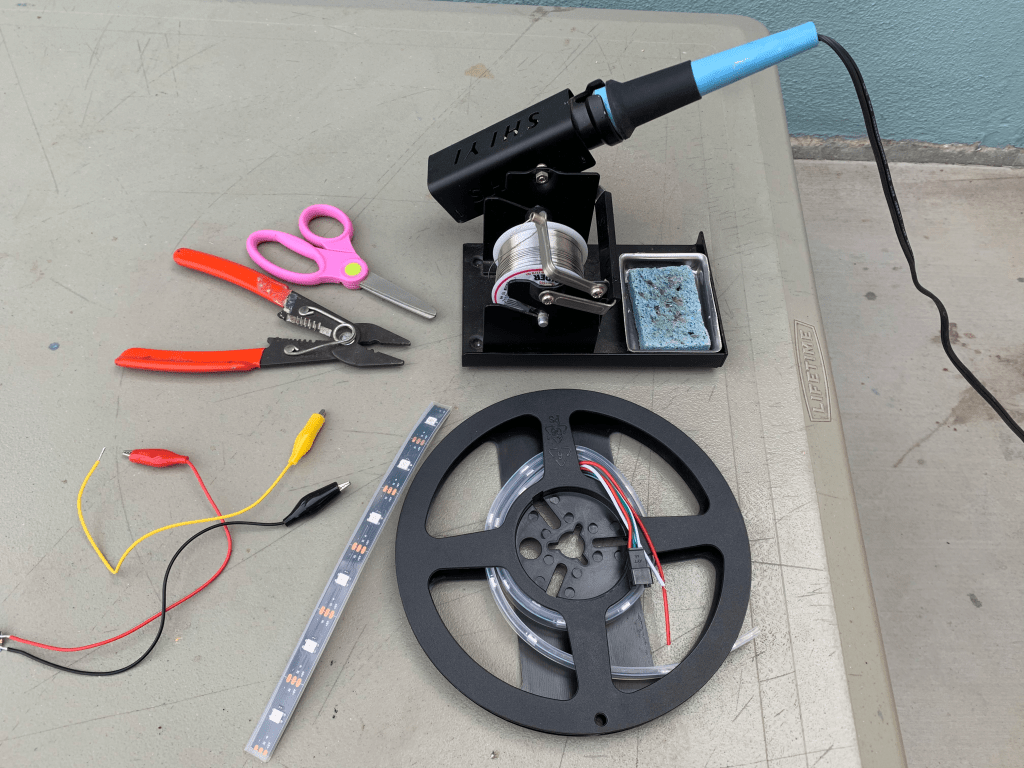
Tools and Materials
Here is what you will need to prepare your own neopixel strips:
- WS2812B neopixels (cut to desired lengths)
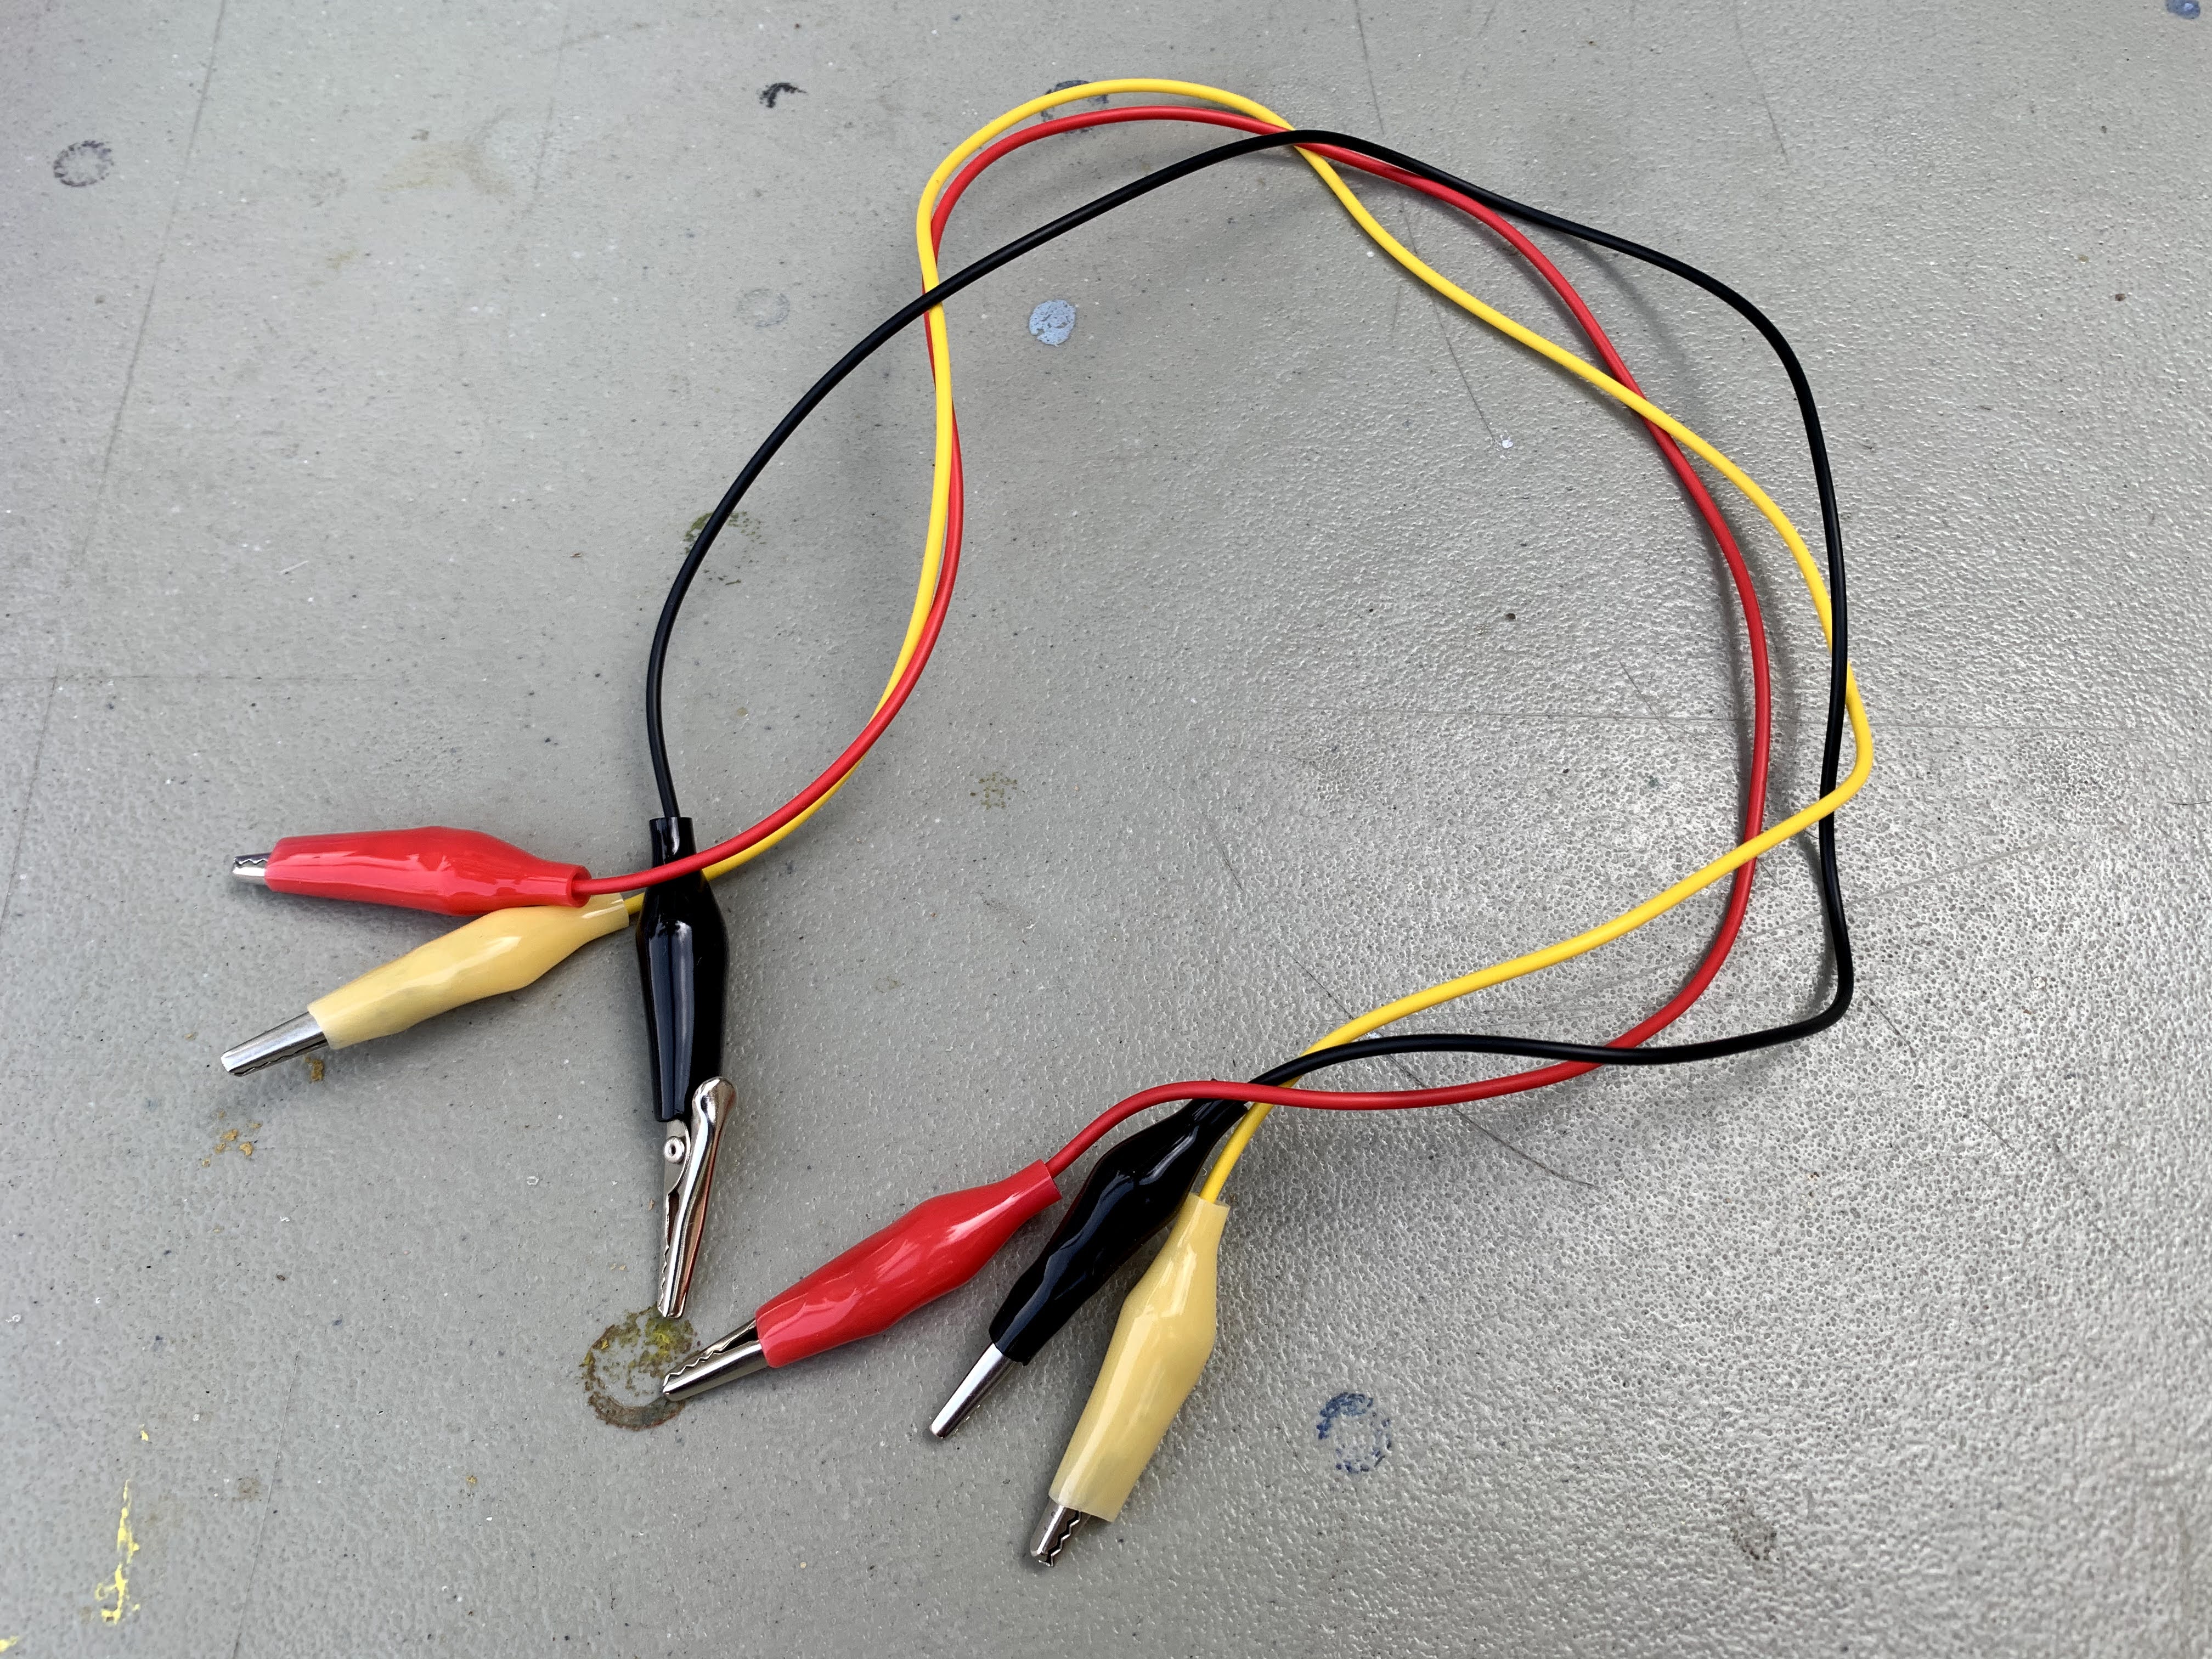
- Alligator clips (cut in half so that you can use one end to solder to your neopixels)
- Wire strippers
- Cutters
- Soldering iron and solder
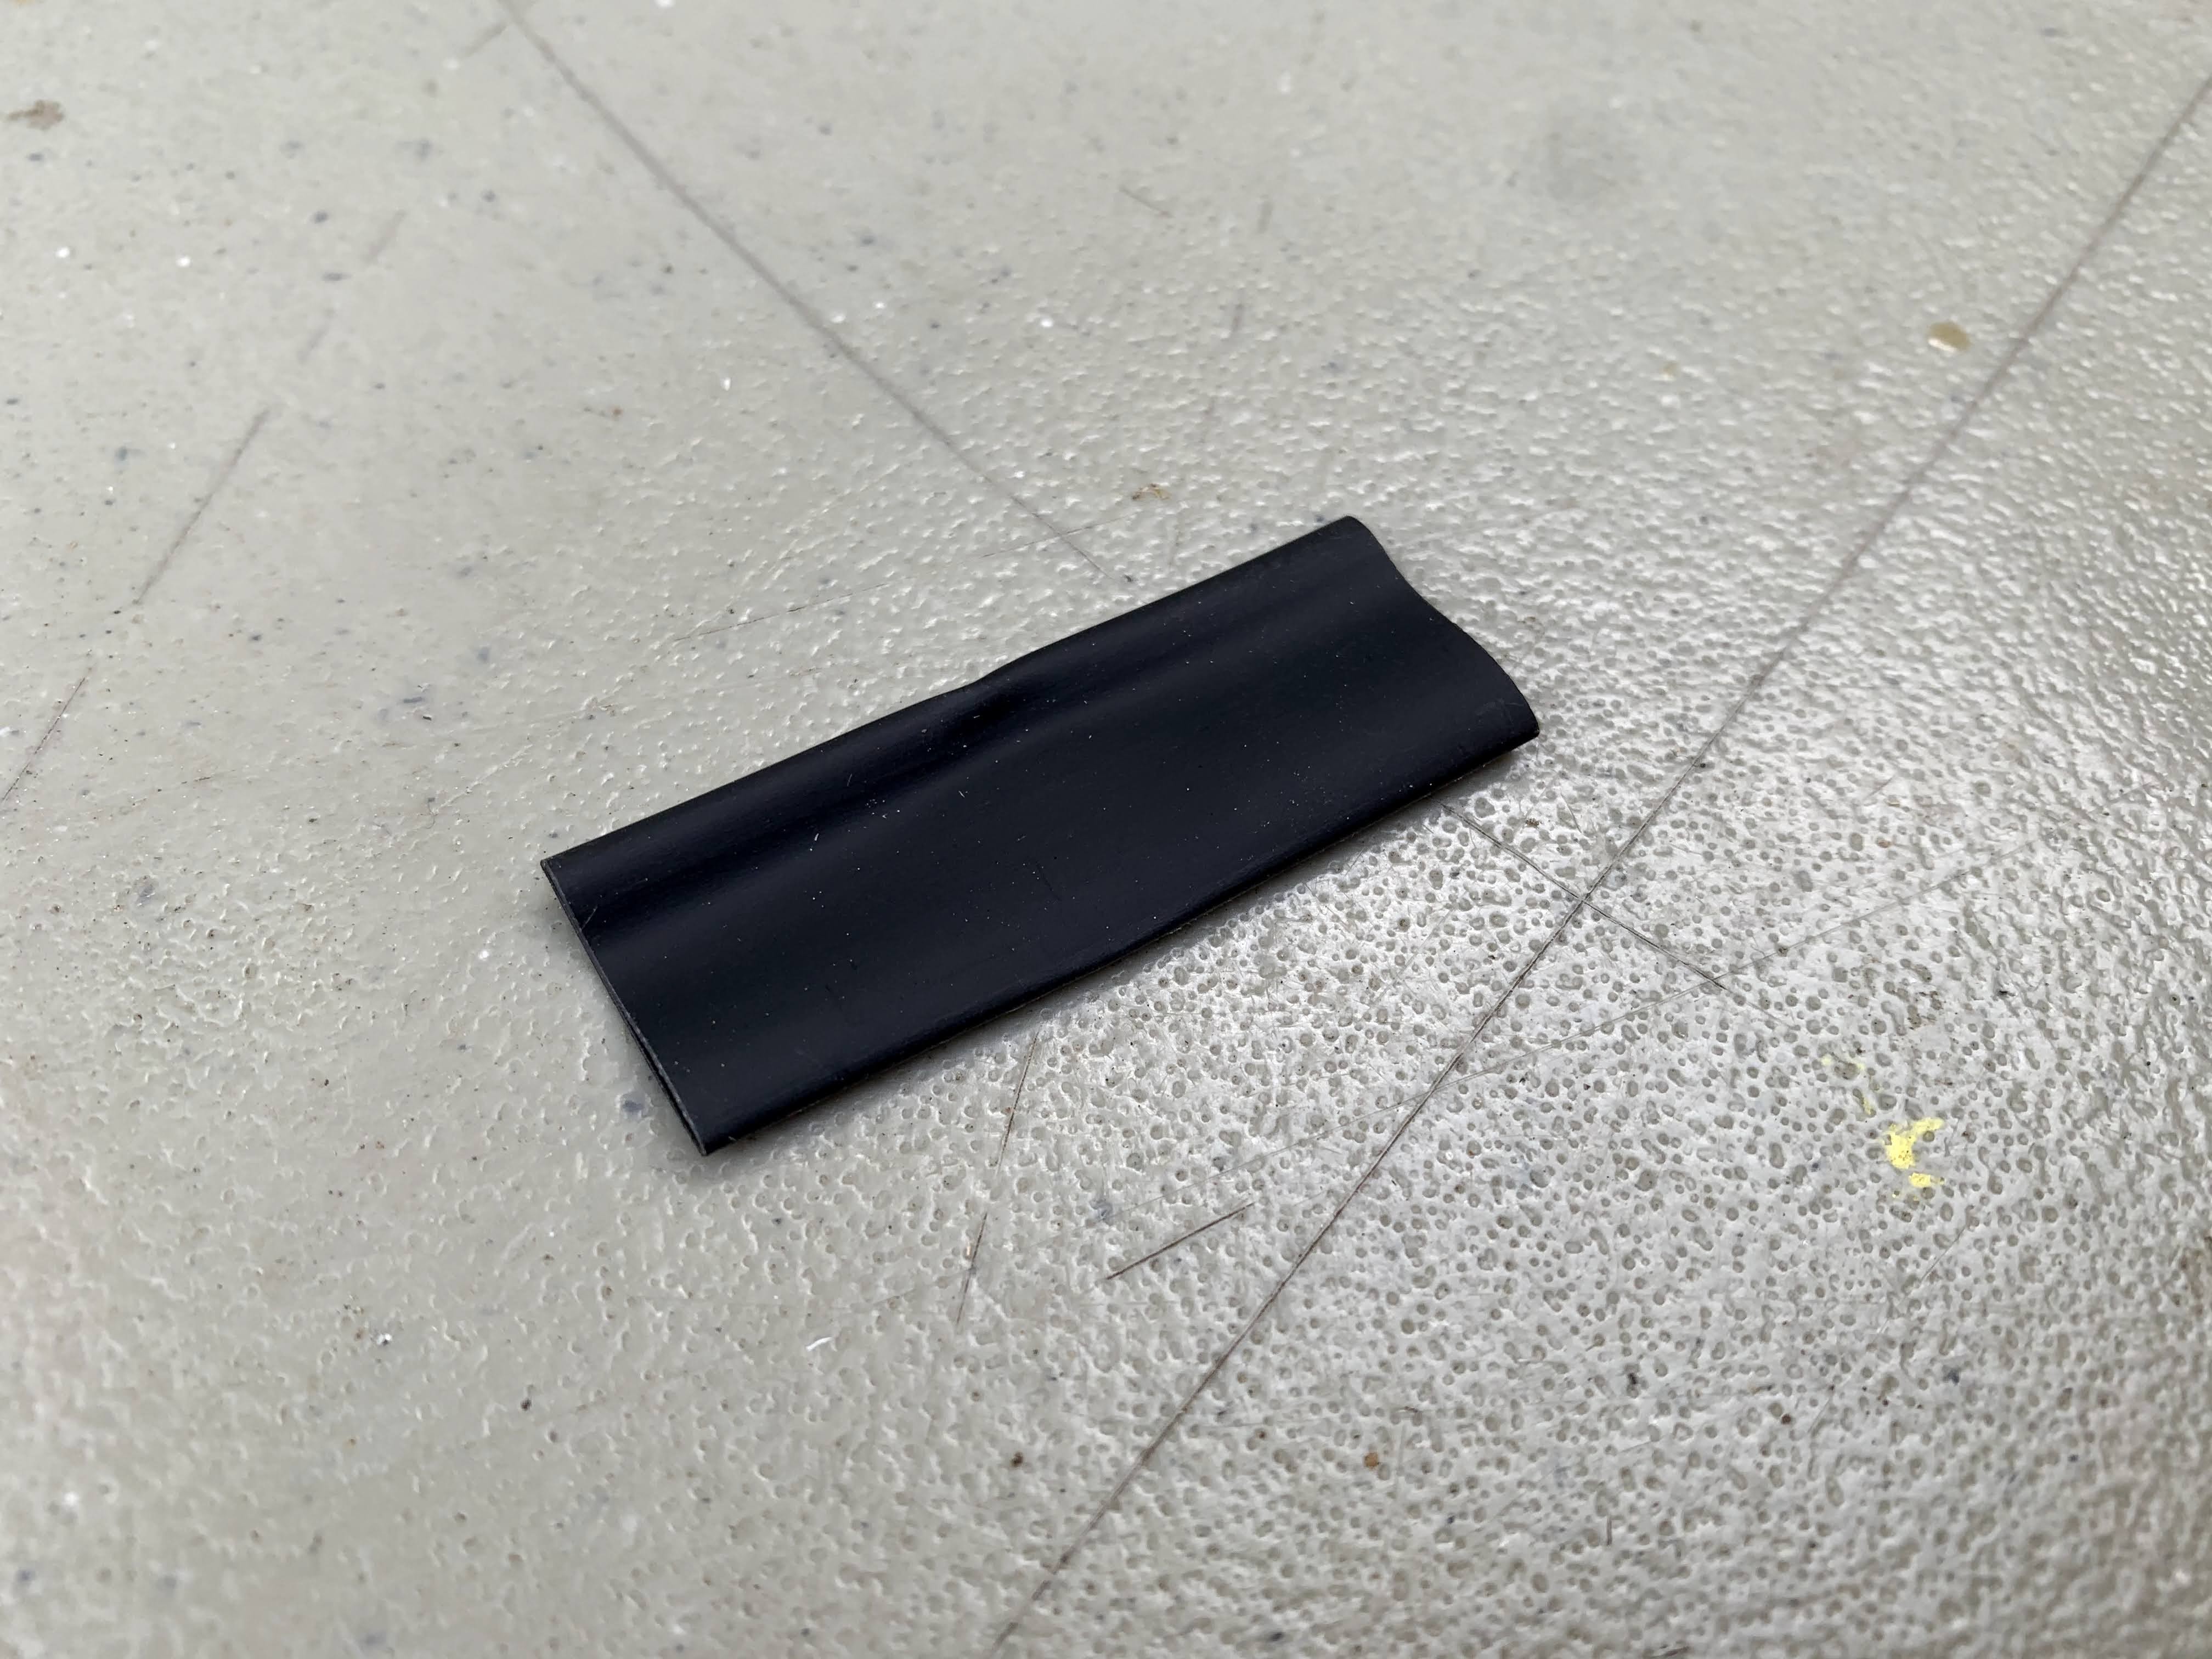
- Heat shrink (not pictured below, I get a variety pack)
The Process
Cutting the strip lengths and pre-soldering the copper pads
Start by determining how long you want to cut your strips. I selected five LEDs to allow for enough variation when running code like “rainbow,” but short enough to get as many strips as possible from one reel of LEDs. There are also limitations as to how many LEDs you can use with just the USB-powered or battery-powered micro:bit. See the final minutes of this video (starting at 17:40) for more information.
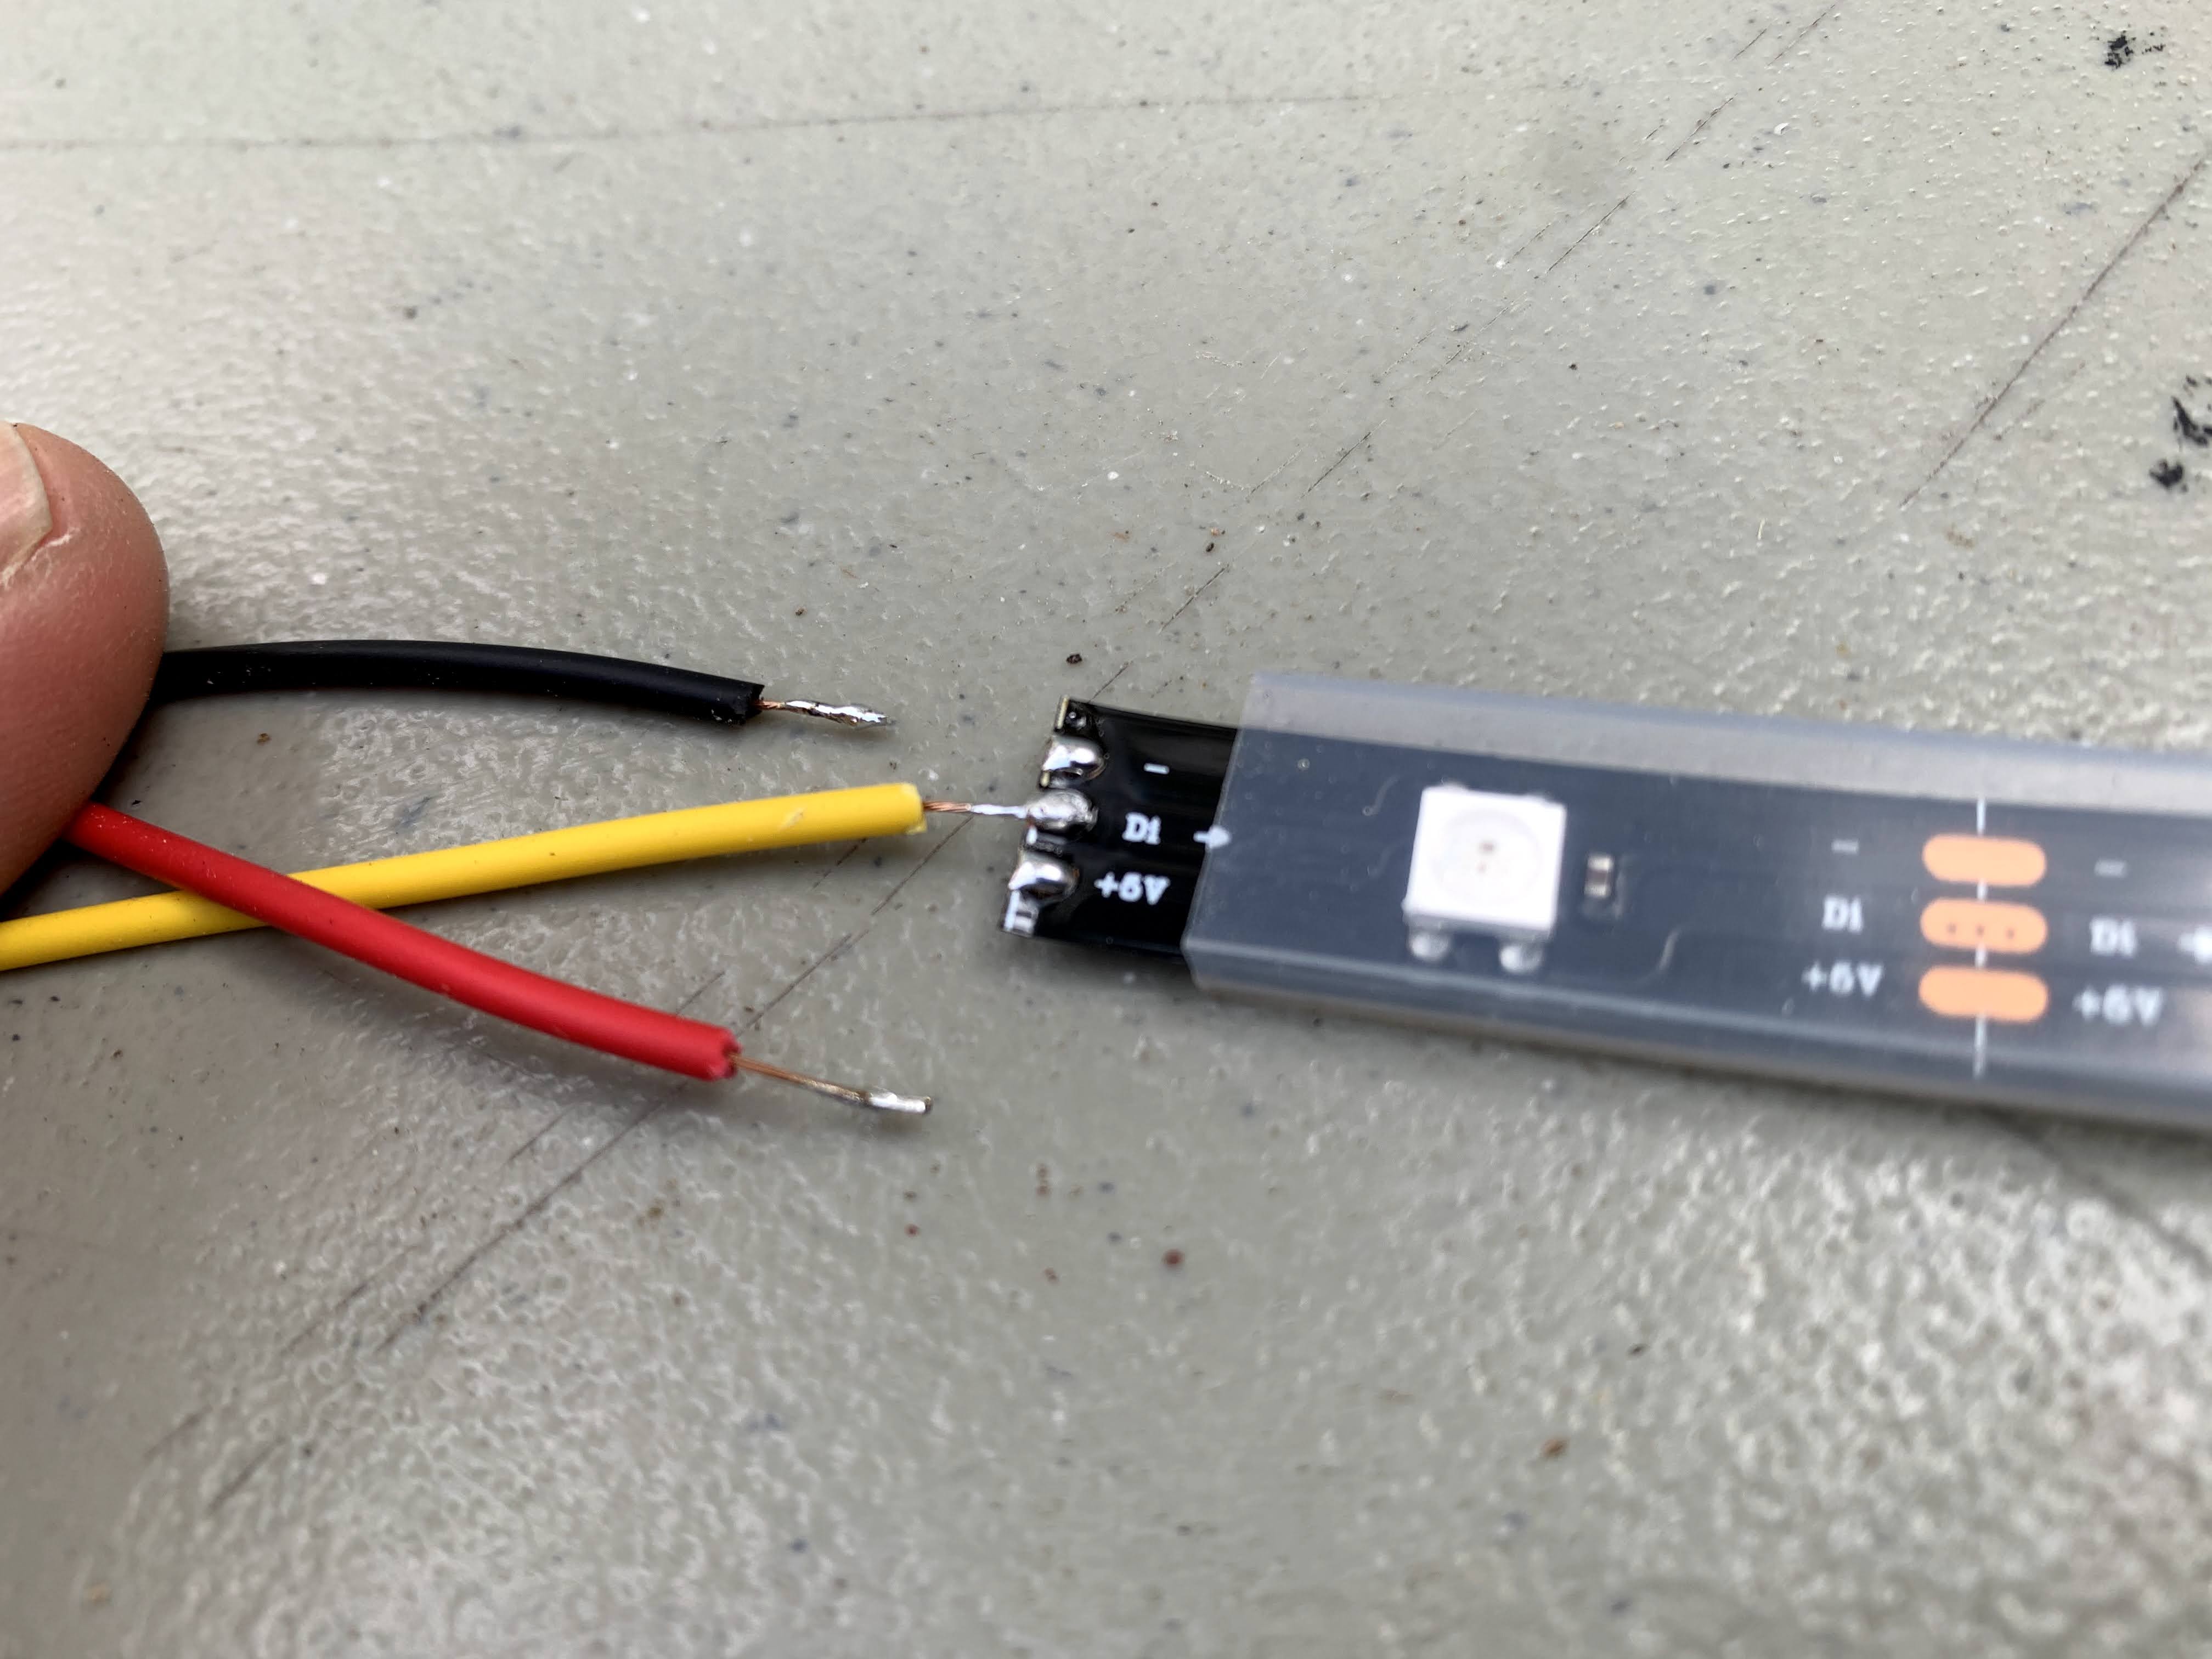
The key when cutting LEDs is to look for the cut line, where three copper pads run cross-length on the strip.
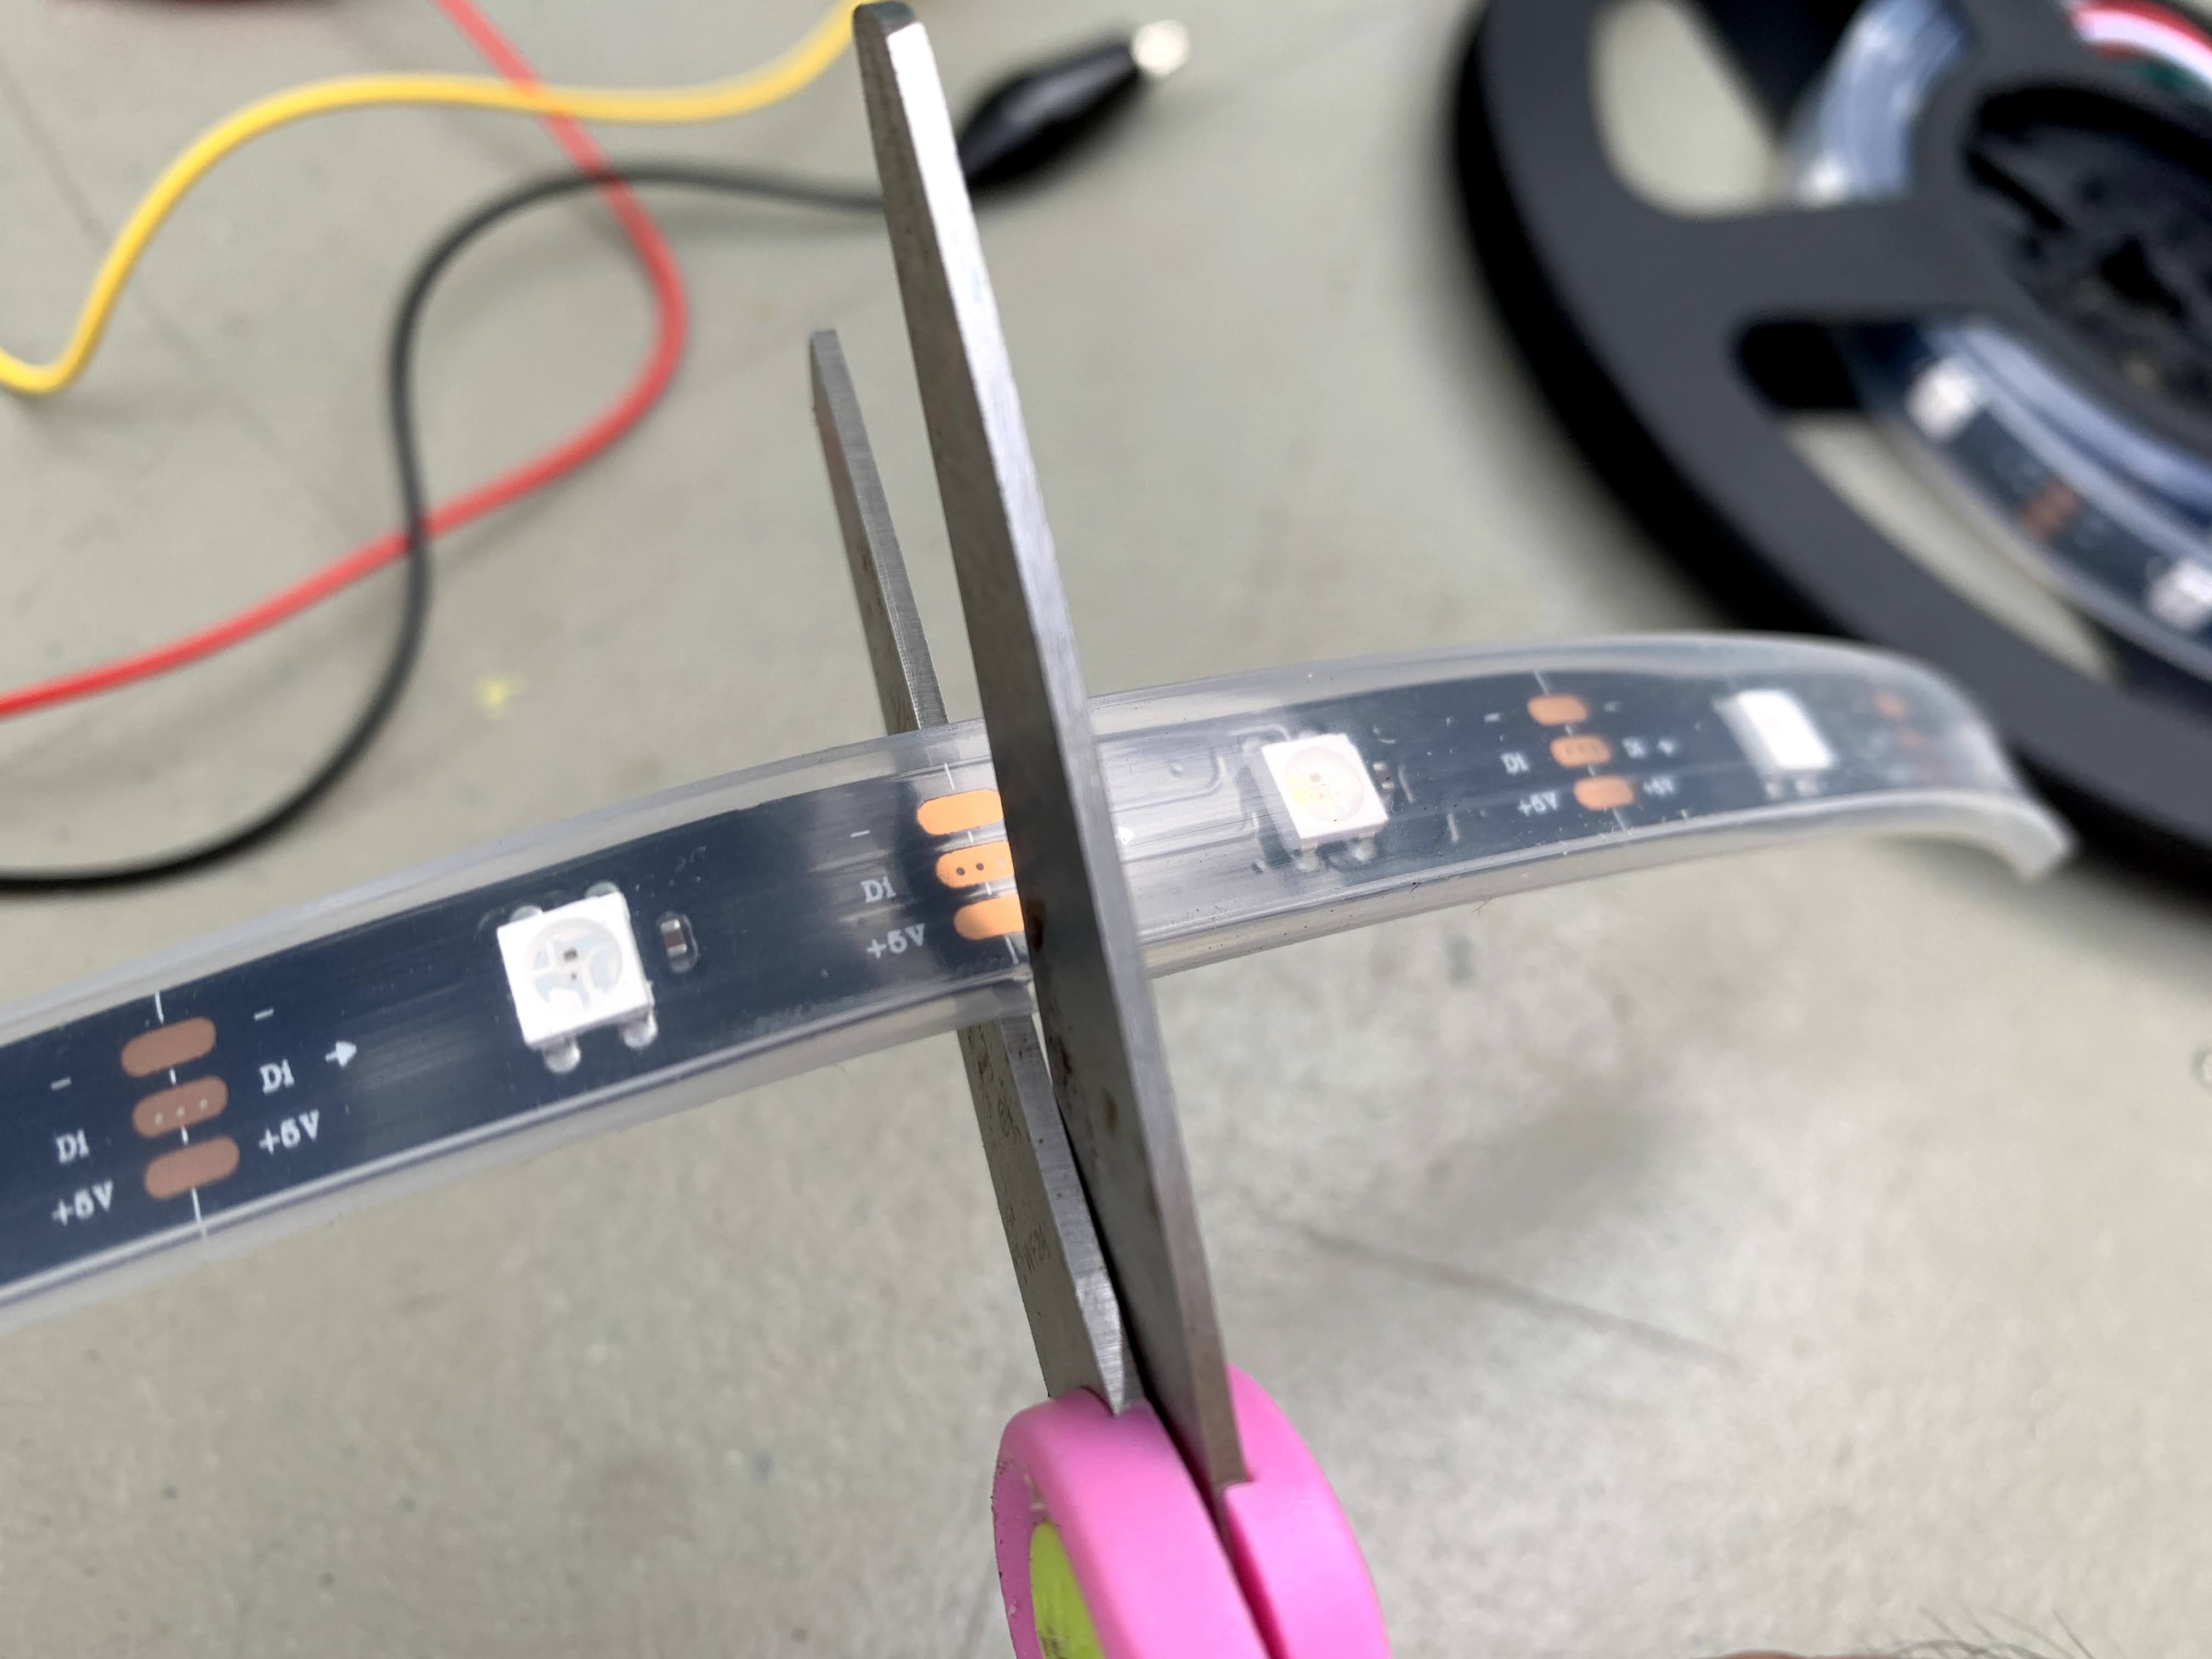
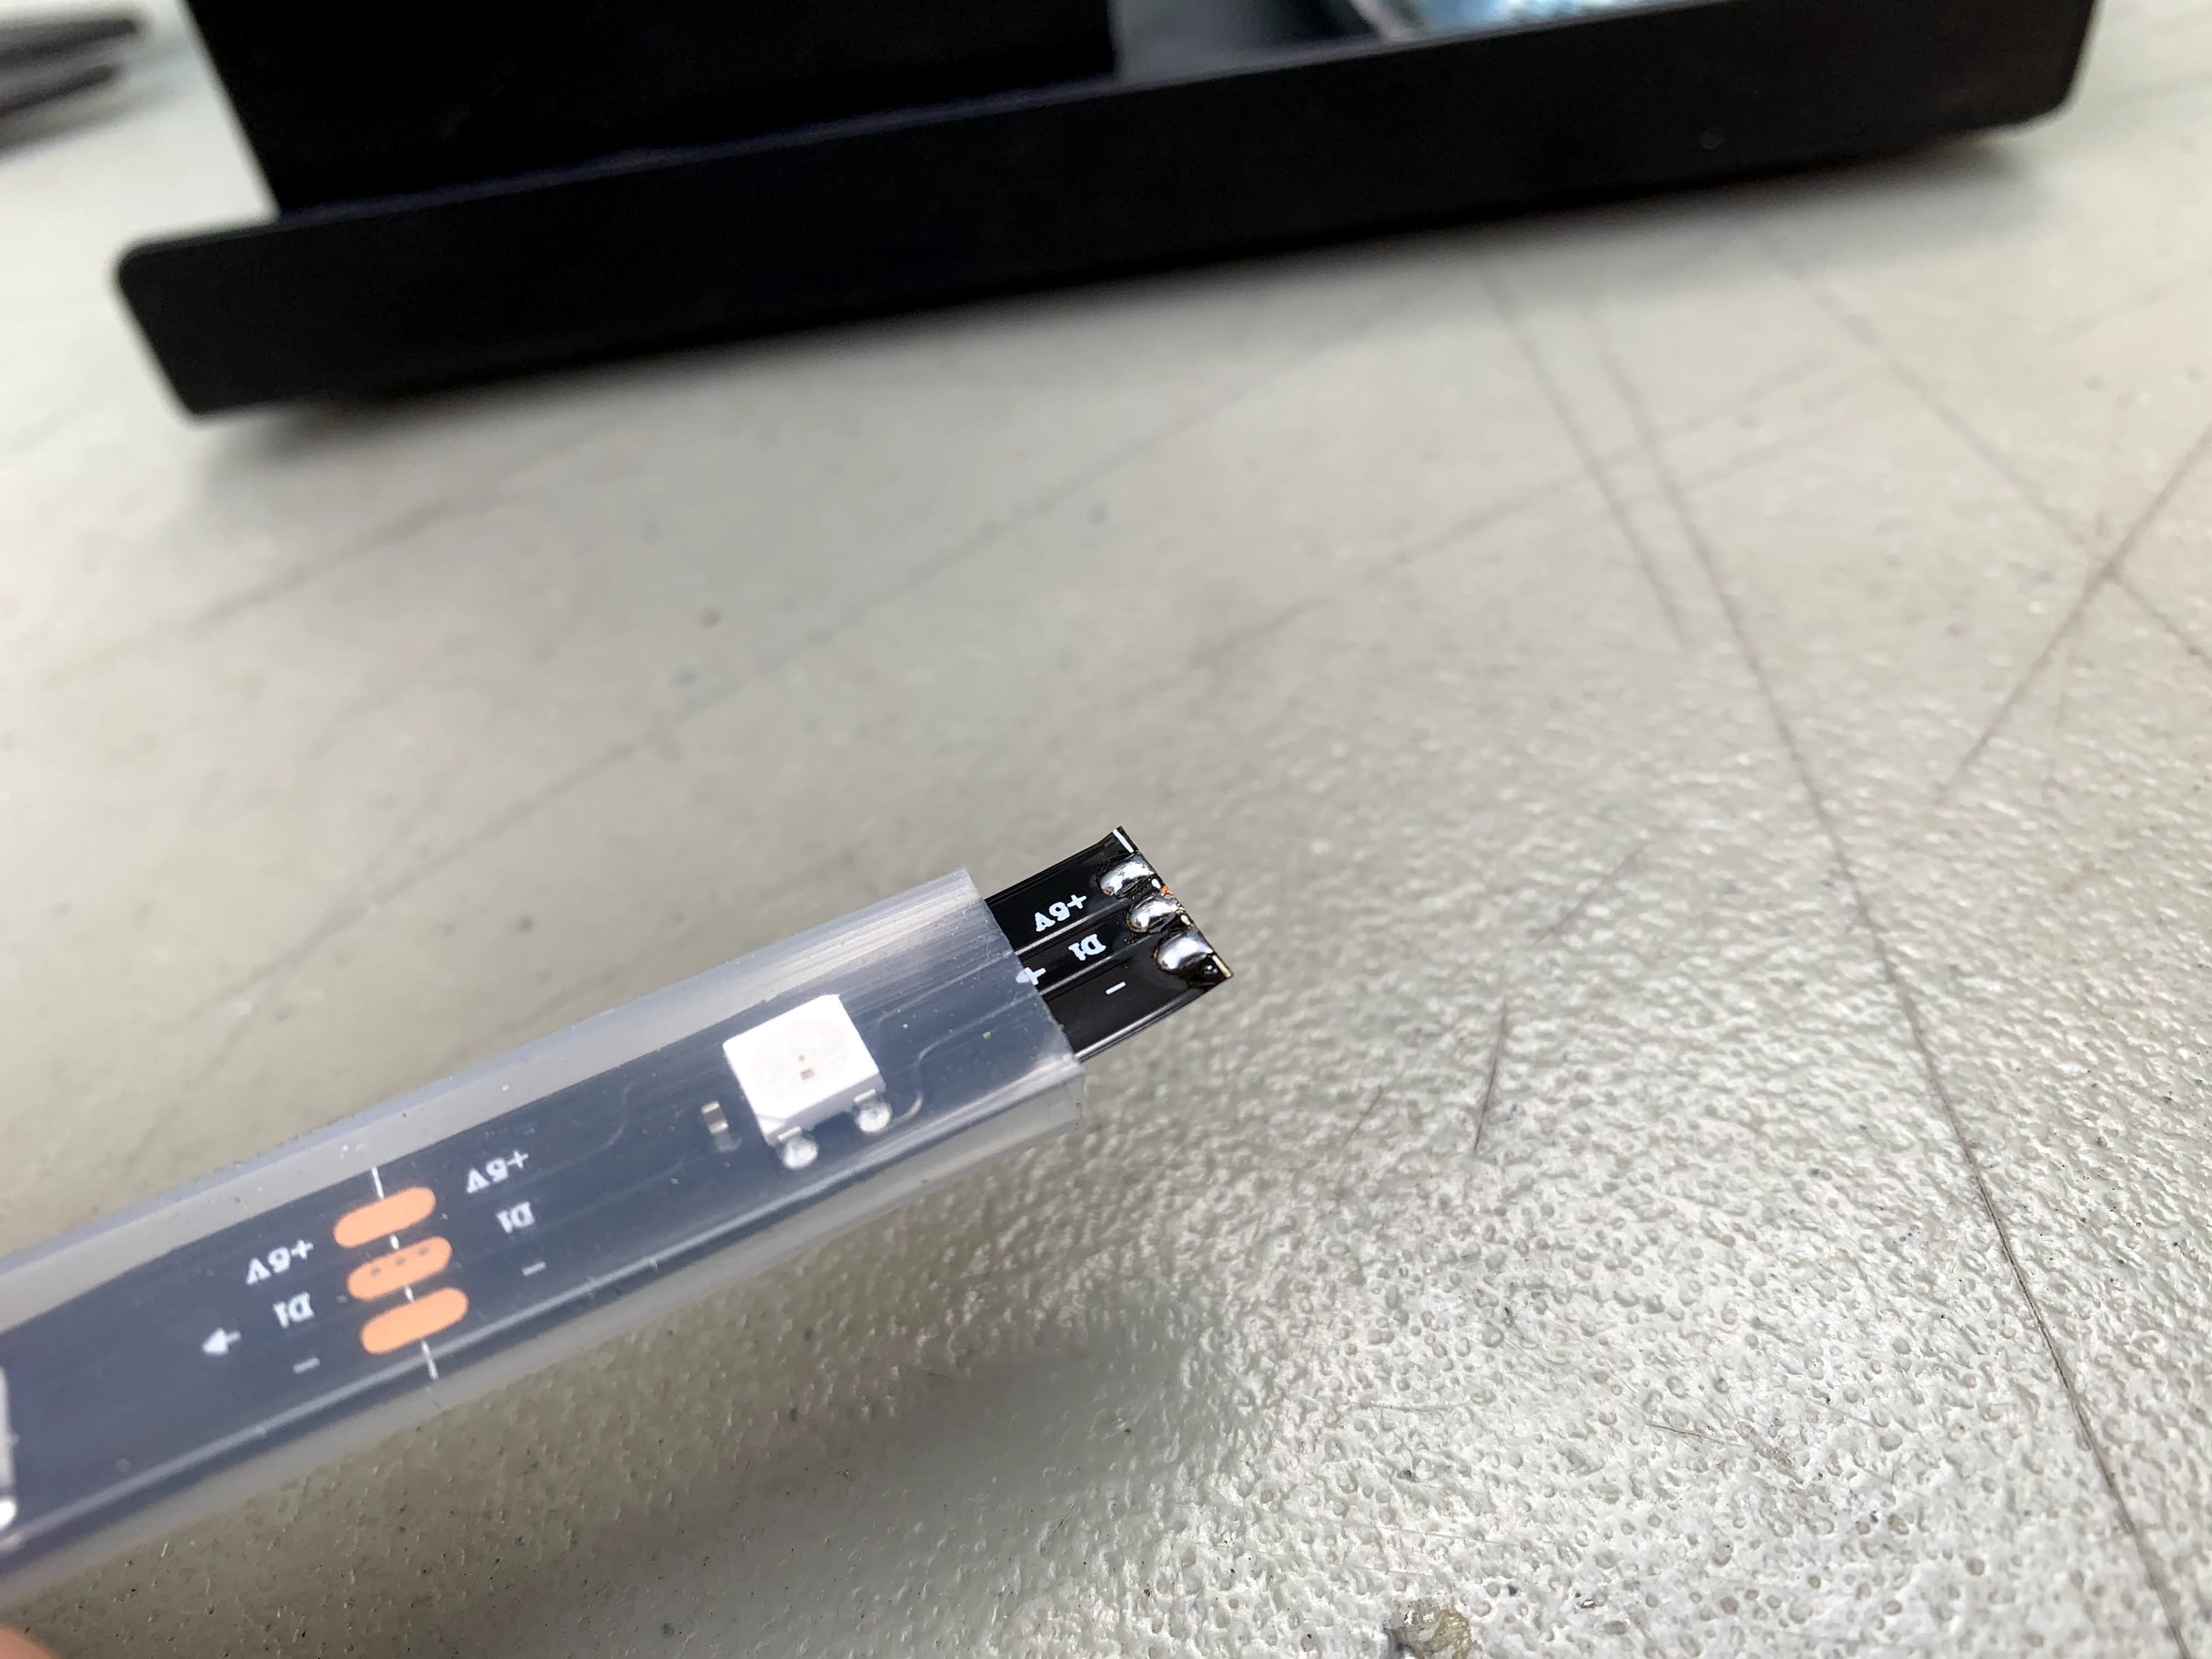
For the strips that I purchased, each LED can be cut individually. Other strips I have seen place three LEDs together between cut lines, and that is the minimum number that can work on those.
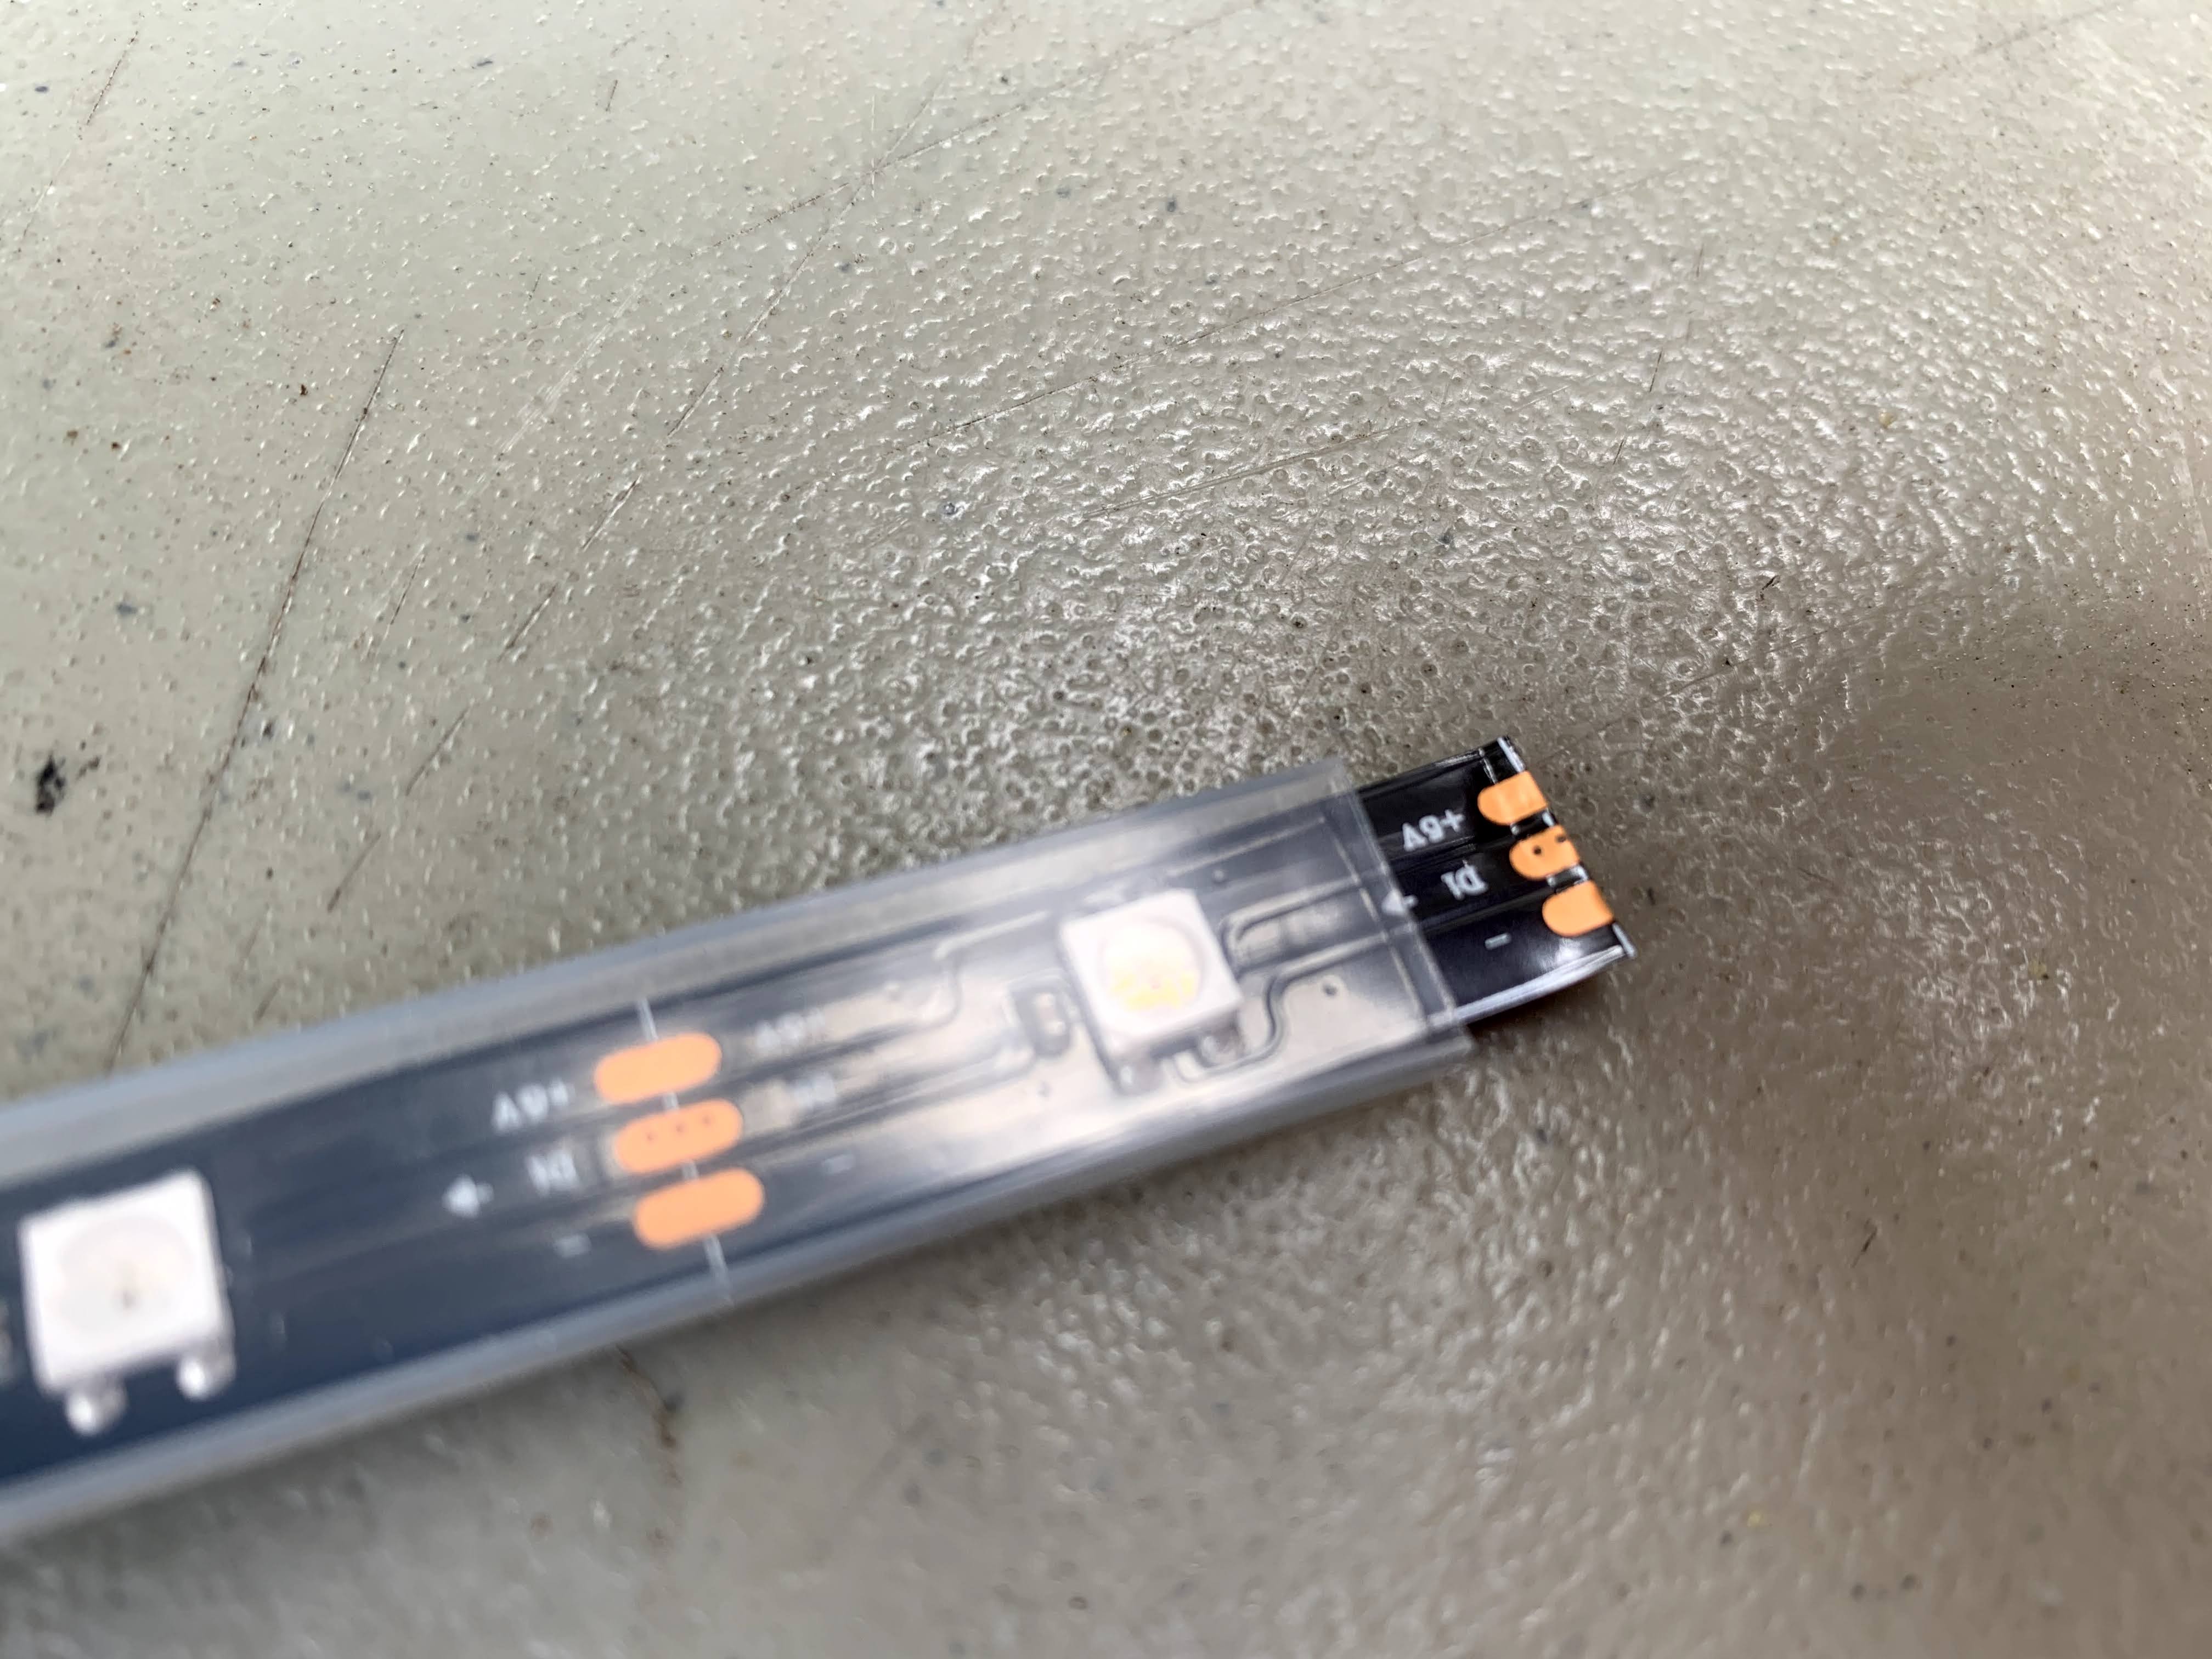
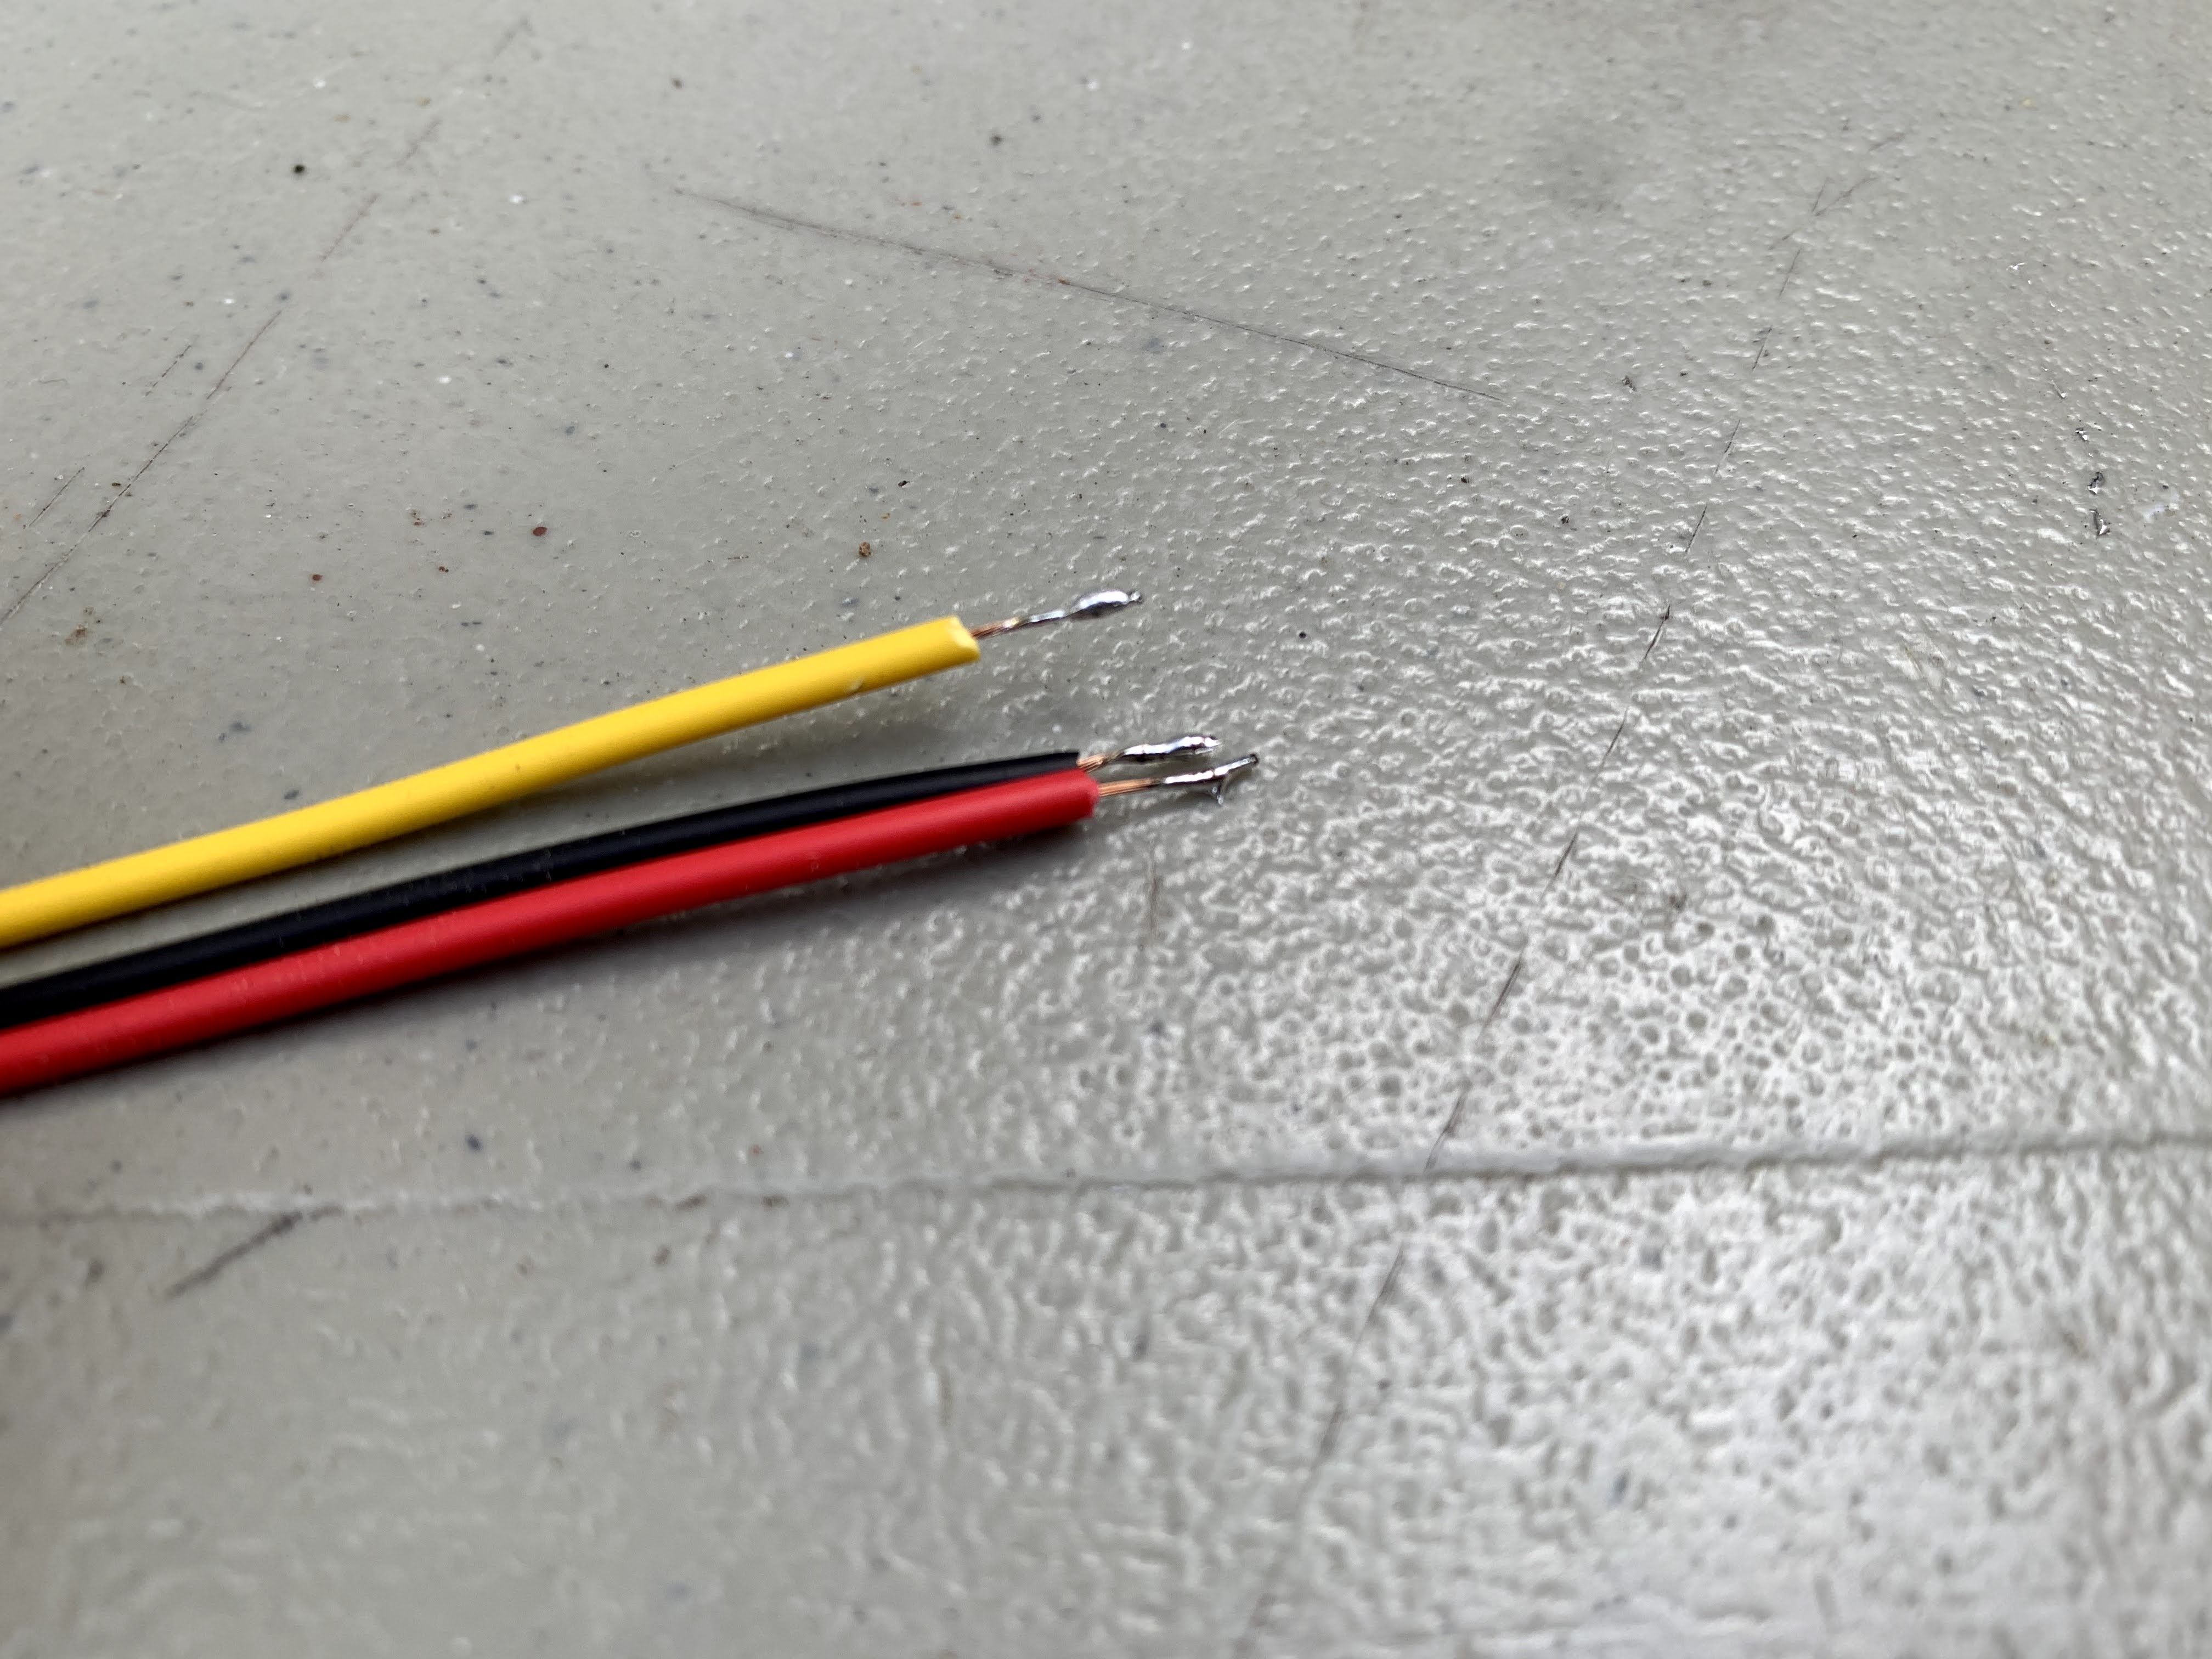
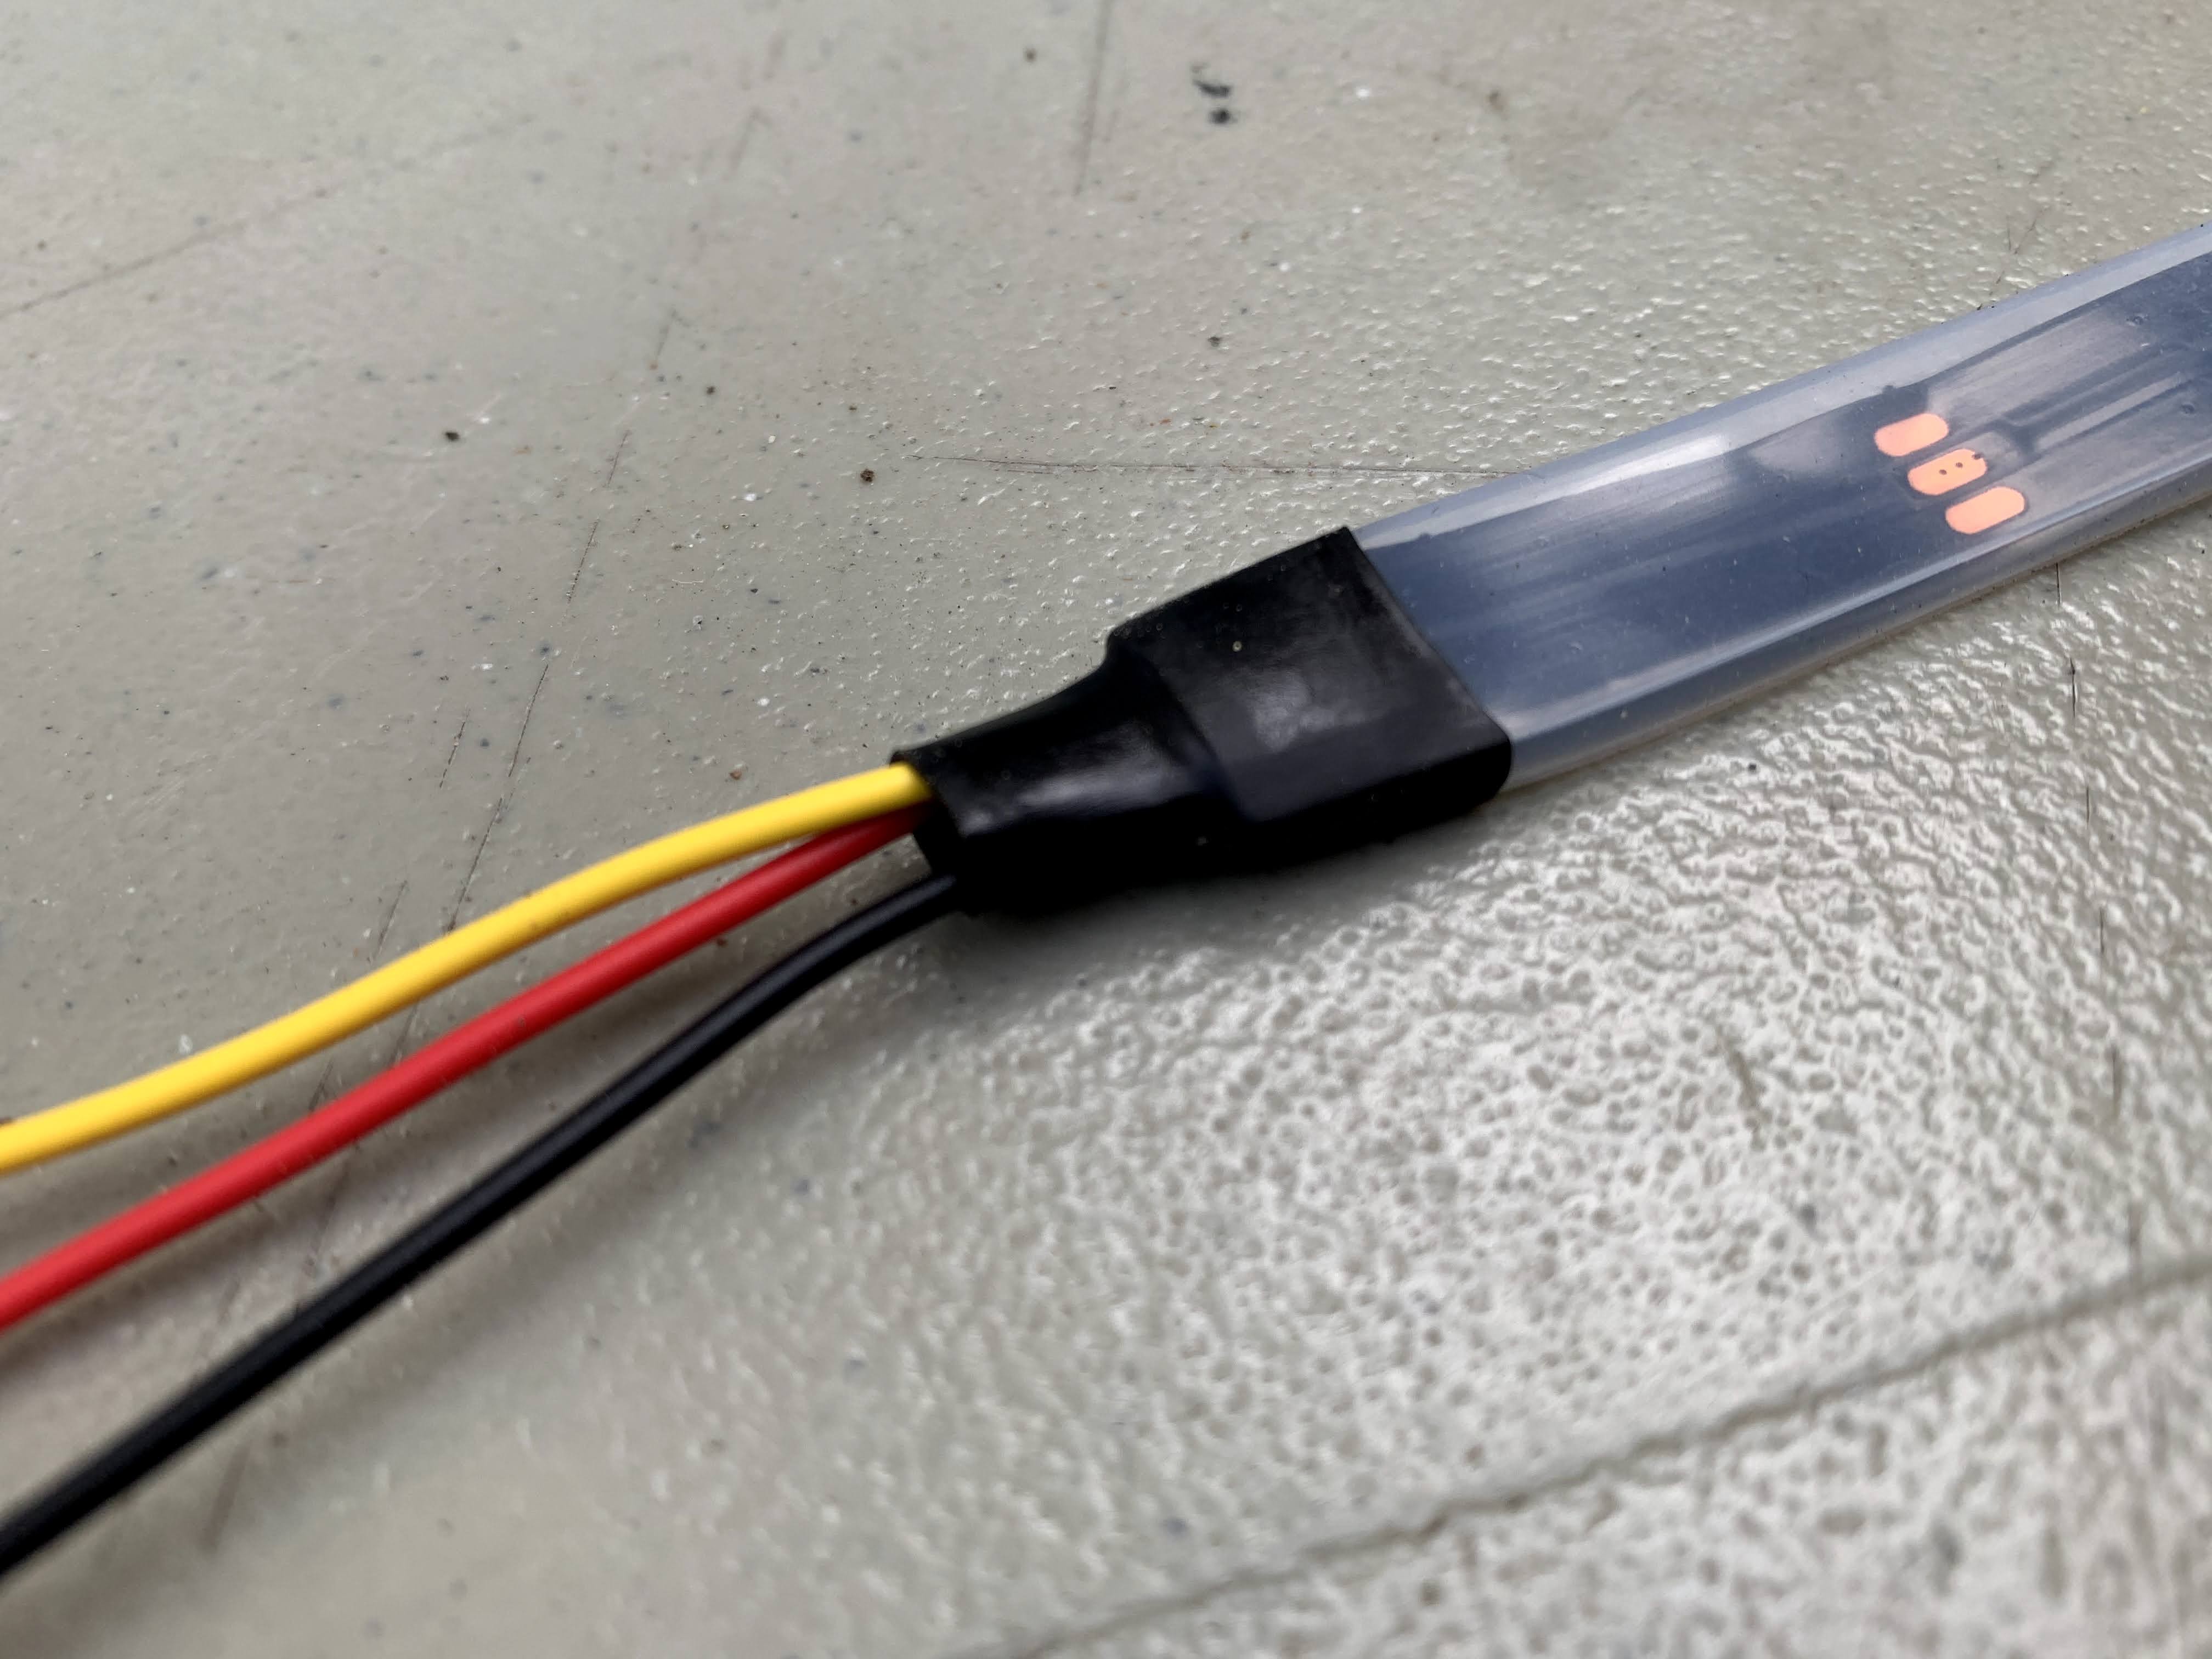
I like to pre-solder the copper pads before connecting the wires. You can see the pre-solder on the third image above.
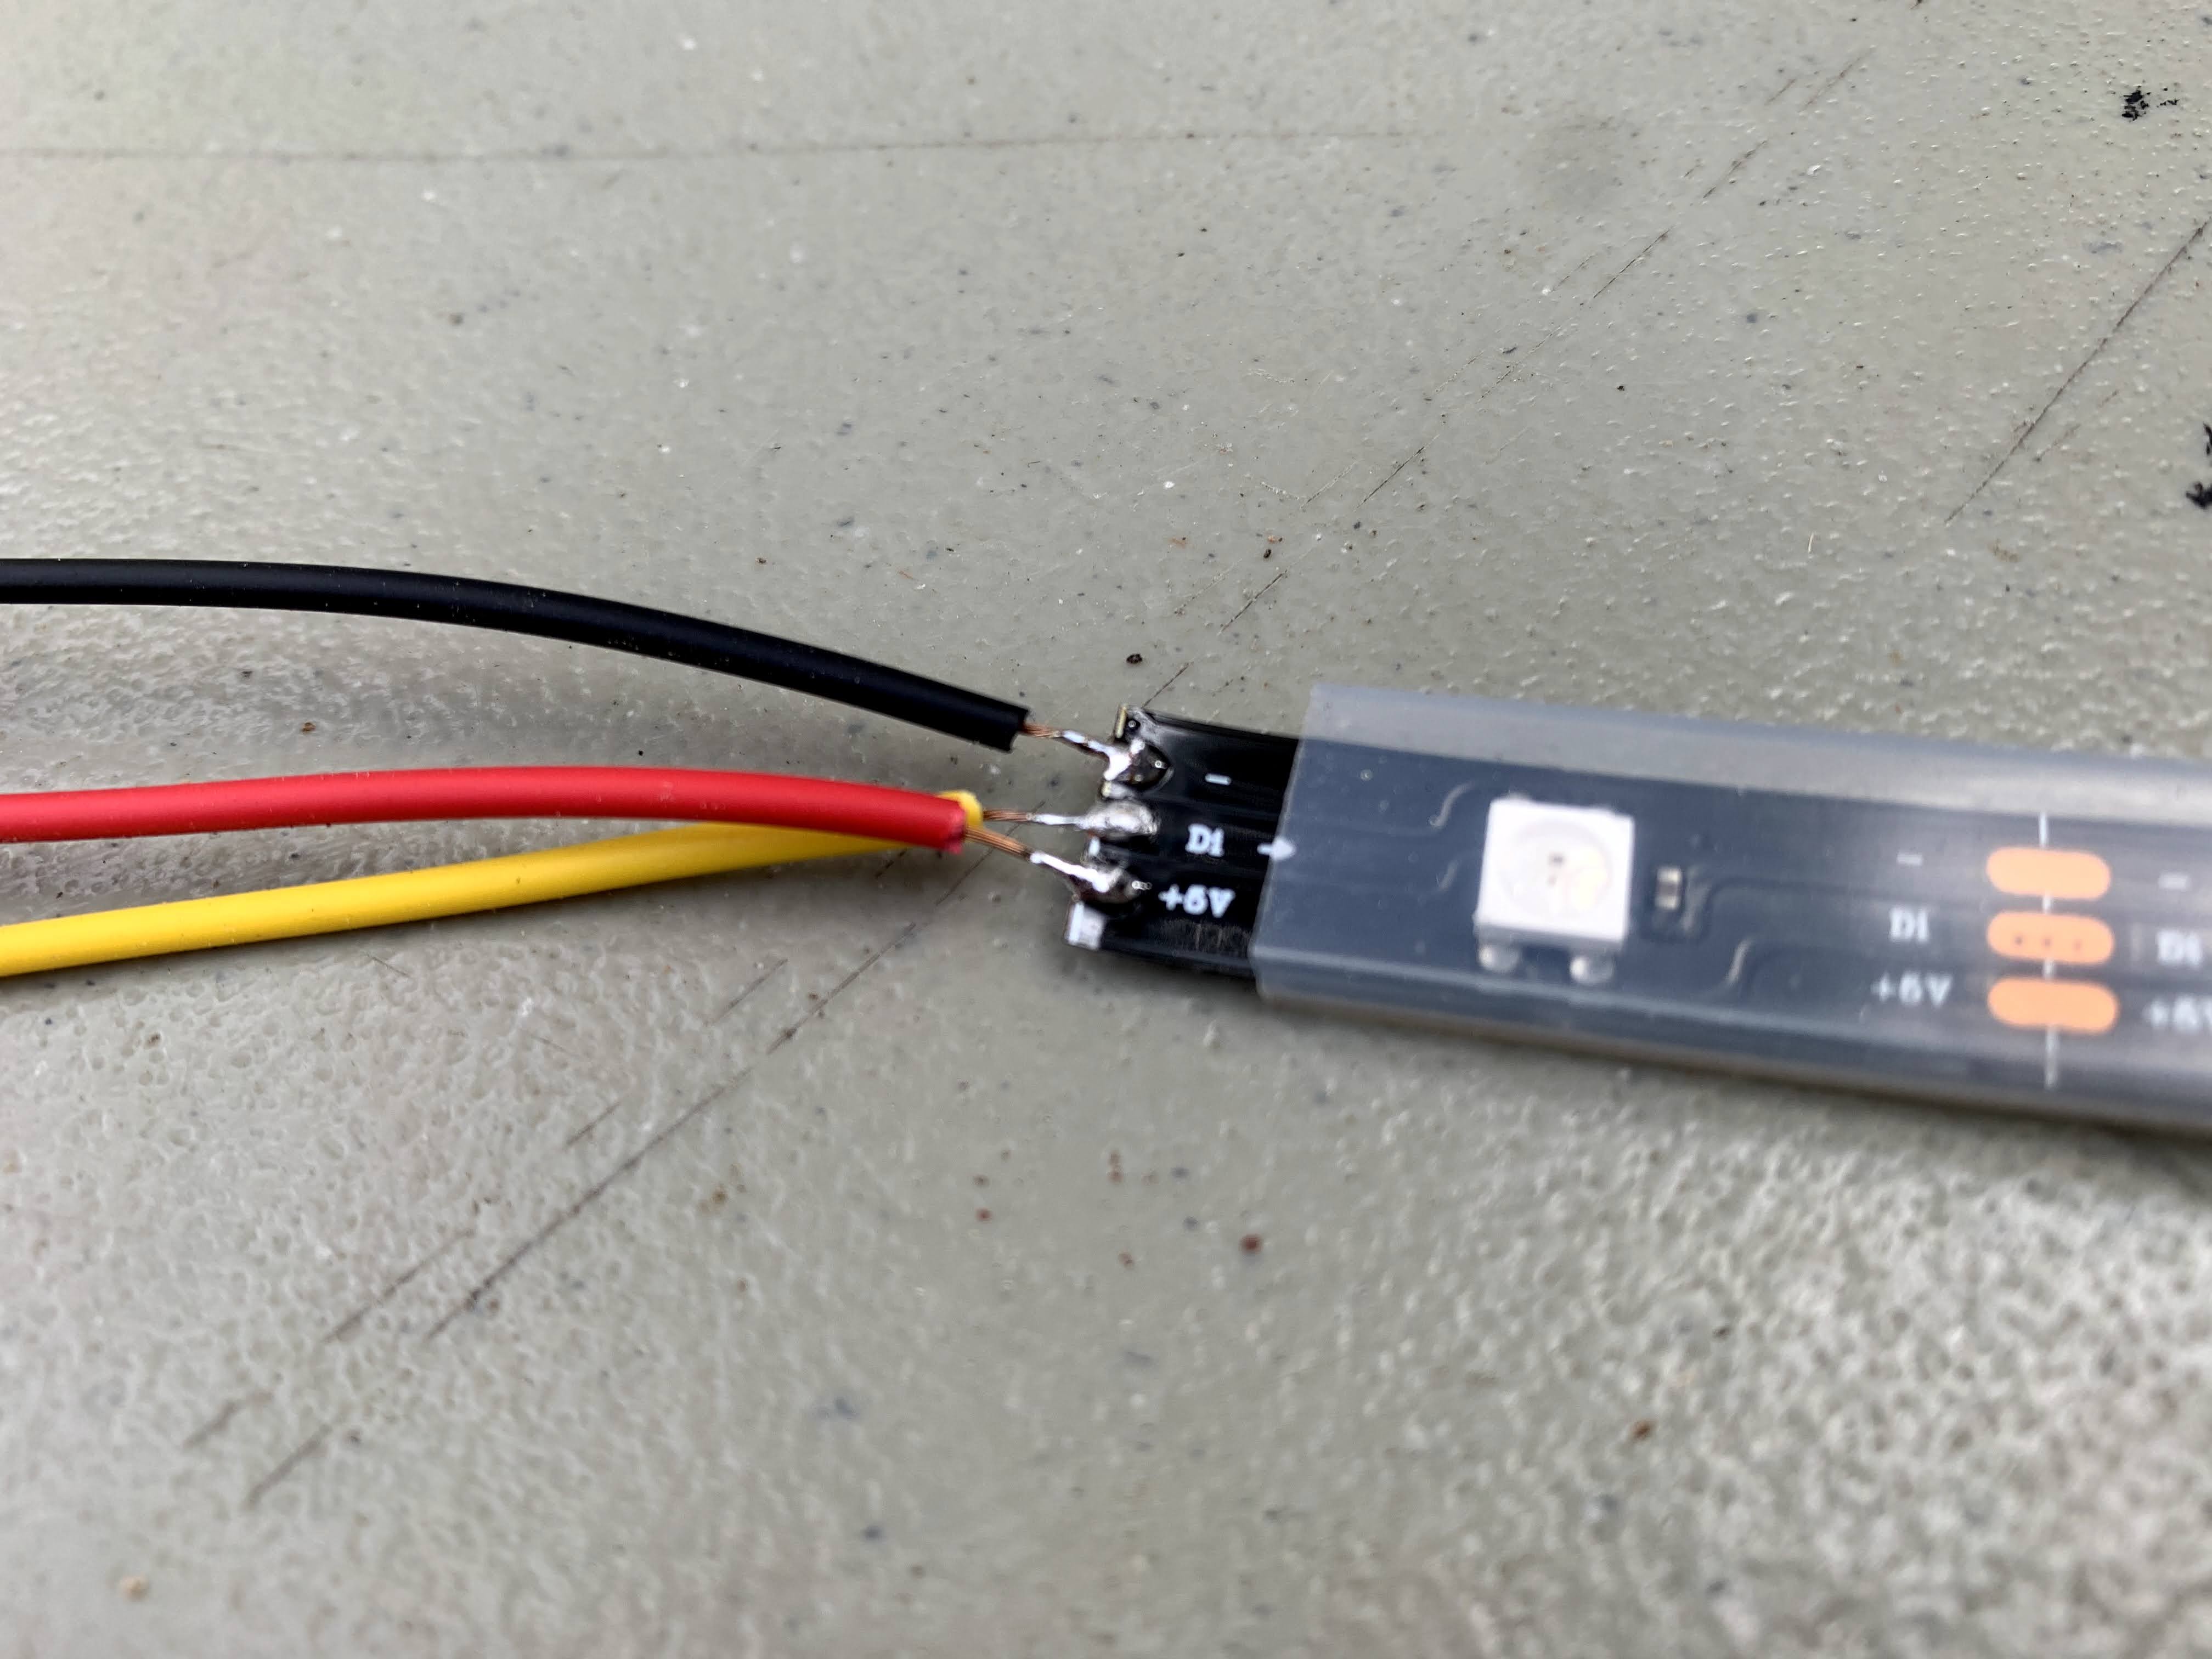
Please note the directional arrow that is printed on the strip near the copper pads, it shows the direction from power to the LEDs. Solder your leads with the arrow pointing away from them, leading to the LEDs.
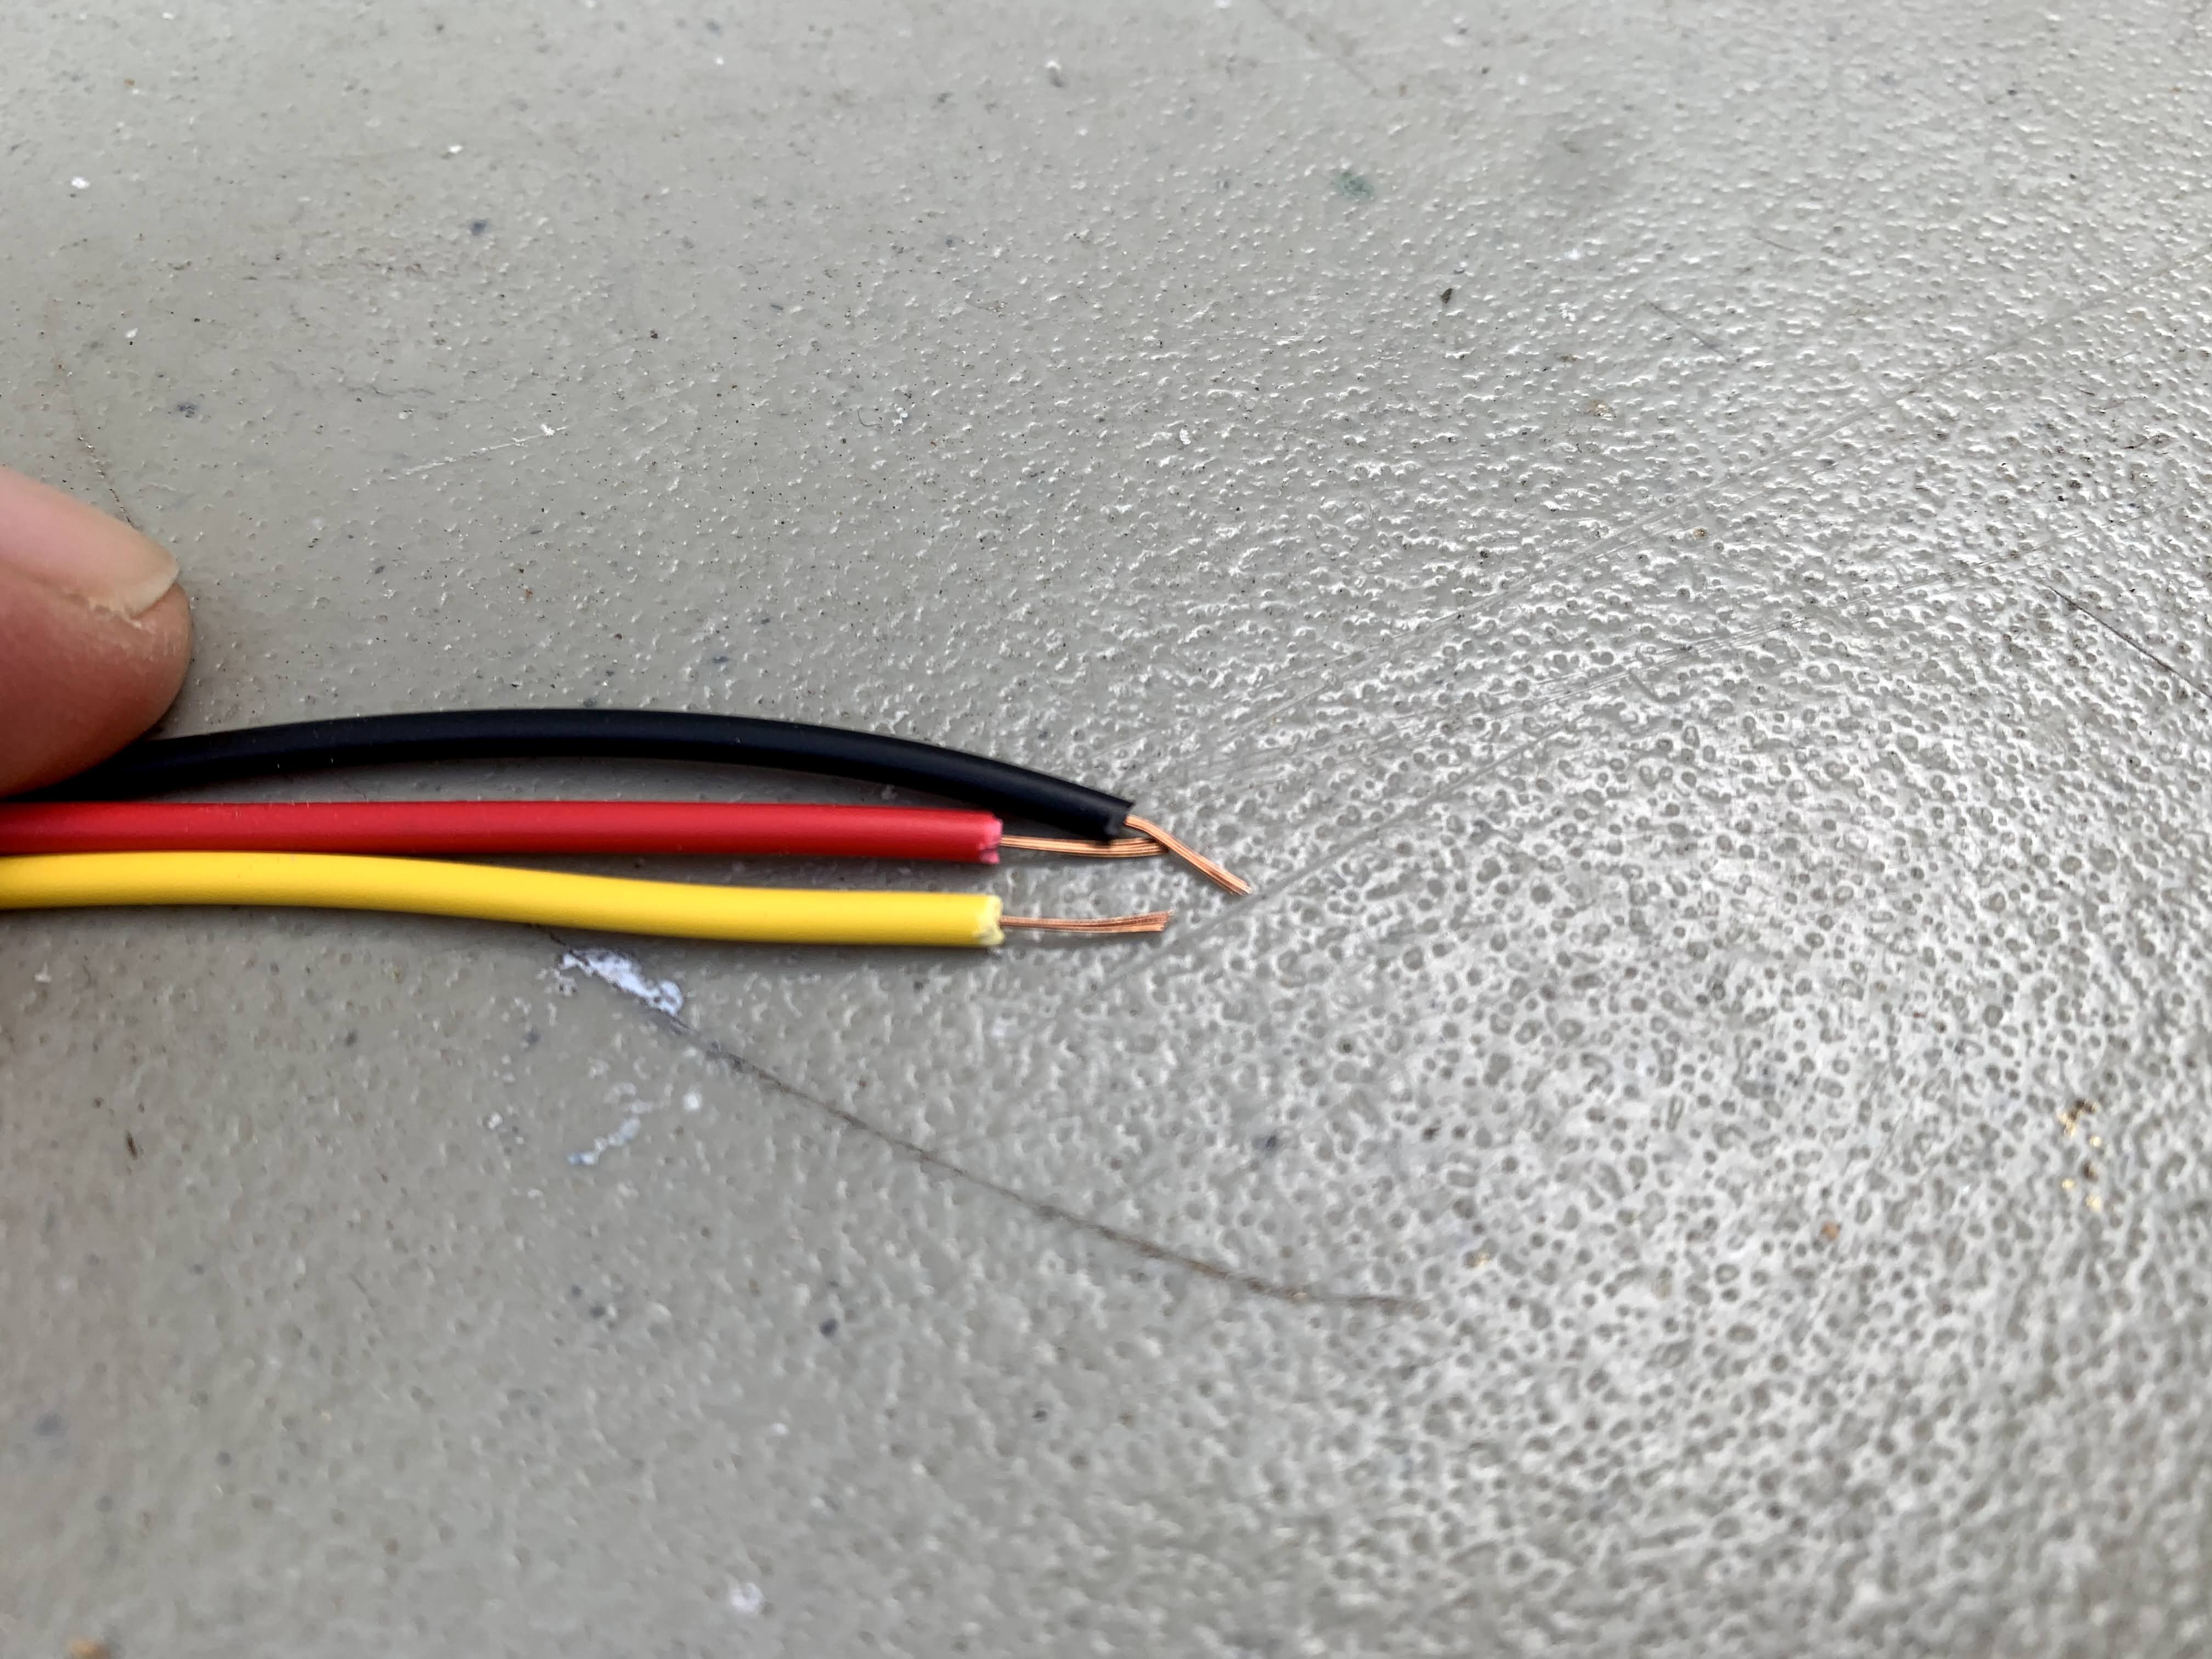
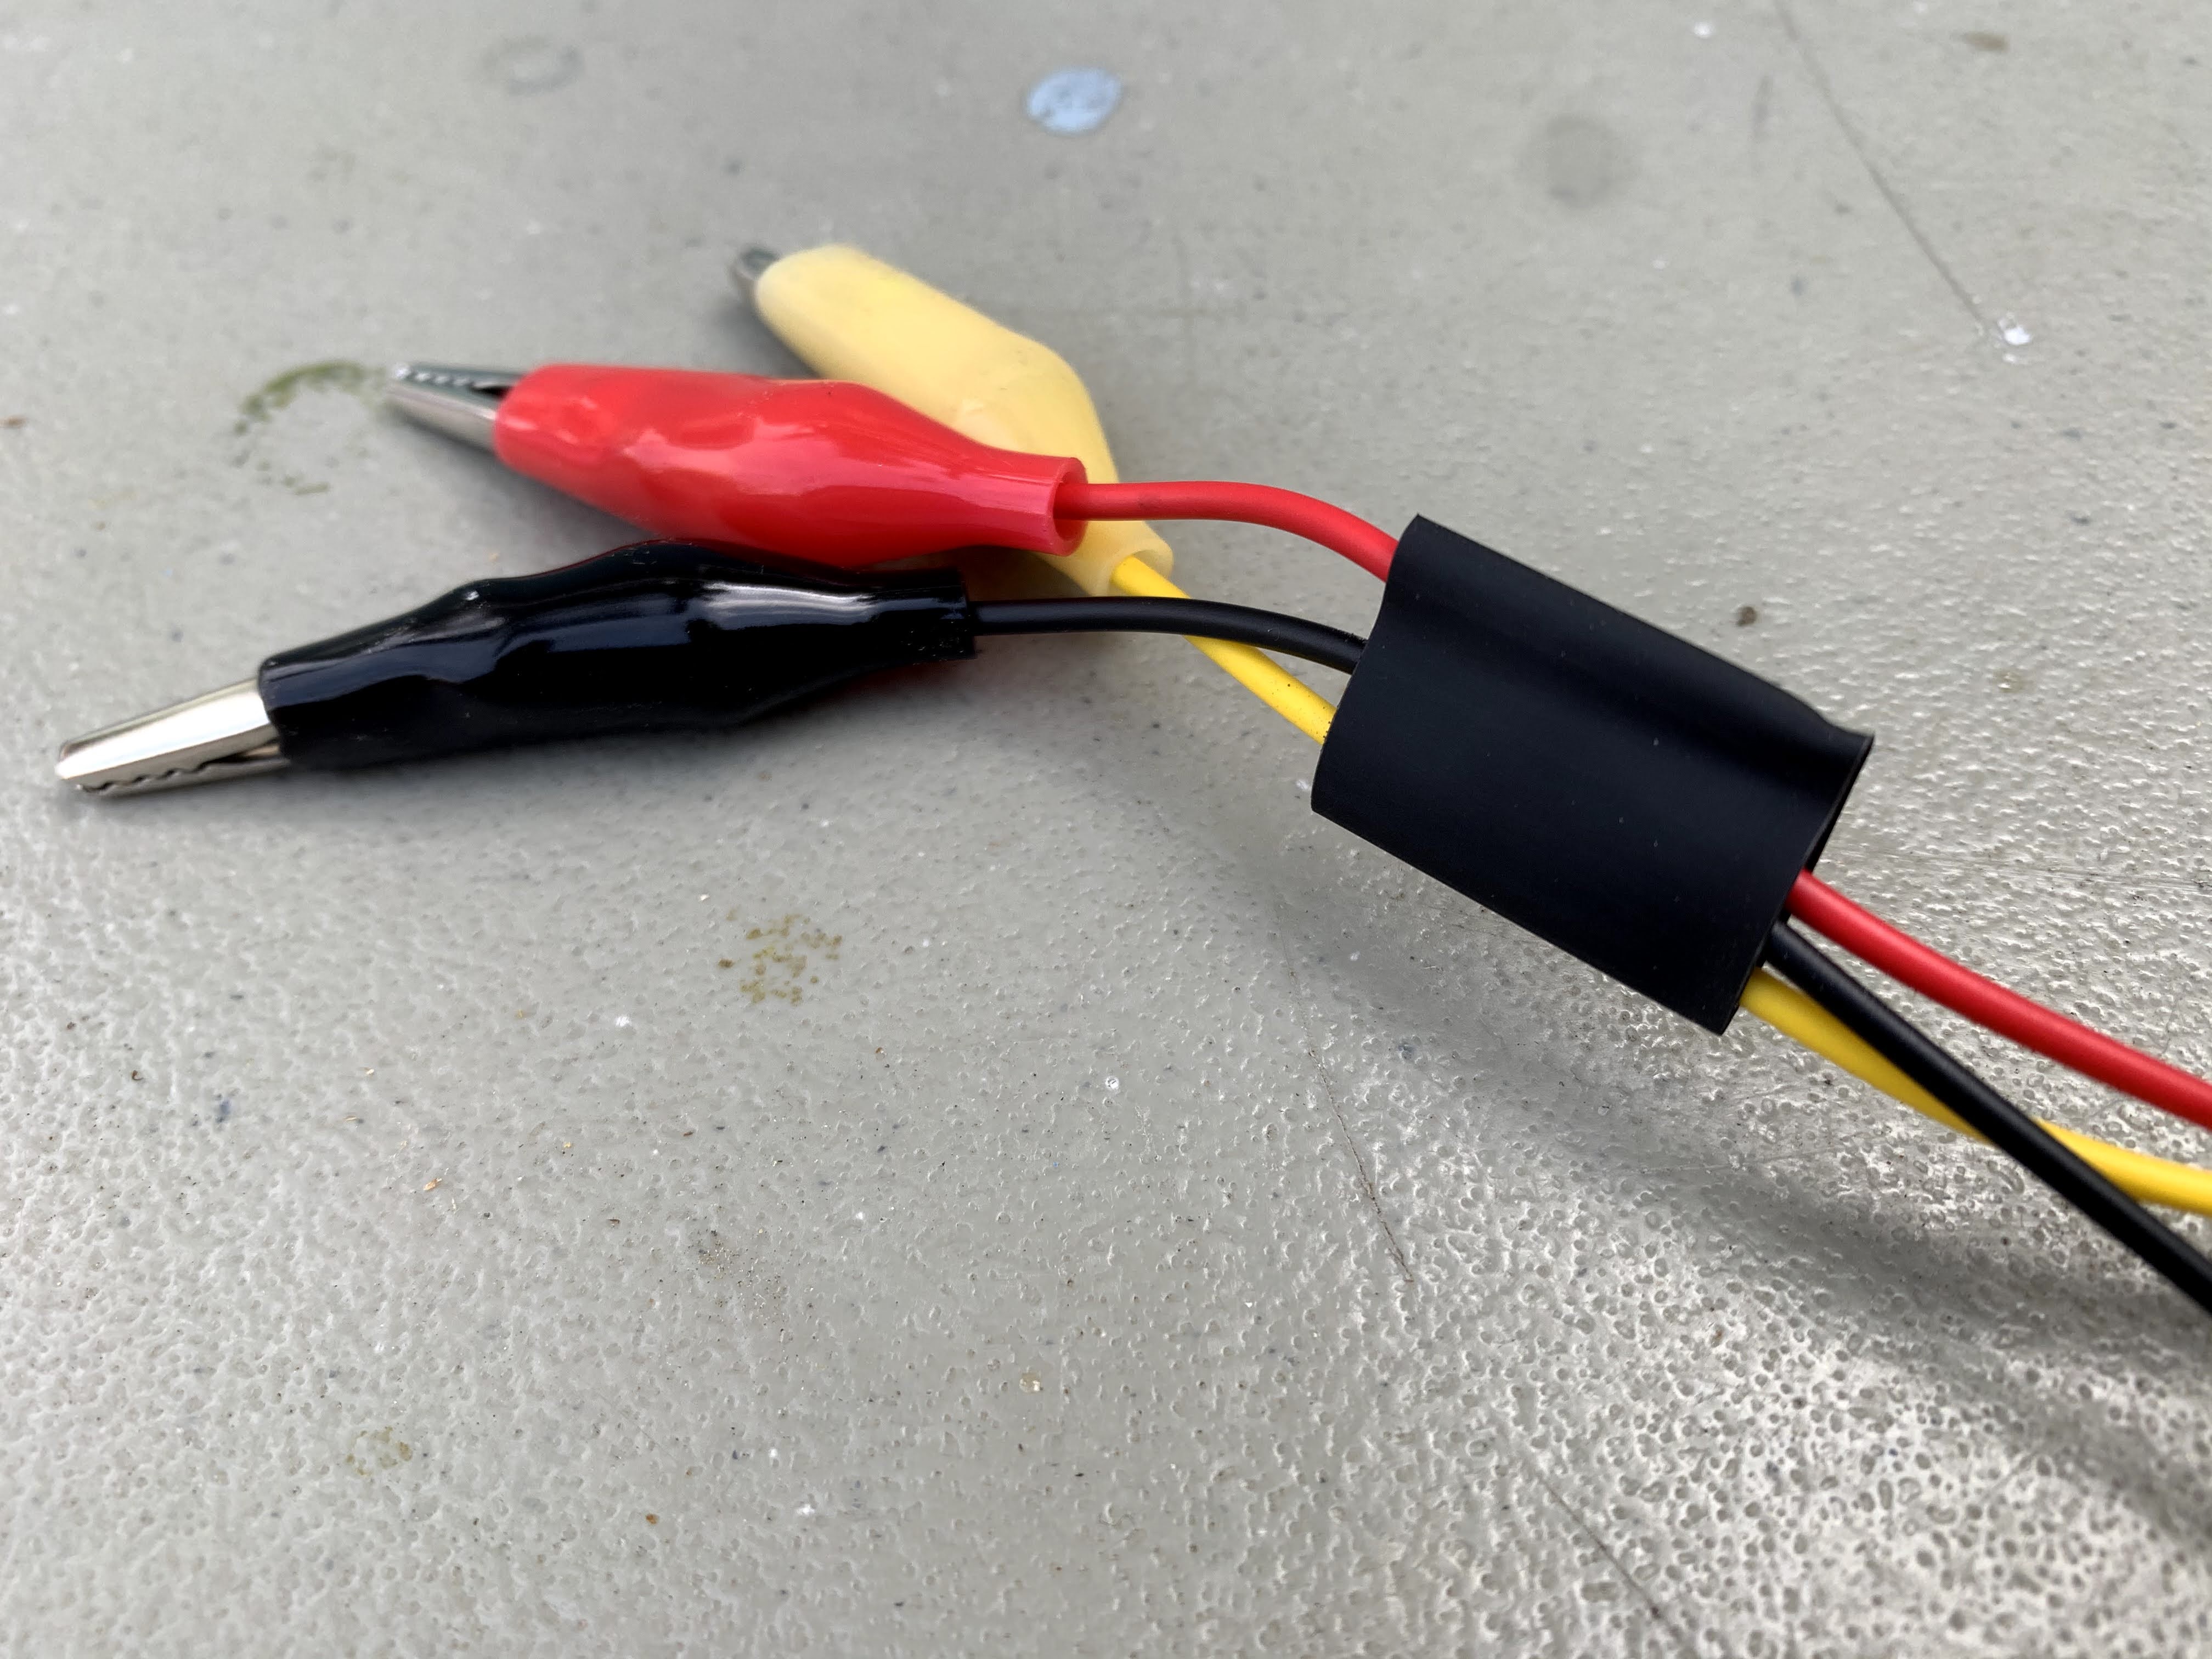
Cutting and pre-soldering the alligator clips
Cut the alligator clips in half so that you have open wire on one end. Use the wire strippers to remove about a quarter of an inch of insulation. I chose red, yellow, and black alligator clips to make it easy for students to learn which wire connects to which terminal.
Black is ground, red is power, and yellow is signal. Since we use these same colors on the Hummingbird, it will be easy to transition over to that platform in future projects.
I pre-solder the ends of these as well, as seen below.
Making the connection and using heat shrink
I take a small strip of wide heat shrink and place it over the three alligator clips before soldering. This pre-placement allows me to slide it up the path to shrink around the connecting area and protect the solder points.
The pre-solder on both the alligator clip and copper pad allows for easy connections. I start with the middle (yellow) wire and work outward from there.
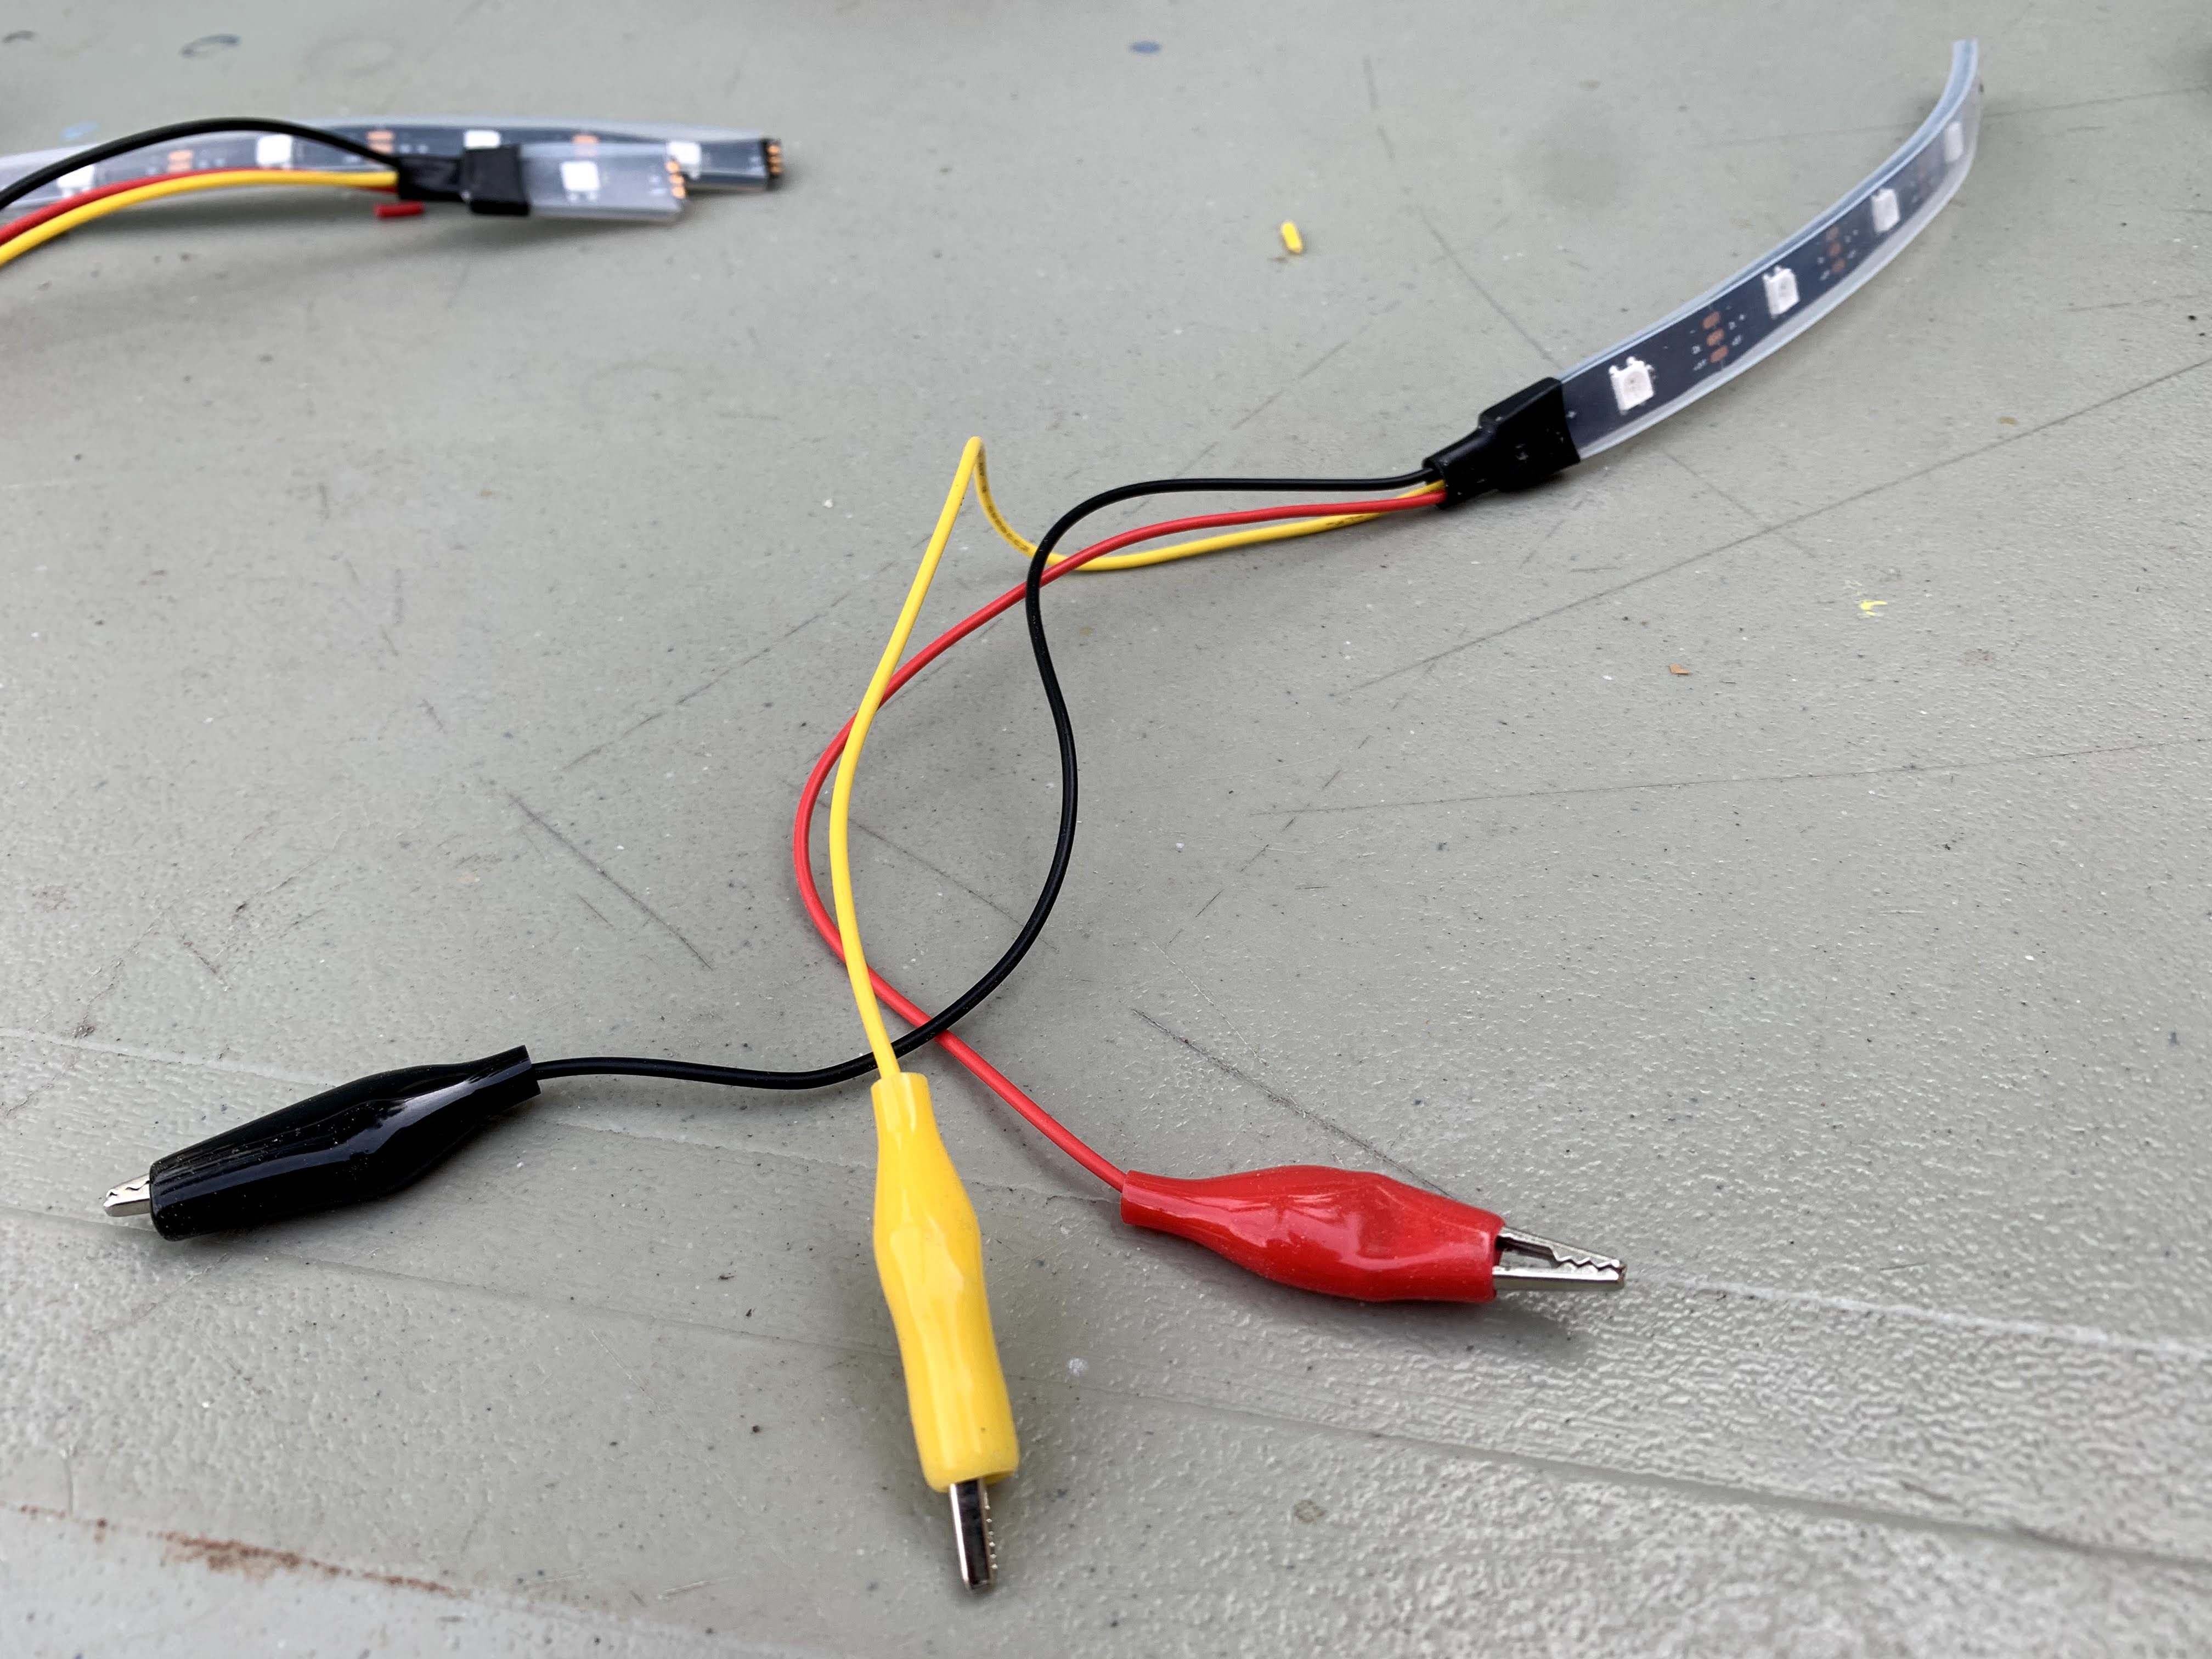
Testing out the Neopixel Strip
All that is left to do is test and explore. Here is a great video tutorial from Stu Lowe on using the neopixel strip with micro:bit and another from Microsoft MakeCode. You can also refer to my quick reference doc on things to try with the neopixel code blocks.
If you are looking for projects on micro:bit in general, here is a micro:bit starter doc I provide for my students. I would love to hear about your experiences using neopixels, or any other interesting components, with the micro:bit. Please comment below.

Leave a comment