BACKGROUND
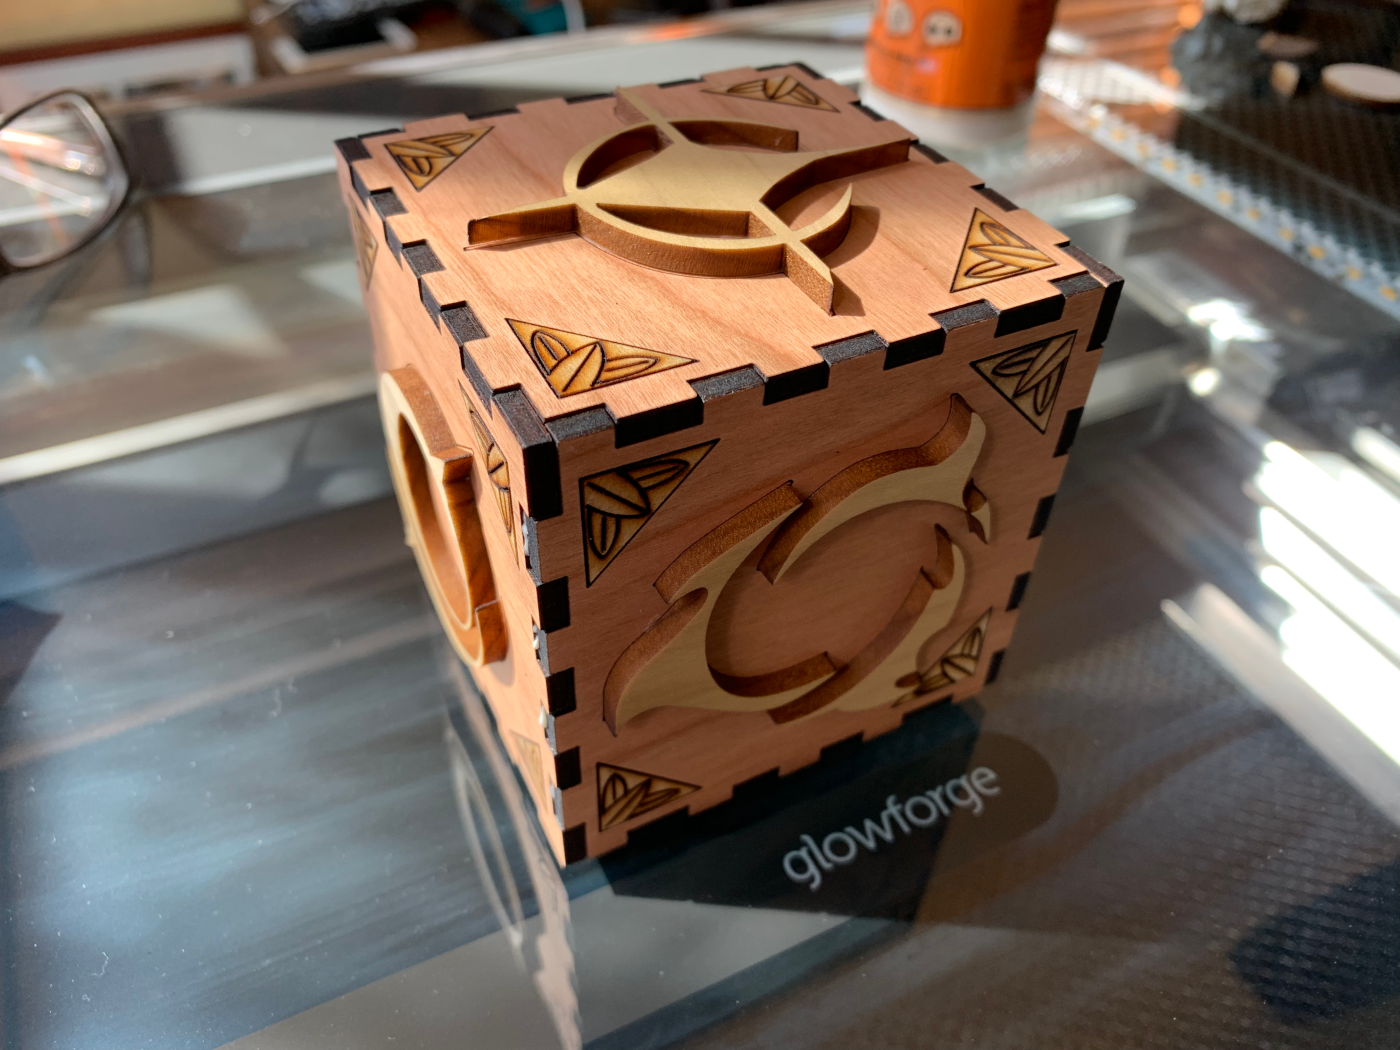
I’ve been using the Glowforge extensively since the day it arrived in the spring of 2018. For both student projects and personal projects, this laser cutter has produced incredible work.
Before the Glowforge, I used a Full Spectrum Hobby Laser, similar in capacity and feature set, but a machine that required an external water cooler, exhaust fan, and air pump. The Glowforge contains all of these components internally.
While the Glowforge has some minor downsides, including a wifi only connection and minimal design controls on its web interface, the quality of output is phenomenal in its detail.
THE PROBLEM
One of the most critical factors in generating such high-quality output on the Glowforge is the proofgrade material you can purchase directly from their website. These sheets (wood, acrylic, veneer) are available in different styles, cut sizes, and thicknesses. They include a mask that helps to avoid getting a burn on the surface of the material. Peel off the mask, peel off the burn.
While the results are terrific, the ongoing costs associated with proofgrade materials can be prohibitive. A single sheet can cost up to $20 plus shipping.
One inexpensive and reasonable solution to replace proofgrade materials is to use birch plywood, available in bulk from Amazon. By comparison, a $16 sheet of maple proofgrade is replaced by $2 worth of birch ply. However, what you gain in cost, you lose in quality.
The birch plywood surface can be uneven, and the boards themselves are often warped. Also, there is no masking on these less expensive boards, so you get the burn directly on the wood’s surface.
There is an added challenge to the current set up, which is alignment, or misalignment. Cuts tend to skew down and to the left compared with the original placement of the artwork, which means that your results on material won’t match what you lined up. It also makes it harder to predict what the result will look like. This misalignment happens regardless of what material you have placed in the bed.
While this misalignment isn’t a massive issue for work that doesn’t require every square centimeter of material space, it can increase costs when you cannot rely on alignment accuracy and thereby need to use additional material to complete your cuts.
SOLUTIONS
In working through a current project for a colleague, I discovered through the Glowforge Community boards that instead of proofgrade materials, you could purchase near equivalent wood sheets online from Home Depot, at a much lower cost, in some cases a fifth of the price. The choices range from Maple to Walnut, to Red Oak, all materials for which the Glowforge app already provides cut and engrave settings.
While the wood from Home Depot does not come with masking, I have found two viable options on Amazon. This masking tape is similar to what you will find on the proofgrade materials, sticky enough and flat. This alternative masking tape is cheaper per foot but needs a bit more care when applying. It tends to wrinkle and warp and feels slightly stickier. Regardless, I have had great results with both.
As to the alignment issue, Glowforge announced a calibration update this past year that has made a tremendous difference in terms of accuracy. I highly recommend any current owners who haven’t updated yet to take the time to do this.
The process is straightforward, outlined step-by-step in the link above, and requires using one 12″ x 20″ piece of Draftboard (or other wood) to complete.
The level of accuracy after the update is almost perfect. Here’s a sample:

I can now cut with confidence that the lines will cut where I place them.
One last best practice that has helped the accuracy of work is to use the Set Focus feature before each cut. This step will ensure that the camera is seeing the correct material thickness and location before starting.
FINAL THOUGHTS
I feel like I have a new machine and affordable material resources without breaking the bank. The alignment issues are no longer present, so I can efficiently use the materials I have. It’s time to get to work on my next project.

For Masking I like this transfer tape from signhouse. Good tack and lays down easily.
https://signwarehouse.com/products/rtape-conform-4075rla-transfer-tape-high-tack-100-yd-rolls?variant=32025431343197
LikeLike
Thank you for sharing this resource!
LikeLiked by 1 person
John – which Glowforge do you use? We are looking at getting a laser cutter for our HS robotics shop.
LikeLike
I have the base model, which works fine for our current needs.
LikeLike
Just curious, could you mirror image your cuts and print/cut from the back to eliminate the burn?
LikeLike
There are actually burn marks on front and back, so I’m not sure if this would help. The masking really does do a great job of preventing the marks from hitting the surface.
LikeLike
Thanks for reaching out though!
LikeLike