
I’ve been fascinated by those flame simulating LED bulbs ever since they came to market. You know the ones. They look somewhat like an ordinary bulb when not plugged in, albeit a bit oblong and cylindrical, but a bulb nonetheless. When you plug them into a lamp, they glow and flicker like a flame, and most of them send the “flame” upward, regardless of the actual orientation of the bulb. Neat!
When Woot! had a sale on a 6-pack one week, I decided to pick some up. This happens often by the way. I find an interesting product or material online for which I have no current use, and I get it anyway, hoping for the possibility that it will play a role in a future project. I’ve become a hoarder of useless thingamabobs and whatchamacallits.
Fast forward a bit and I catch an episode of Adam Savage’s One-Day Builds. This episode is about creating a gaslamp lantern prop. The video peaks my interest because of my recent participation in the school musical and responsibility for working with a group of students on set design and prop making.
As a maker educator it has always seemed a logical partnership, having the opportunity to work with the theater department on making what we need for stage productions. This was to be my first year of participation in our school musical, but the onset of a pandemic precluded that opportunity.
I digress.
The One-Day Build video had my attention because of the prop making, but it also included one of these LED flame bulbs. My interest double-peaked! During the video, I learned that these LED flame bulbs are actually low-voltage, meaning they can be powered by a small battery pack. They contain an AC/DC converter inside that allows them to plug into a lamp socket and thereby get power from a standard 110V wall outlet. But the true voltage needed to light them up is small. By powering these bulbs with batteries, the possibilities for use suddenly grows ten-fold.
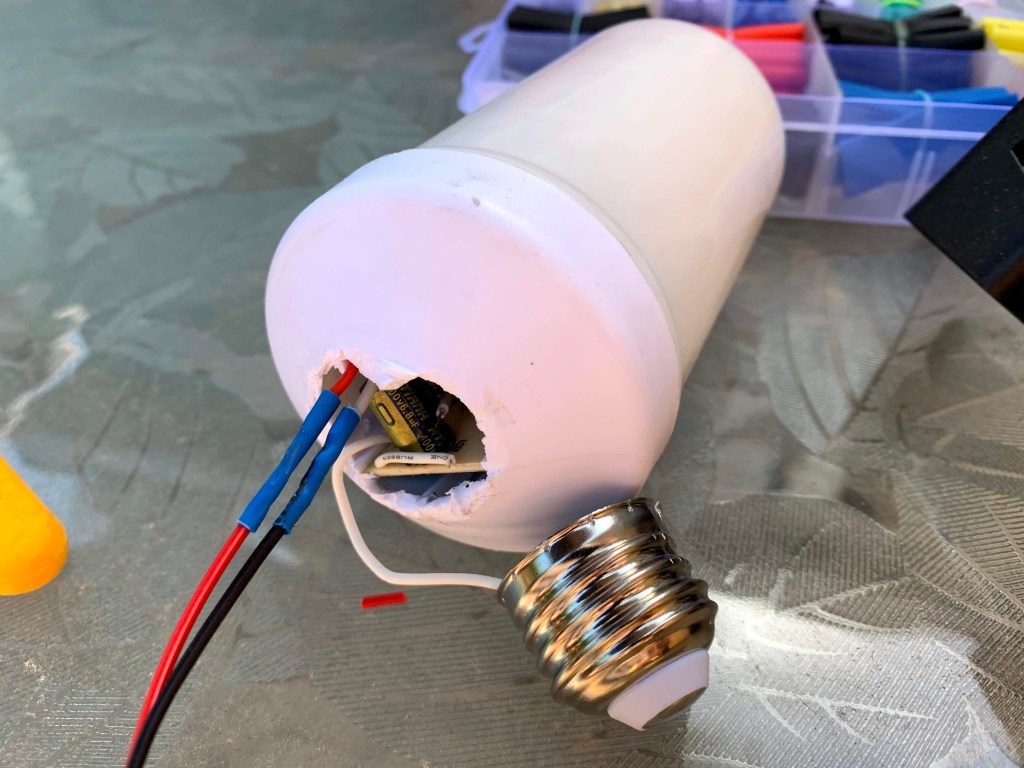
In Adam’s case, his bulb only required 3V DC, essentially two AA batteries. For mine, I disassembled and connected to a variable power supply to discover that it required at least 4.5V to light up. In the photo below you will see that I soldered two lead wires to the ones coming from the disassembled bulb in order to connect to the power supply. Part of the AC/DC converter is visible through the hole.
After testing voltage requirements, I then tried to connect a 4.5V battery pack (three AA batteries) but discovered that the bulb would not light. I upped it to a 6V pack (four AA batteries), which was enough to light the bulb.
With the power situation covered, I moved on to the lantern design. Rather than use a pre-made lantern body, I chose to design one in Illustrator and laser cut from thin birch plywood.
I researched images of gas lamps and found a variety of designs for inspiration. Given the fact that I would laser cut from wood, I stuck to fairly simple box-like designs for my first attempts.
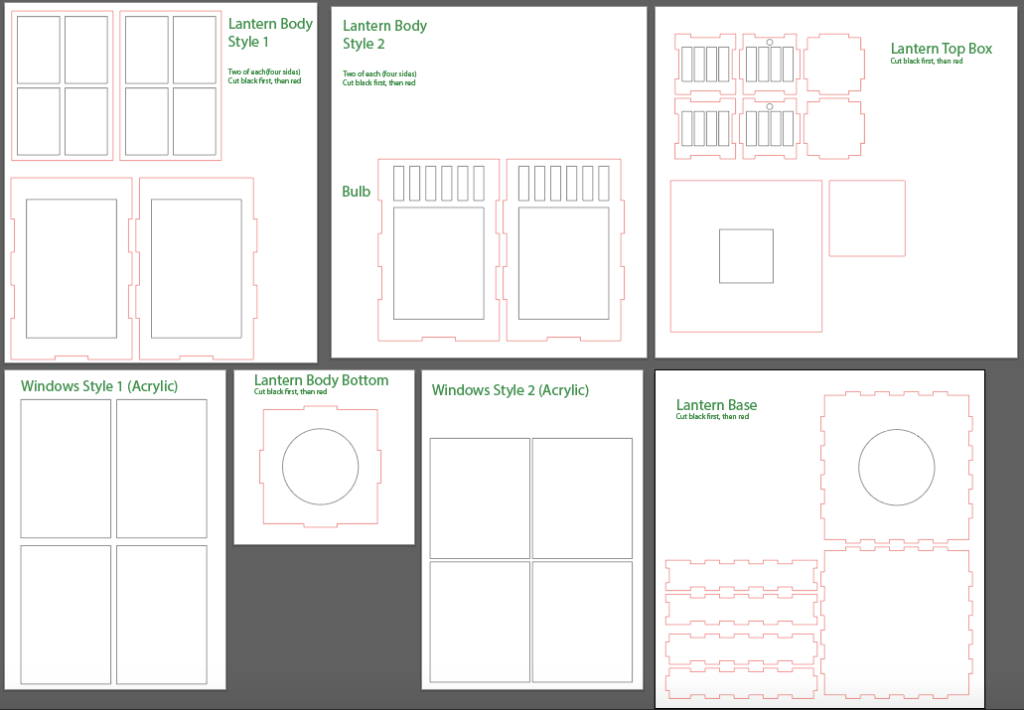
The website MakerCase is a helpful resource when designing boxes for laser cutting. You input the desired dimensions, material thickness and join style, and it outputs a file for cutting. I take this basic design, place into Illustrator, then add my own cut, score and engrave lines as needed. Here you can see two different lantern designs I created in Illustrator:
I used 3mm baltic birch plywood as my main material, along with 3mm clear acrylic for the windows. I would have opted for frosted acrylic to hide the bulb from view, but this is what I had on-hand (another previous purchase awaiting use). With a small orbital sander, I gave this clear acrylic a few passes to create an opaque finish as you can see in one of the photos below.
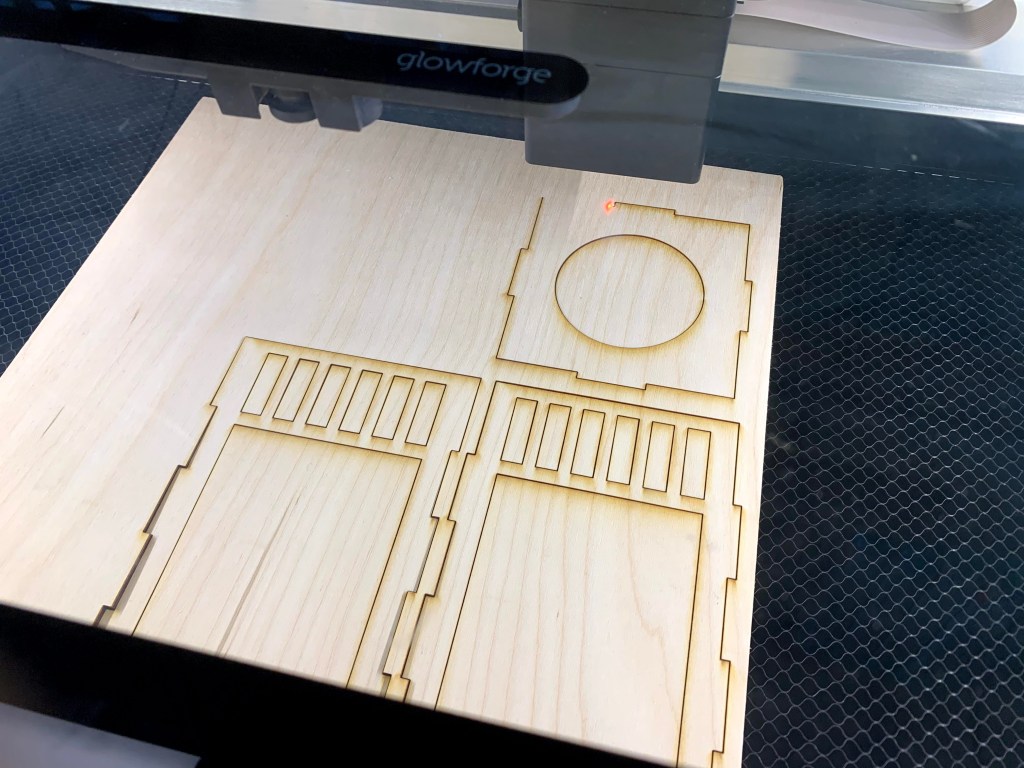
Fresh off the laser cutter 
Top piece assembly 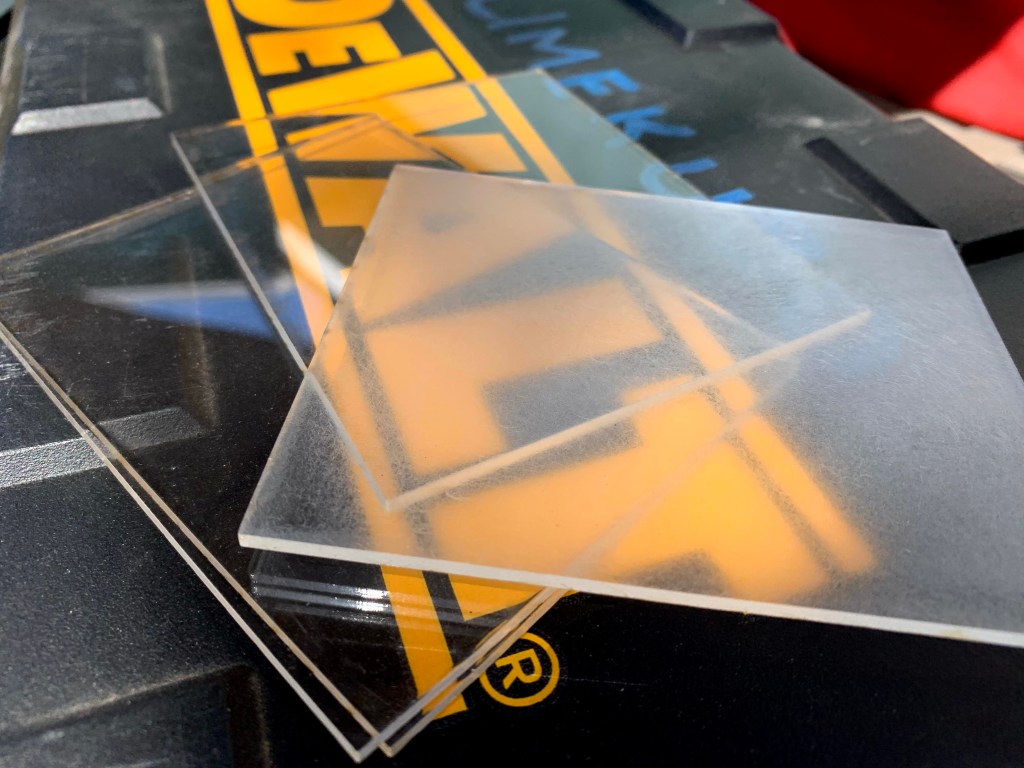
Clear acrylic, sanded 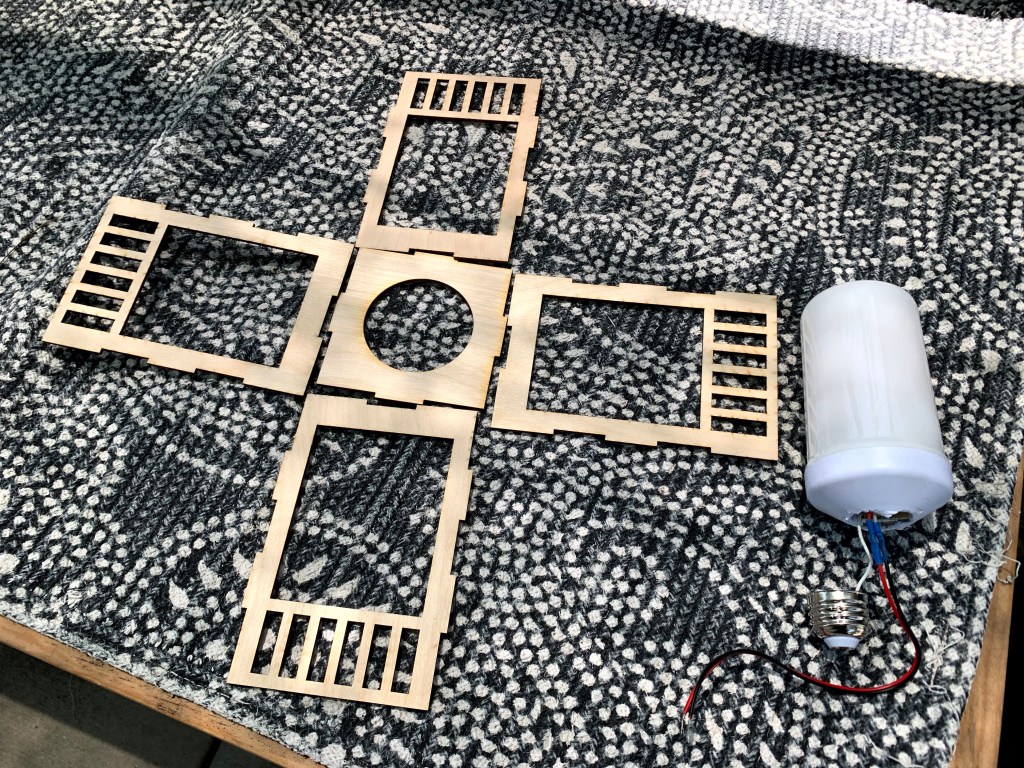
The lantern body getting ready for assembly
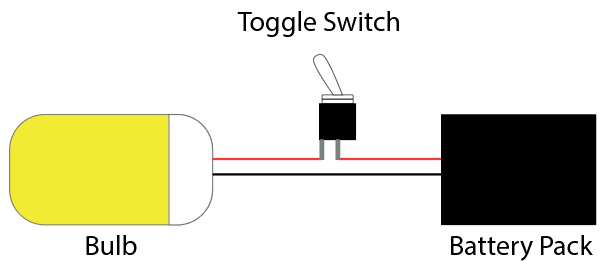
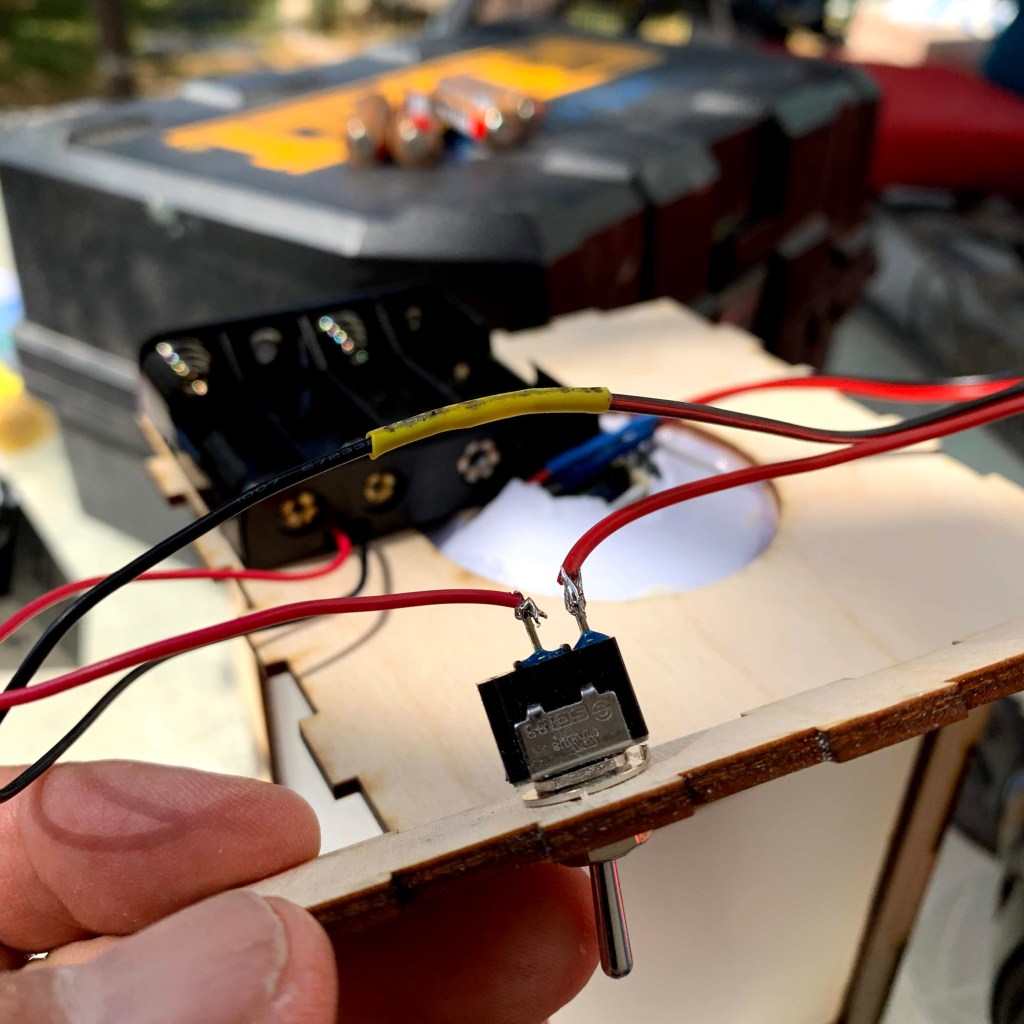
With laser cut pieces ready, focus turned to the circuit assembly. Using the 6V battery pack, a basic toggle switch, and a small length of 22 gauge wire, I soldered out a simple circuit as seen here:
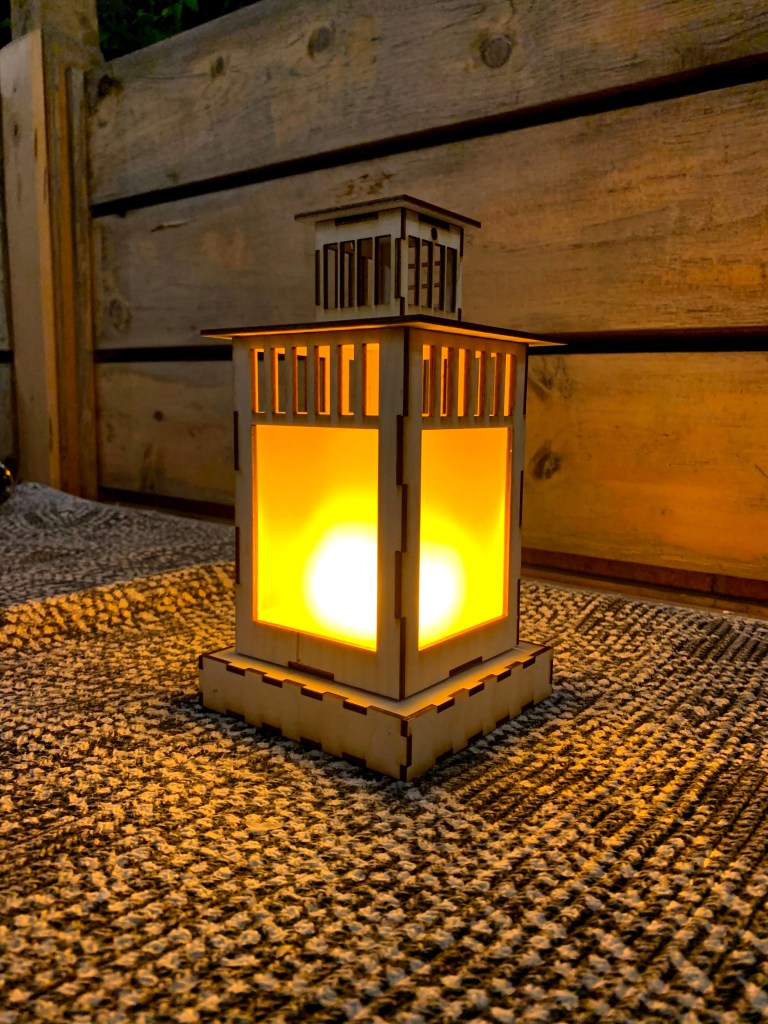
Putting it all together, the first model turned out like this:
While I was satisfied with the composition, the raw wood color wasn’t doing it for me, as a true gas lamp would not be made from wood. I opted to paint the exterior black instead, hoping for a more cast-iron look. I also opened up a hole to the top portion of the lantern so that light would shine through as well.
Here is the painted version:

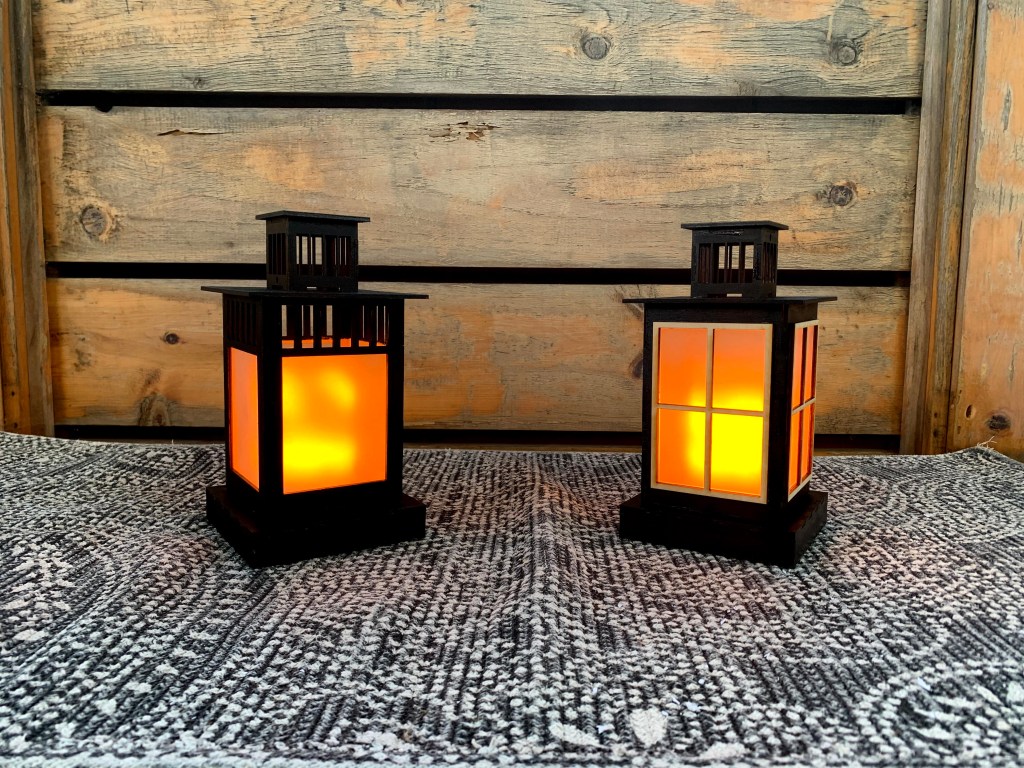
Looking for more design ideas, I cut a different version. Here are the two completed lamps side by side.
If you’d like to make your own LED lantern, below are links to the materials, tools, and design files. Additionally, if more photo documentation is helpful, here’s a link to the full photo album, including some short videos.
Materials:
- LED flame bulb (link is not the same as I purchased so voltage requirement may be different)
- 3mm baltic birch plywood
- 3mm acrylic (frosted or opaque if you don’t want to sand them)
- 6V battery pack w/ four AA batteries
- Switch
- 22 gauge wire
- Paint
- Wood glue
Tools:
- Laser cutter
- Soldering iron
- Variable power supply (helpful but not necessary)
- Sander or sand paper if using clear acrylic
Design Files:
- Google drive folder with downloadable files. Please note that one missing element is a hole cut out for the switch on the base pieces. I left this out since switches vary in size and shape.
If you decide to build one, please let me know. I would love to feature a photo of it here. Happy making!
